Your cart is currently empty!
Author: jeremy
-

My favourite coffee – Vittoria coffee beans, latte
You might be the same with coffee, you try a heap of different flavours and brands to find the one you like. Eventually you get it down to a short list and then eventually, down to two or even find THE ONE!
That brand or flavour that you just keep coming back to, you might keep trying a few different ones that you thought might be good. But then there’s this one that you rely on. For me and coffee beans, that’s this brand – Vittoria Coffee Beans, Latte.
I don’t buy latte’s at cafes, but this brand of coffee beans suits me fine. Love the flavour and cream it produces in the machine. If you haven’t tried this flavour, give it a go.
A good coffee is a memory maker. Let me know if the comments if you try these out.

Follow me on these platforms for more: threads, Insta, Facebook, TikTok, Pinterest
-
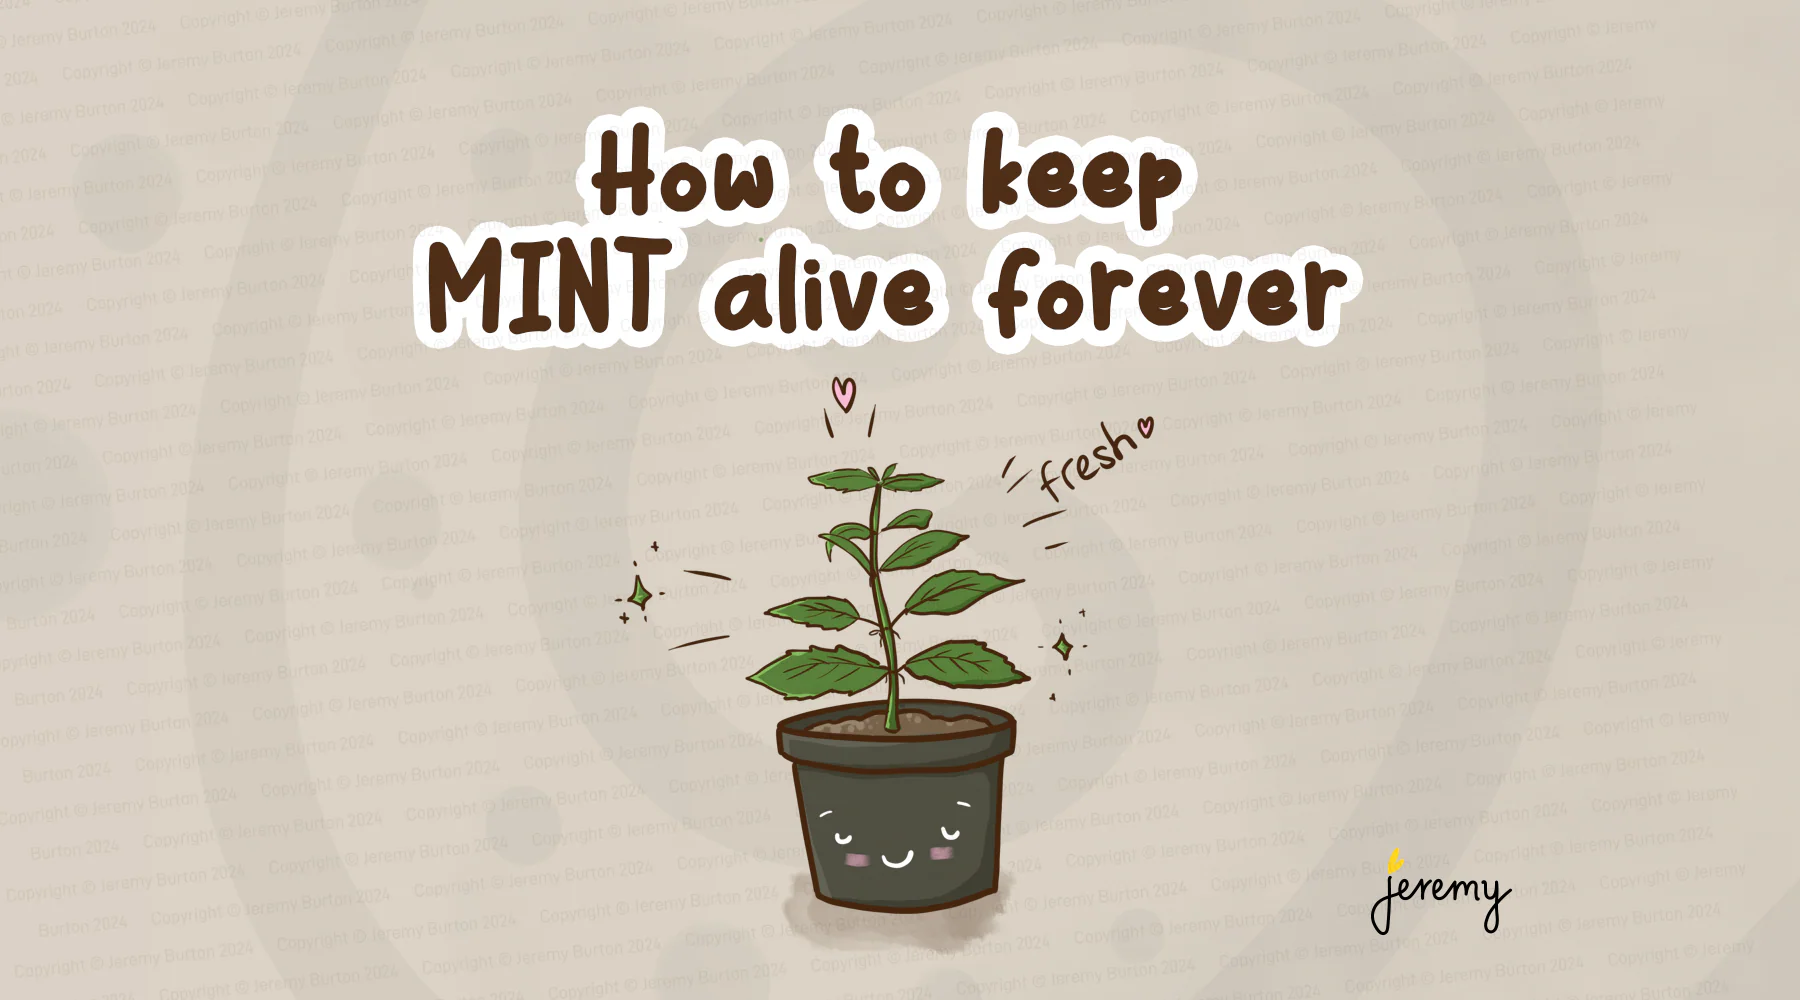
How to keep mint alive forever
Here’s an easy way to keep mint alive so you always have some on hand, even through summer. Mint looooves water, and it’s best if it has access to it daily. It sends runners under the soil and is a hardy herb.
Who doesn’t love a bit of mint in a spritz or a salad. It’s just the best.
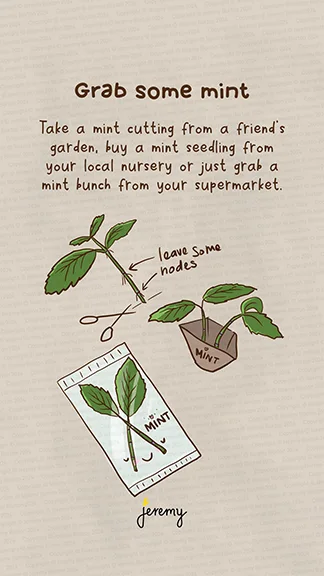
Grab some mint
Get your hands on some mint. It doesn’t have to be a full plant with roots, a small cutting will do to get started. A neighbour may have some in their garden, or visit your local nursery or supermarket.
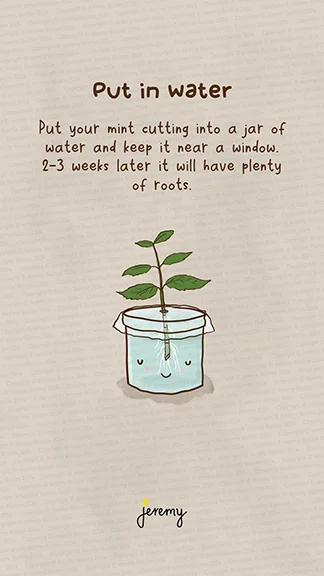
Put it in water
Put your cutting in a jar or glass of water and keep it near a window, not in direct sunlight. 2-3 weeks later it will have plenty of roots.
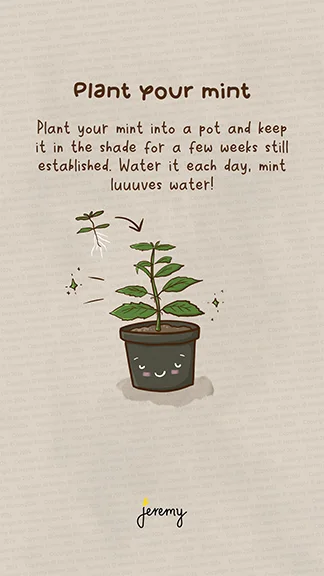
Plant your mint
Plant your mint into a soil in a pot once it’s got plenty of roots. Give it a light mulch and plenty of water. Keep it in the shade and the soil moist.
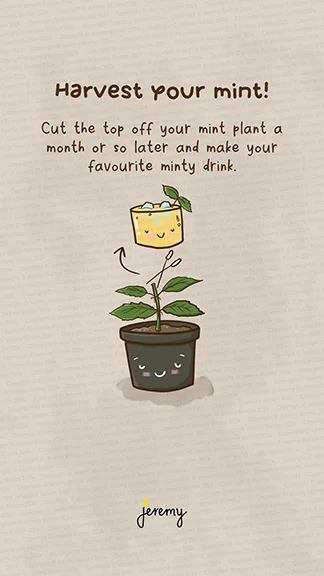
Harvest your mint
Cut off the top of your mint plant (2-3 nodes) a month or so later once it has some growth. Use it in your fave minty drink 🙂
Start again!
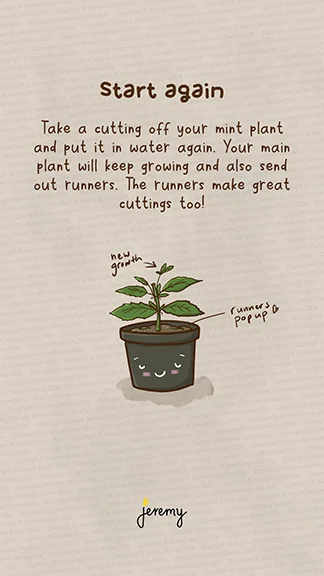
Repeat the process. Take a cutting, put it in water, wait till it roots and plant again. Your main plant will get larger, send out runners and those can be cut off and replanted (or put in water) too.
Follow me on these platforms for more: threads, Insta, Facebook, TikTok
-

How to recycle coffee pods
Recycling the aluminium coffee pods is a good way to reduce landfill and get the right materials into the right place for reuse. Many of the coffee pods are made of aluminium and filled with coffee grounds. They’re easy to pop open and recycle, let’s get started.
Dry your coffee pod
I do them in batches of 10 or so and store them up in a container for them to dry out. You can poke a hole in the top of them to hasten the process. Nothing much likes coffee grounds to there’s no issue of attracting ants or vermin.

Open your pod
Grab a screwdriver or other sharp instrument and open up the top of the pod to remove the coffee grounds. I just poke the screwdriver into the middle and spin it in a circle, the pierced top sheet is very thin.

Feed your worm farm
The coffee grounds can go straight into the garden (yes plants love them), into the worm farm or compost. Too easy.

Recycle the metal coffee pod
Flatten your pod, I use a hammer or brick! Then put it into your metals recycle bin for repurposing. Job done!

Leave a comment if this in on recycling your coffee pods has been helpful.
Follow me on these platforms for more: threads, Insta, Facebook, TikTok
-

How to make cold brew with coffee grounds
You can make your own cold brew coffee by grinding your own coffee grounds, mixing wth water and letting it steep for a while. It’s not too hard, let’s get started.
Grind your beans and mix your cold brew
You’re going to need your old coffee grounds or coffee beans, a grinder, water and something to steep your brew in. You can use anything. Something glass is ideal or use a coffee pot with a filter, like a Hario Mizudashi.

Grind your beans (or use the old grounds from your coffee efforts!) in whatever way suits you and add the grounds and water into your steeping pot. It’s easier to put the grounds in first and then the water. I use a ratio of 50 grams / 1.8 oz of coffee grounds to 600ml / 20 oz of water.
Steep your brew
Place the lid on your pot and steep it in the fridge for half or a full day. Test out the strength that suits you by taking it out at 12 hrs and tasting it. The longer the stronger, until at a certain point and then it becomes bitter.

Make coffee concentrate ice cubes
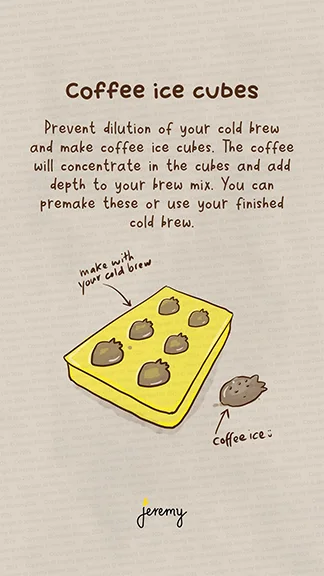
I’ve experimented with all sorts to improve the concentration and coffee ice cubes work well. Premake some espresso shots and pour them into a silicone ice cube mould that pops out easily. Freeze! This way your cold brew doesn’t get diluted, it get’s more concentrated.
Enjoy your cold brew
I pour two thirds of a cup of cold brew and then use concentrated cream (learnt that trick in Japan) or milk if it suits you better to top it up. Throw in your concentrated coffee ice cubes too and enjoy with someone special.

Leave a comment if this helped your cold brew making.
Follow me on these platforms for more: threads, Insta, Facebook, TikTok
