
Last year I had the chance to test out the Rivian electric ute. It’s a beautiful thing.
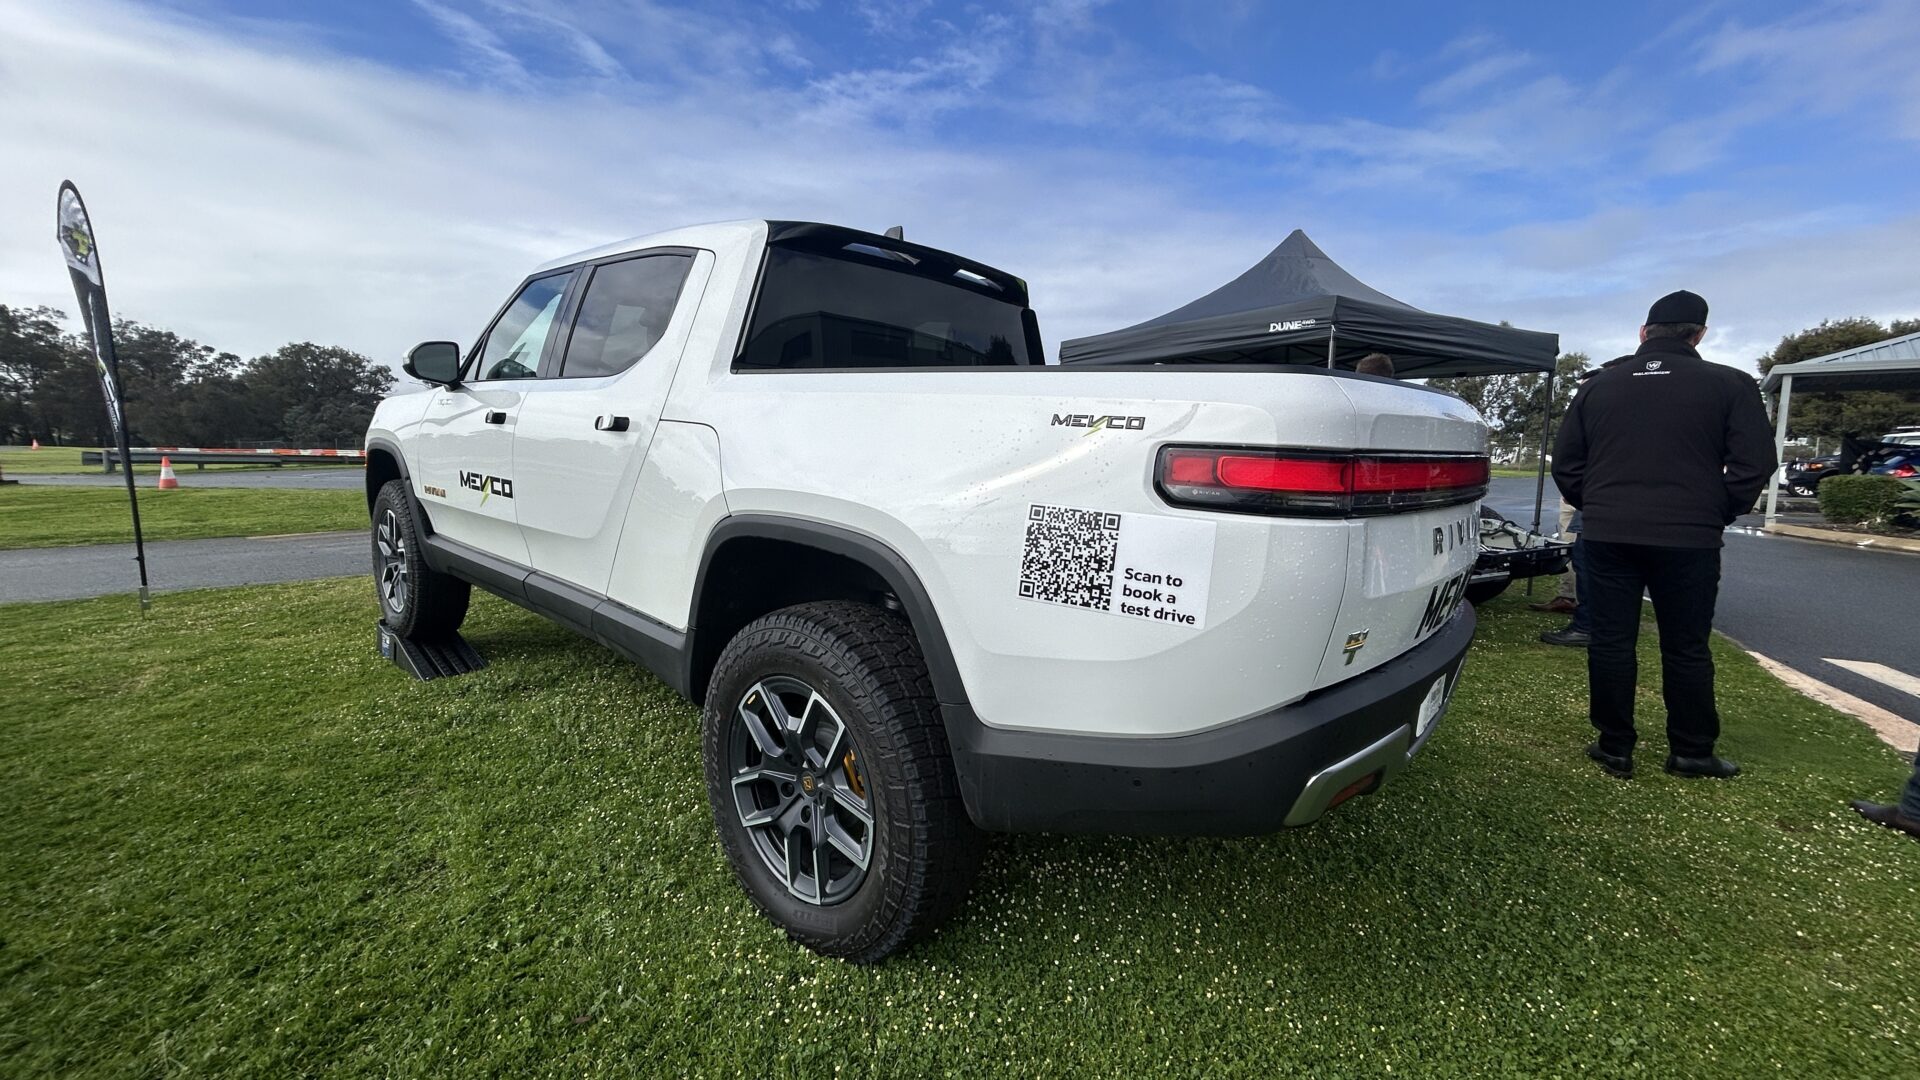
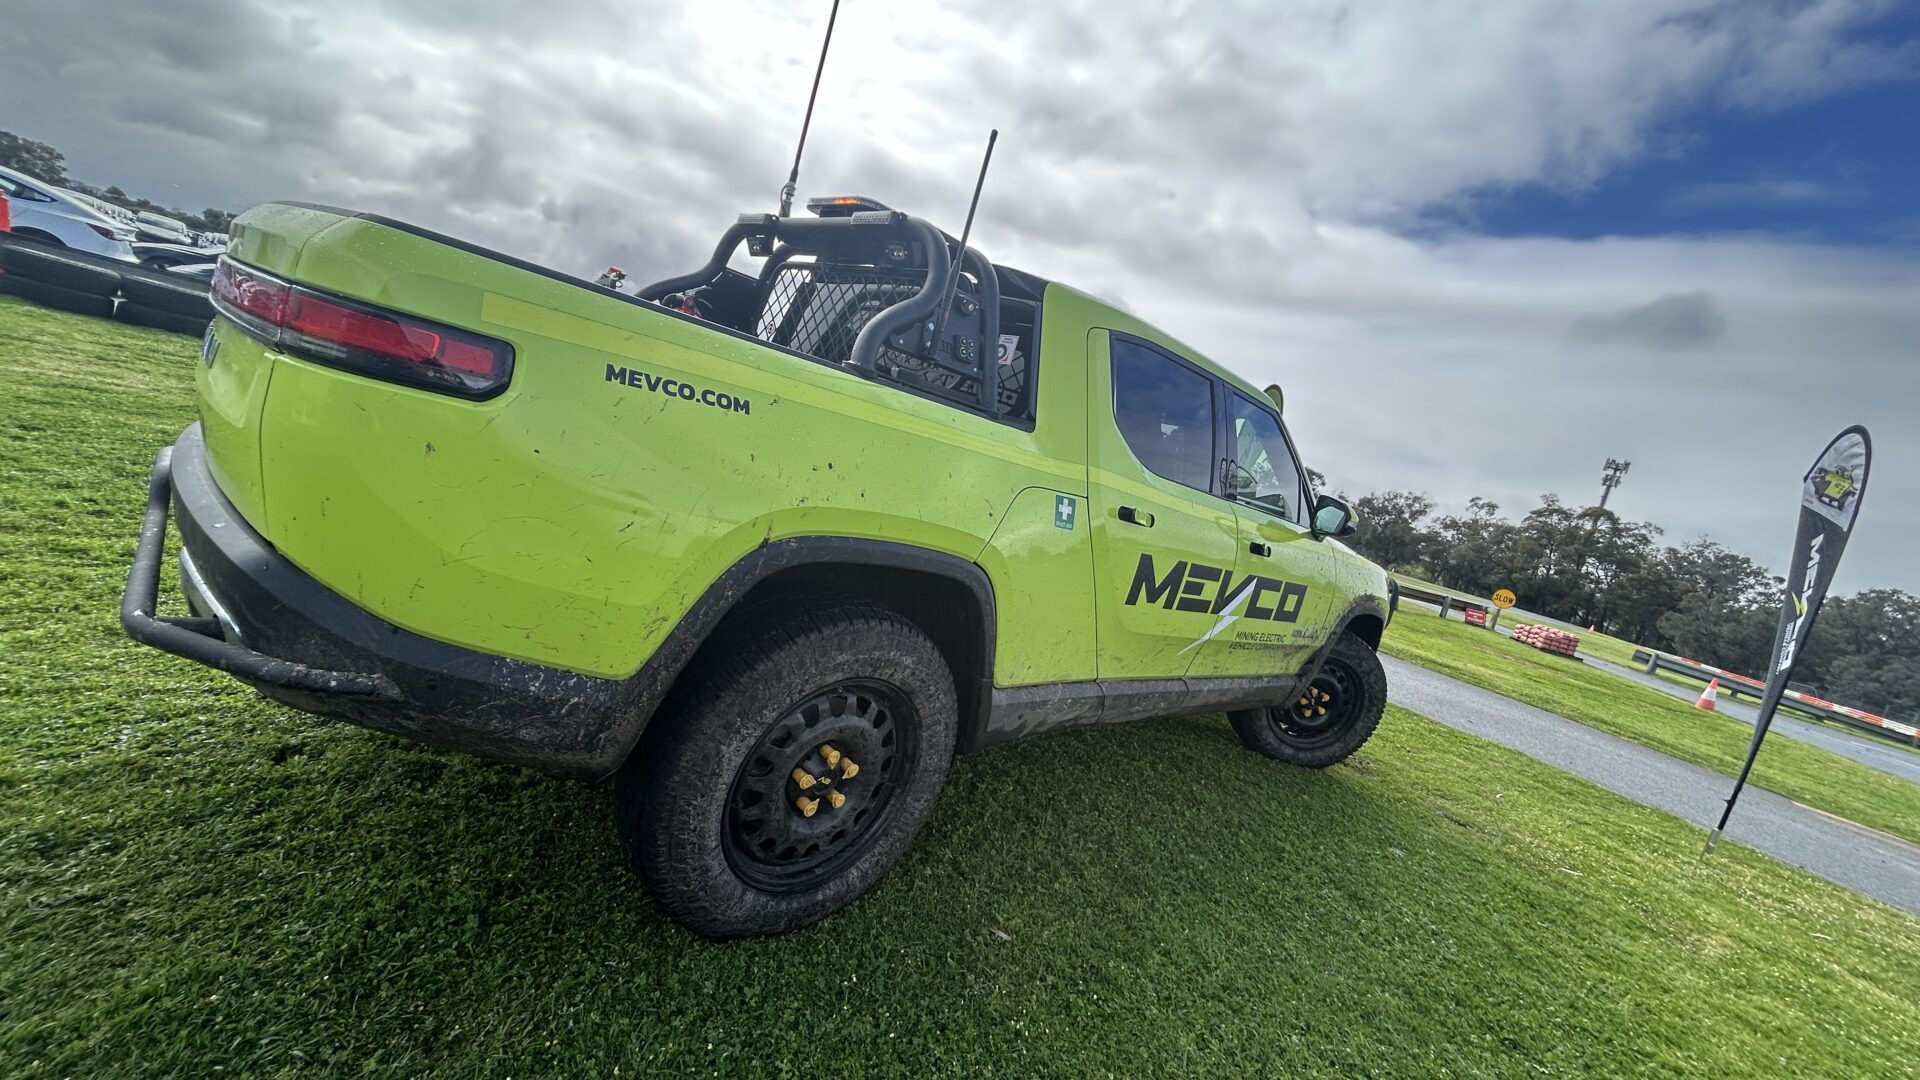
Mevco have the license for national distribution (with McLaren) for commercial vehicles and indicated there were no clear plans to service the consumer market.
Rivian is keeping that card up their sleeve for later, as they have indicated many times they’ll be coming to Australia in the future.
I’ve always admired Rivian and their philosophy on creating a sustainable product that’ll shift this world from fossil fuel consumption. They have continued to iterate on consumer feedback and research to produce products to that not only out-perform the others but are a pleasure to drive.
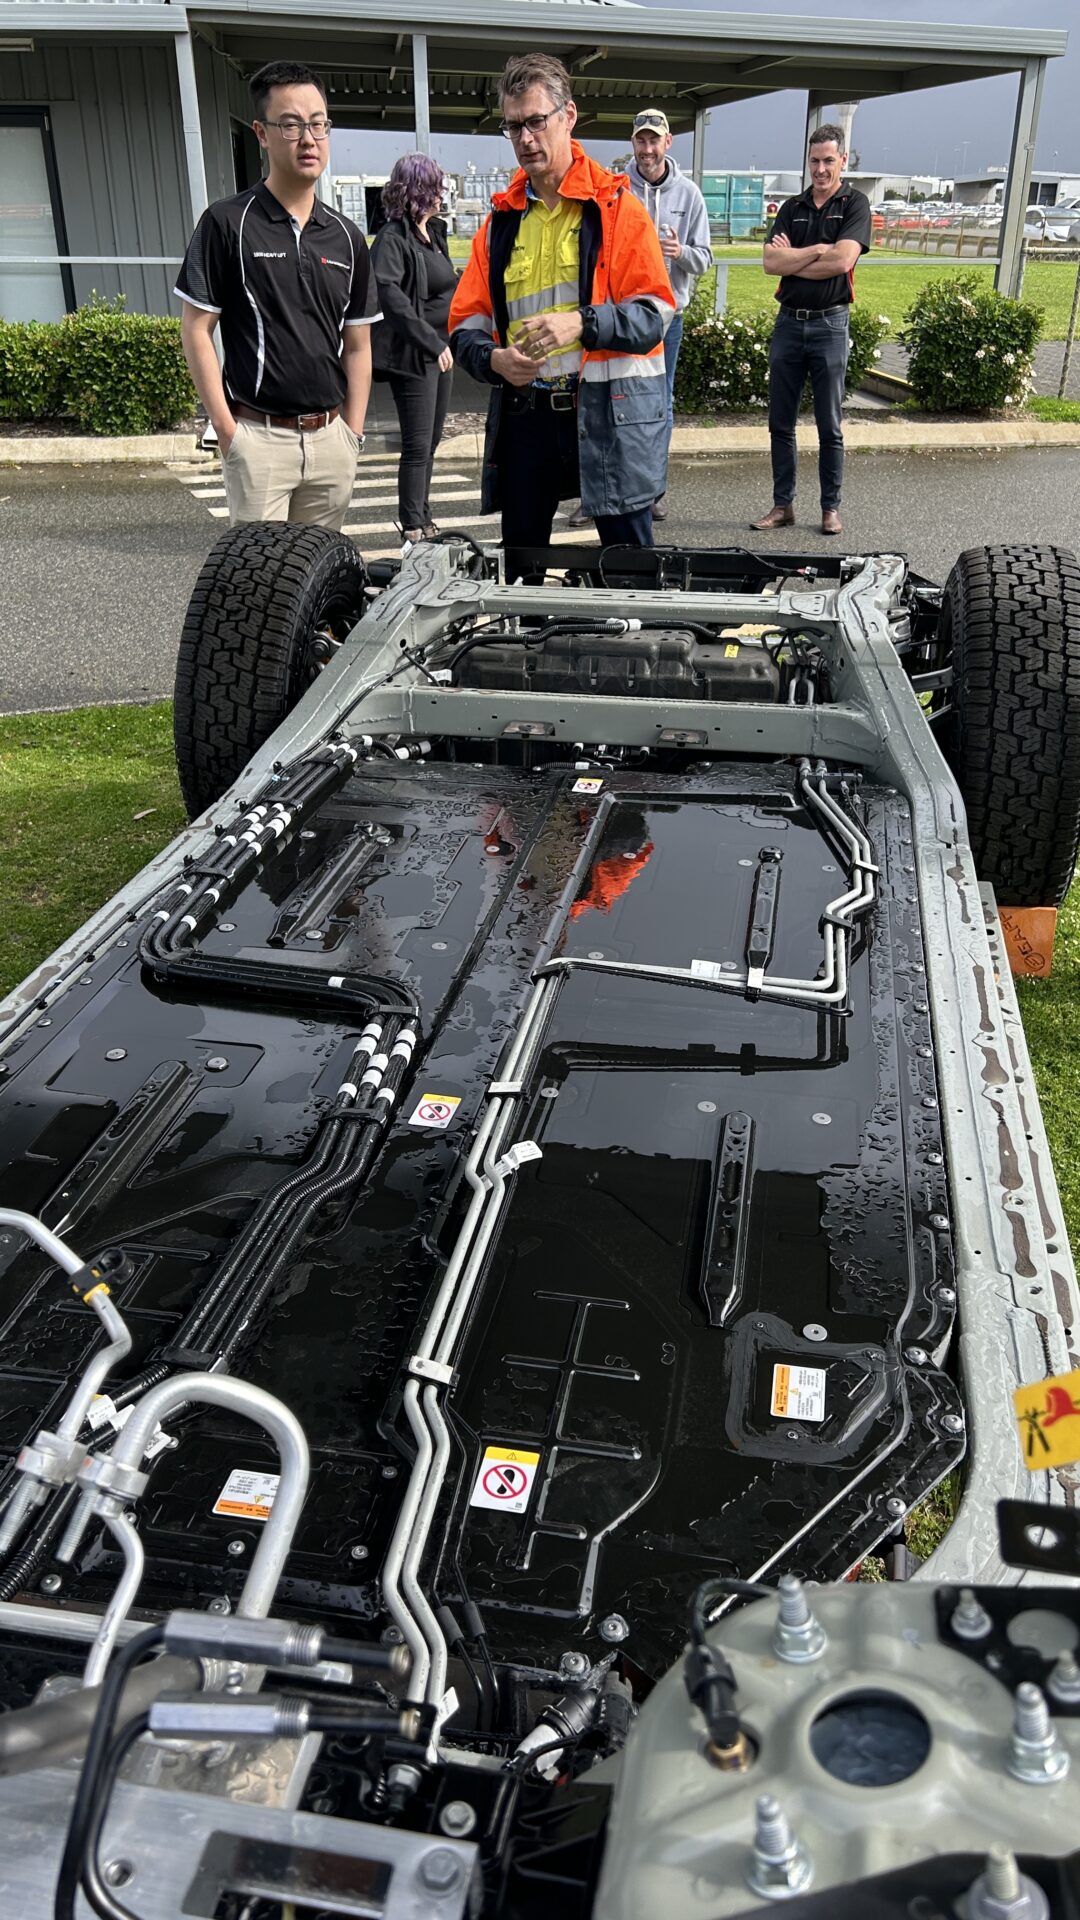
When they eventually land in Australia for the consumer, I expect they’ll be around the $130k mark. I tested these demo vehicles that Mevco has setup for commercial trials around their local test track. They’re selling these to Mining companies preconfigured with a bunch of gear.
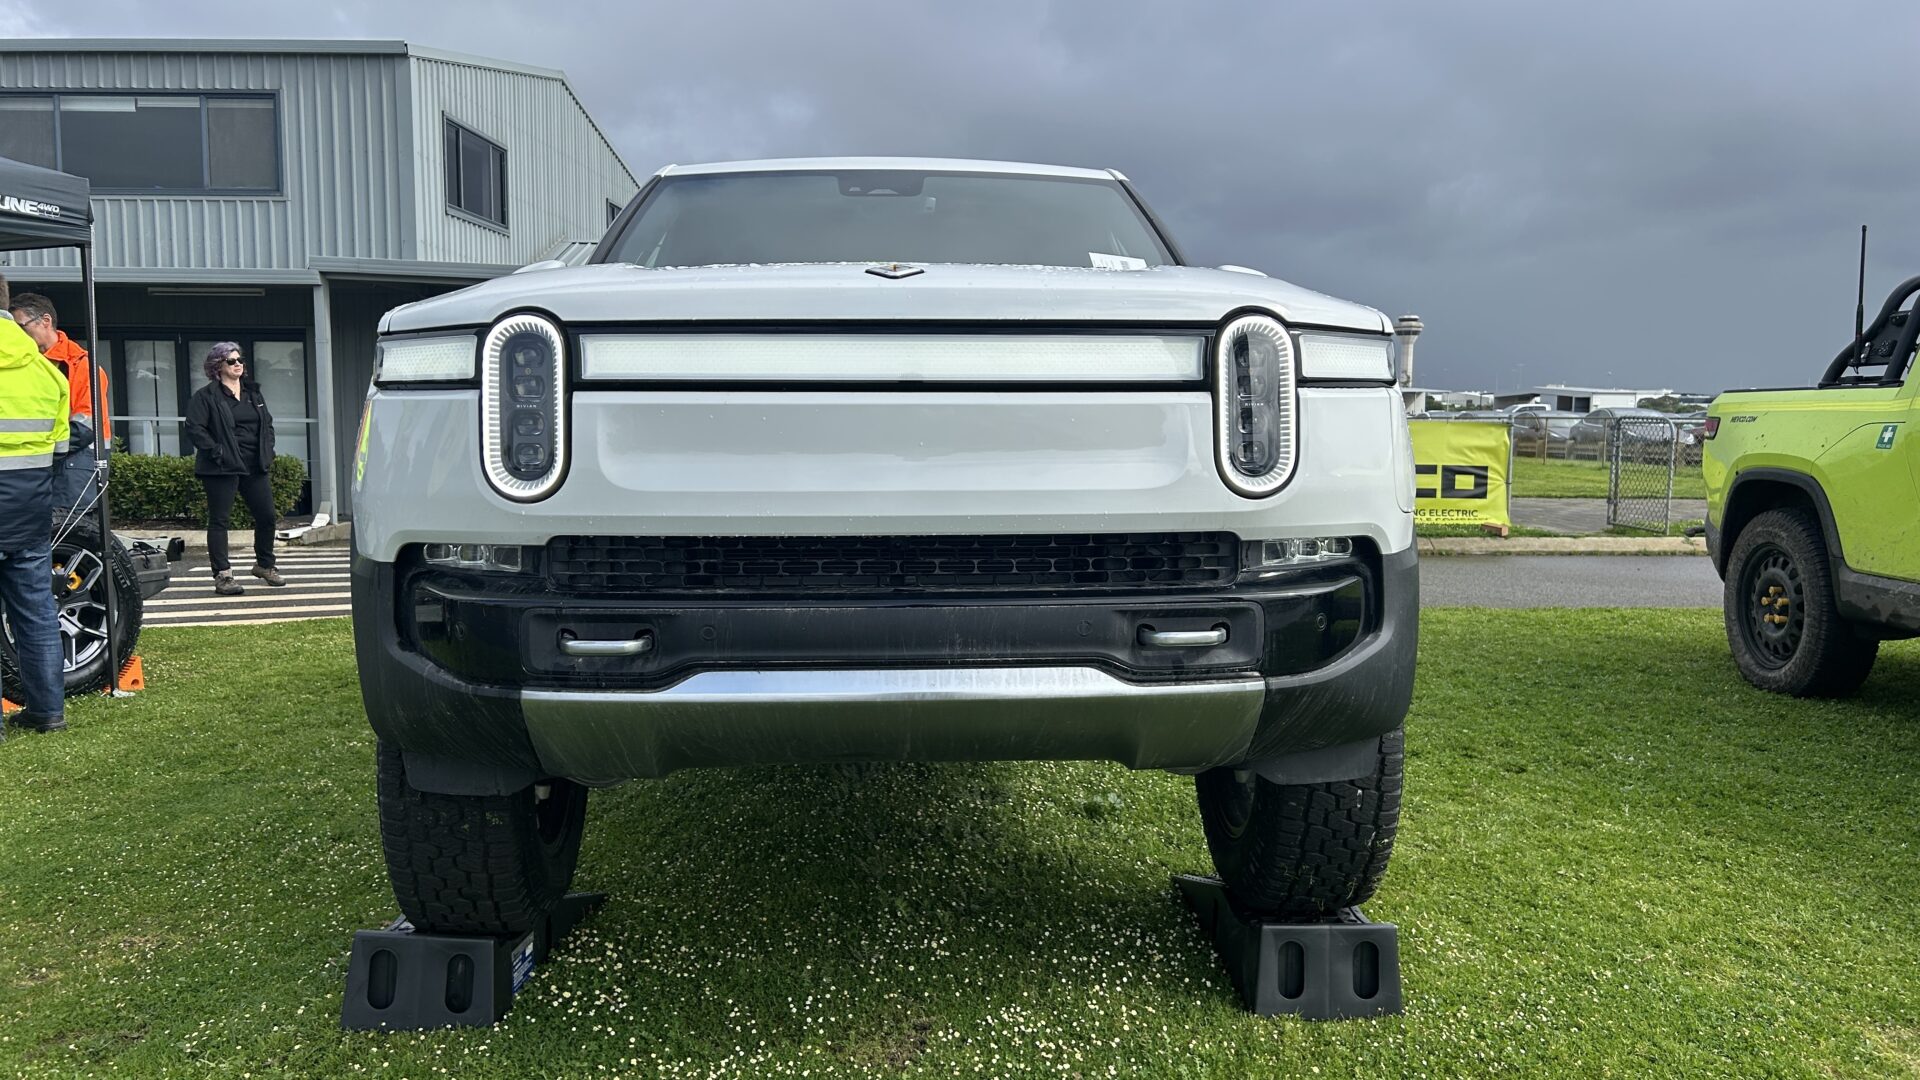
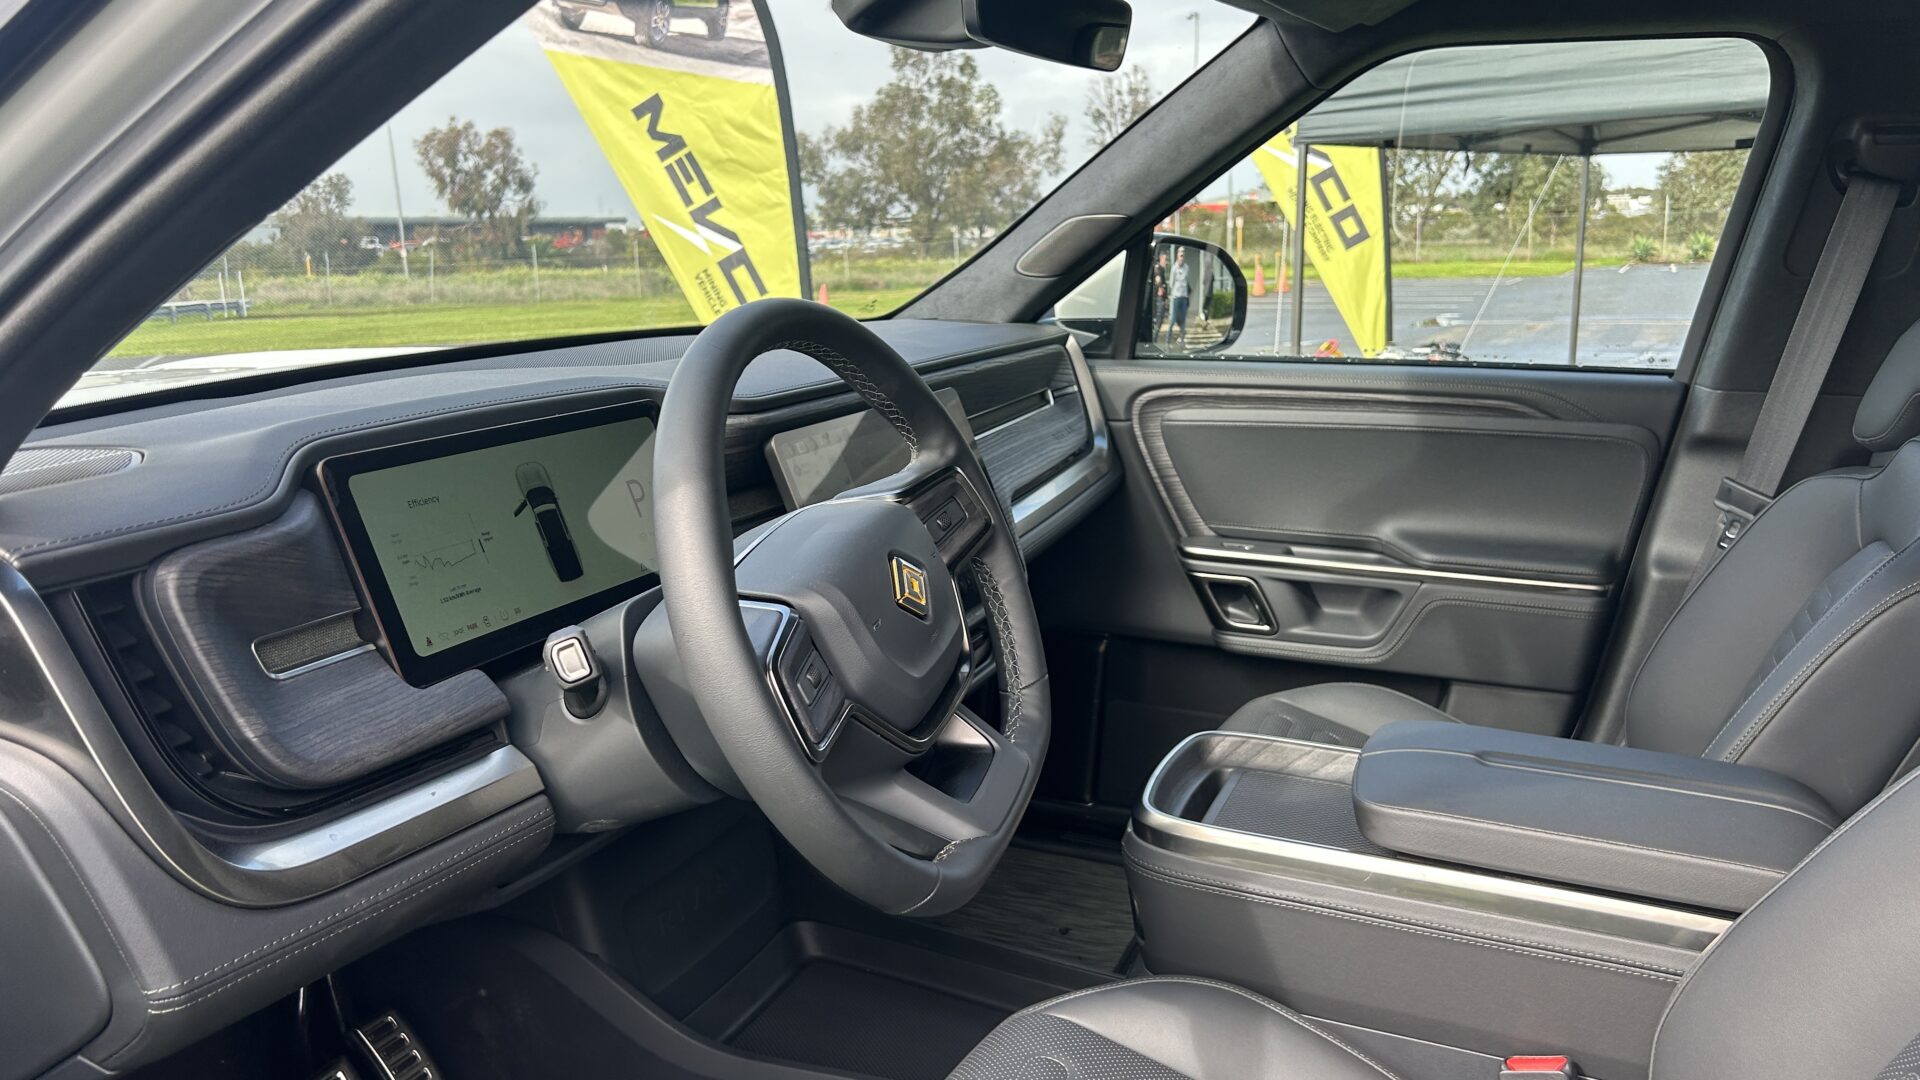
They’re stylish from all angles and the cabin is premium with a mix of fabric, leather and wood. It’s levels above a Tesla which feels more like a low level market sedan in comparison.
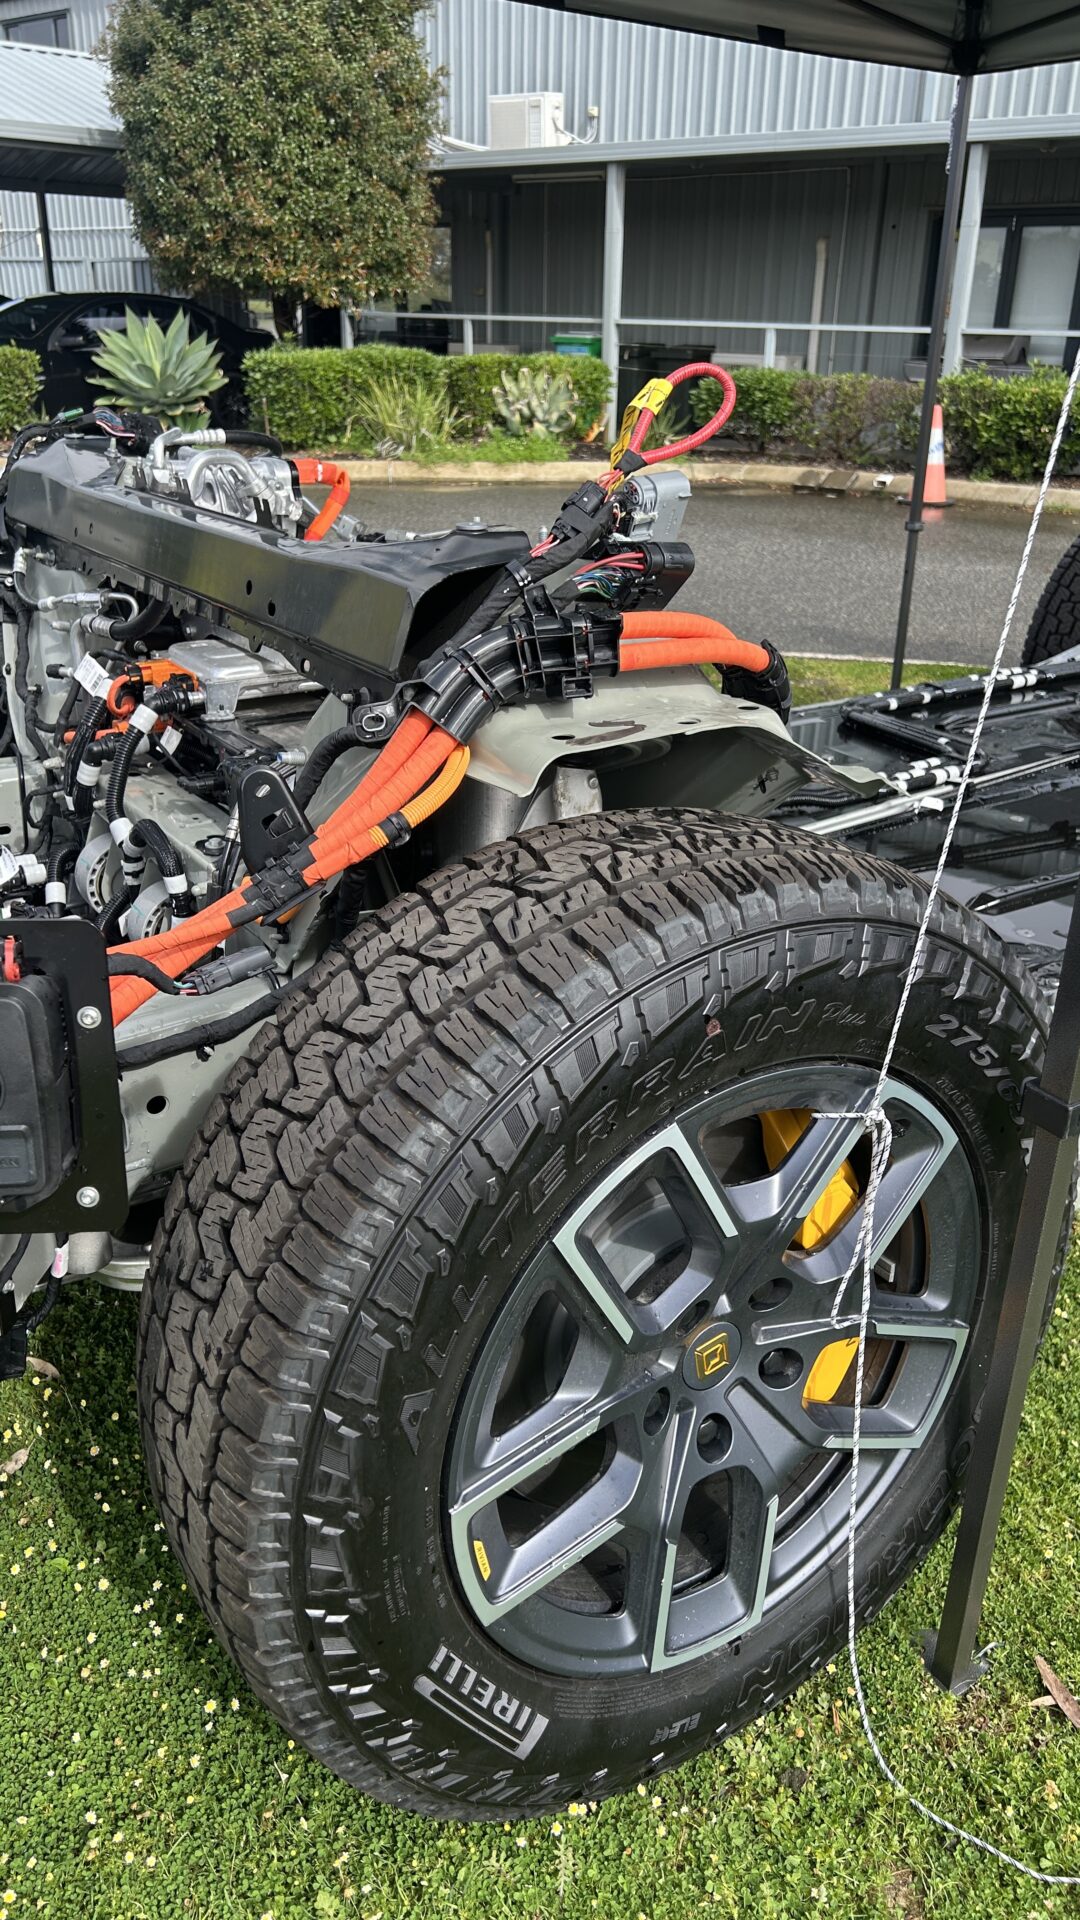
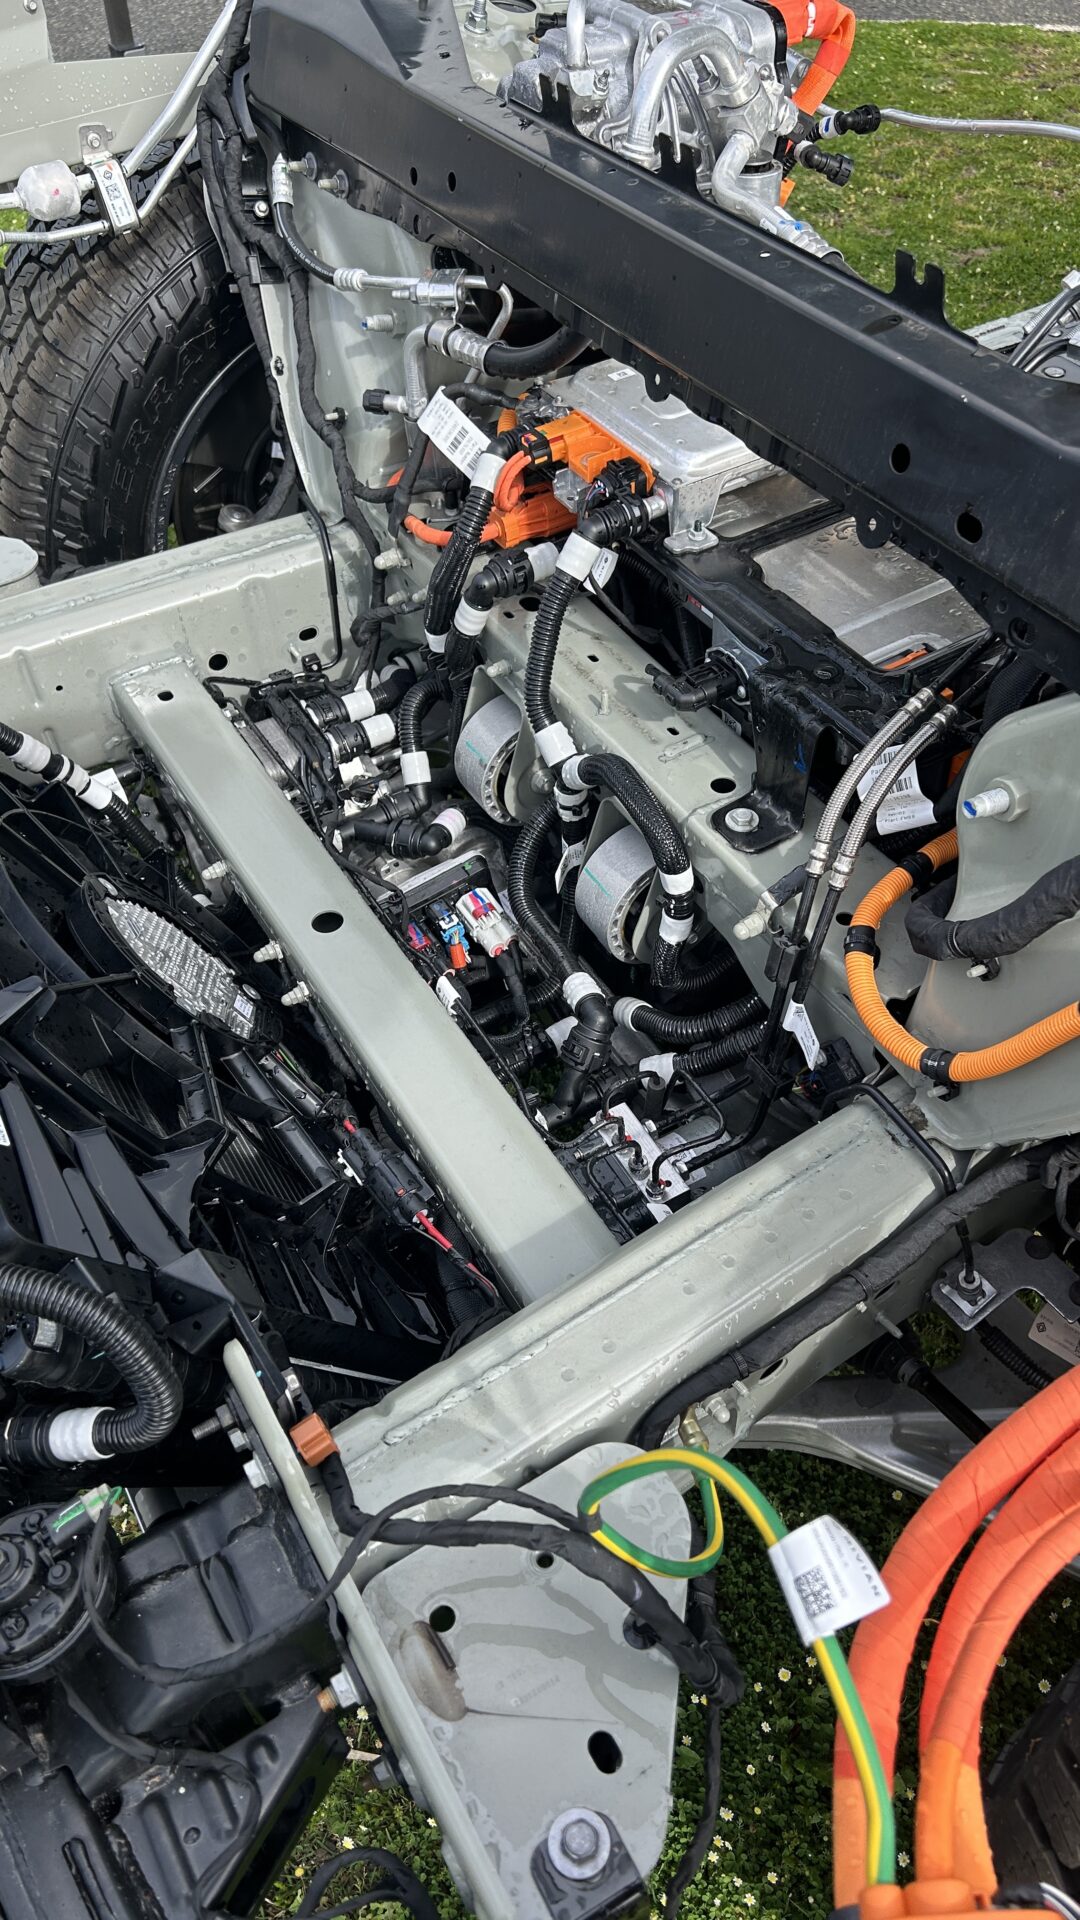
Later this year the quad-motor will be available in the US and will output power and torque up to 764kW and 1624Nm. They’re leaping ahead of the major manufacturers.
With a range of 600km and the ability to plug in 240v power tools, this is a portable power station for tradies. Once we solve the charging in the outback issue, it will be the end of the diesel cruisers.
They will need some adjustment for Aussie roads though, especially the corrugations. I drove the white vehicle around the basic track and it was a beast. The most impressive action was through the deep sand. Beach drivers in Australia will love these as they just have limitless power. I felt confident of being able to just rock and power out of pretty much any bog situation.
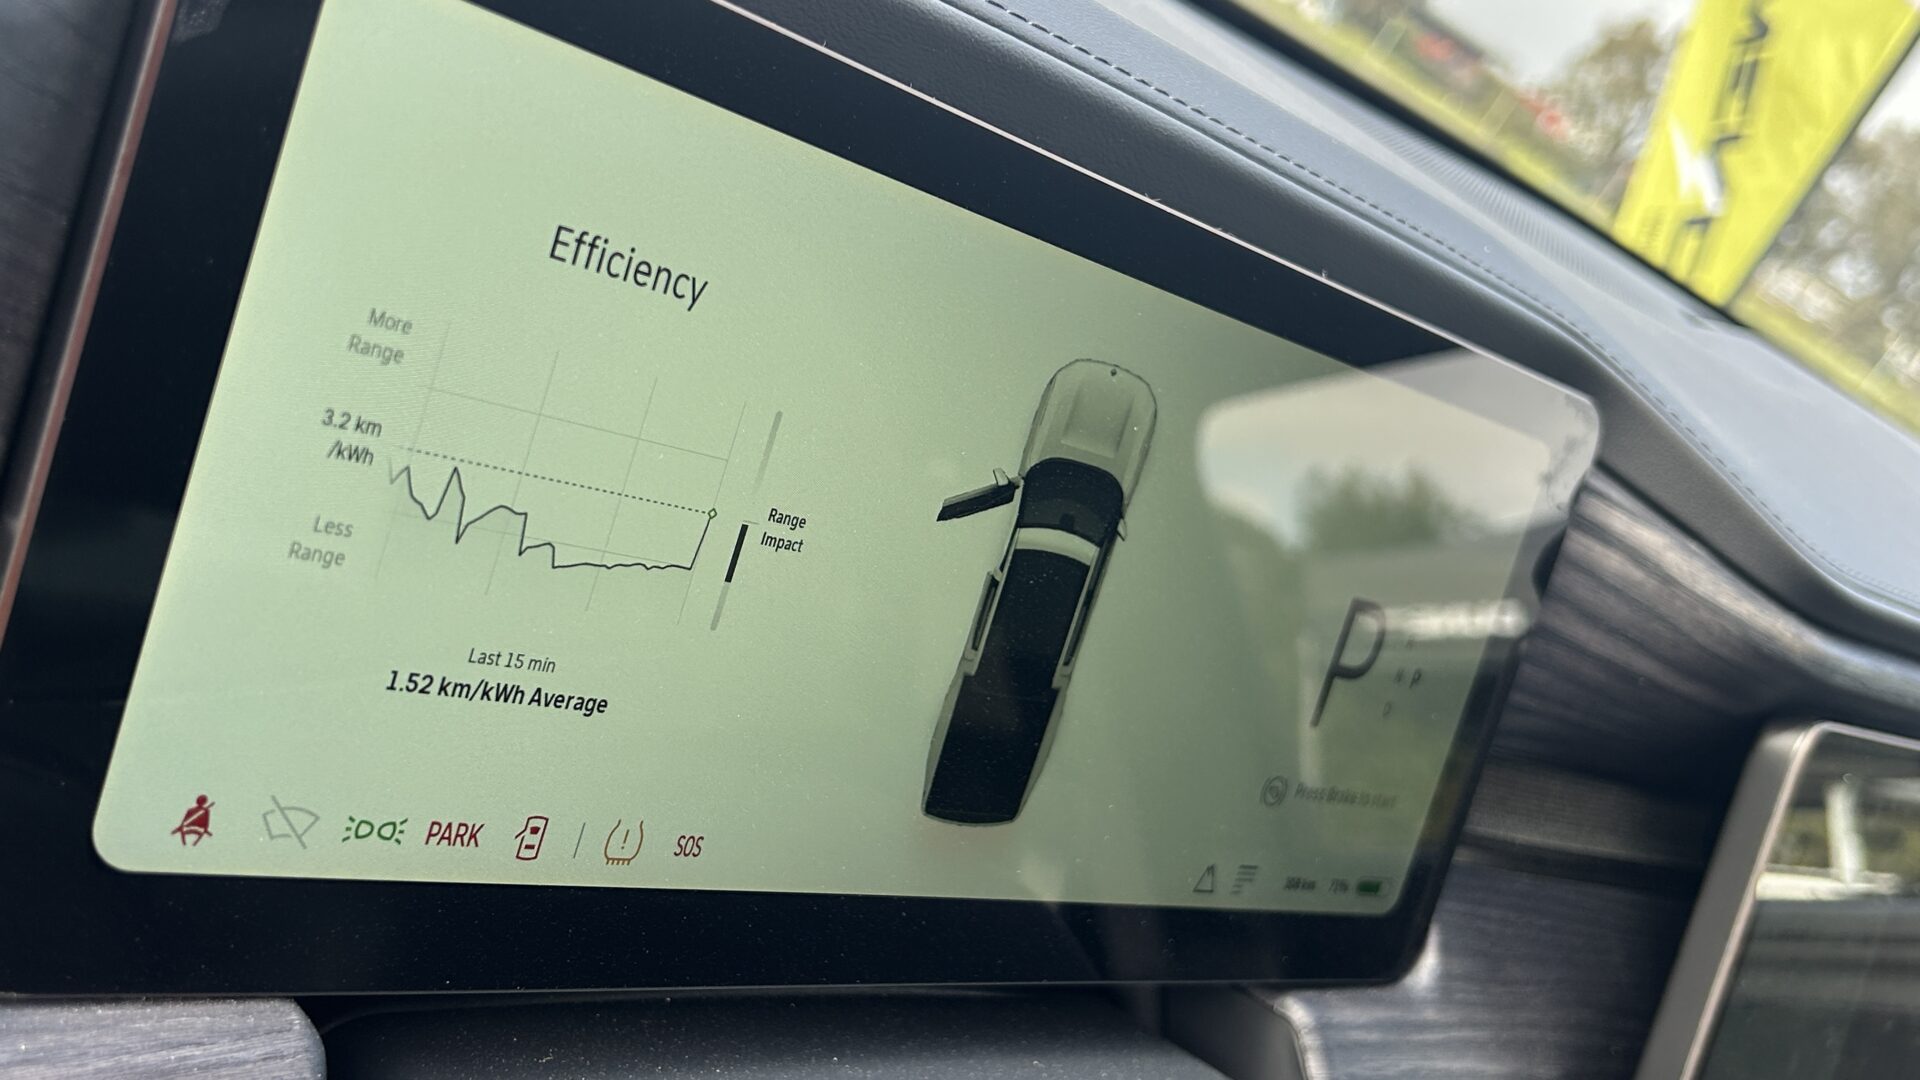
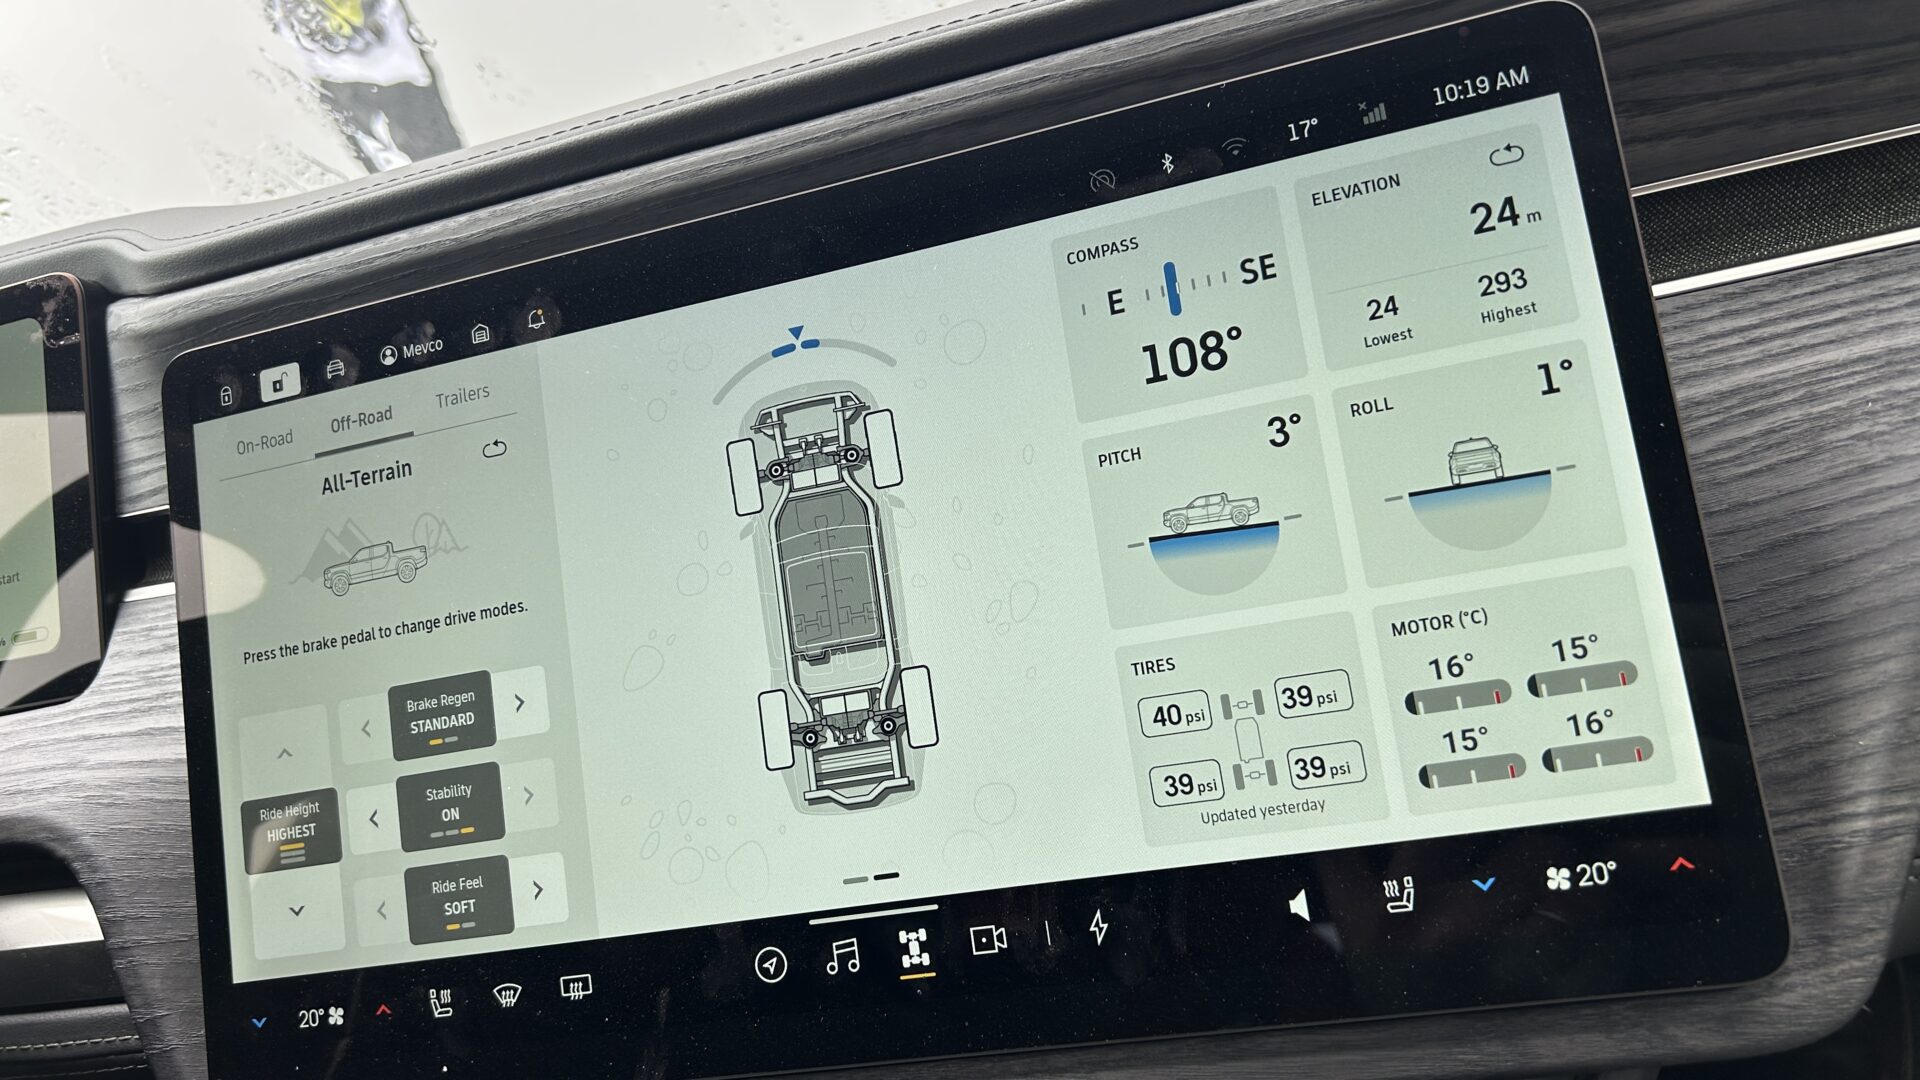
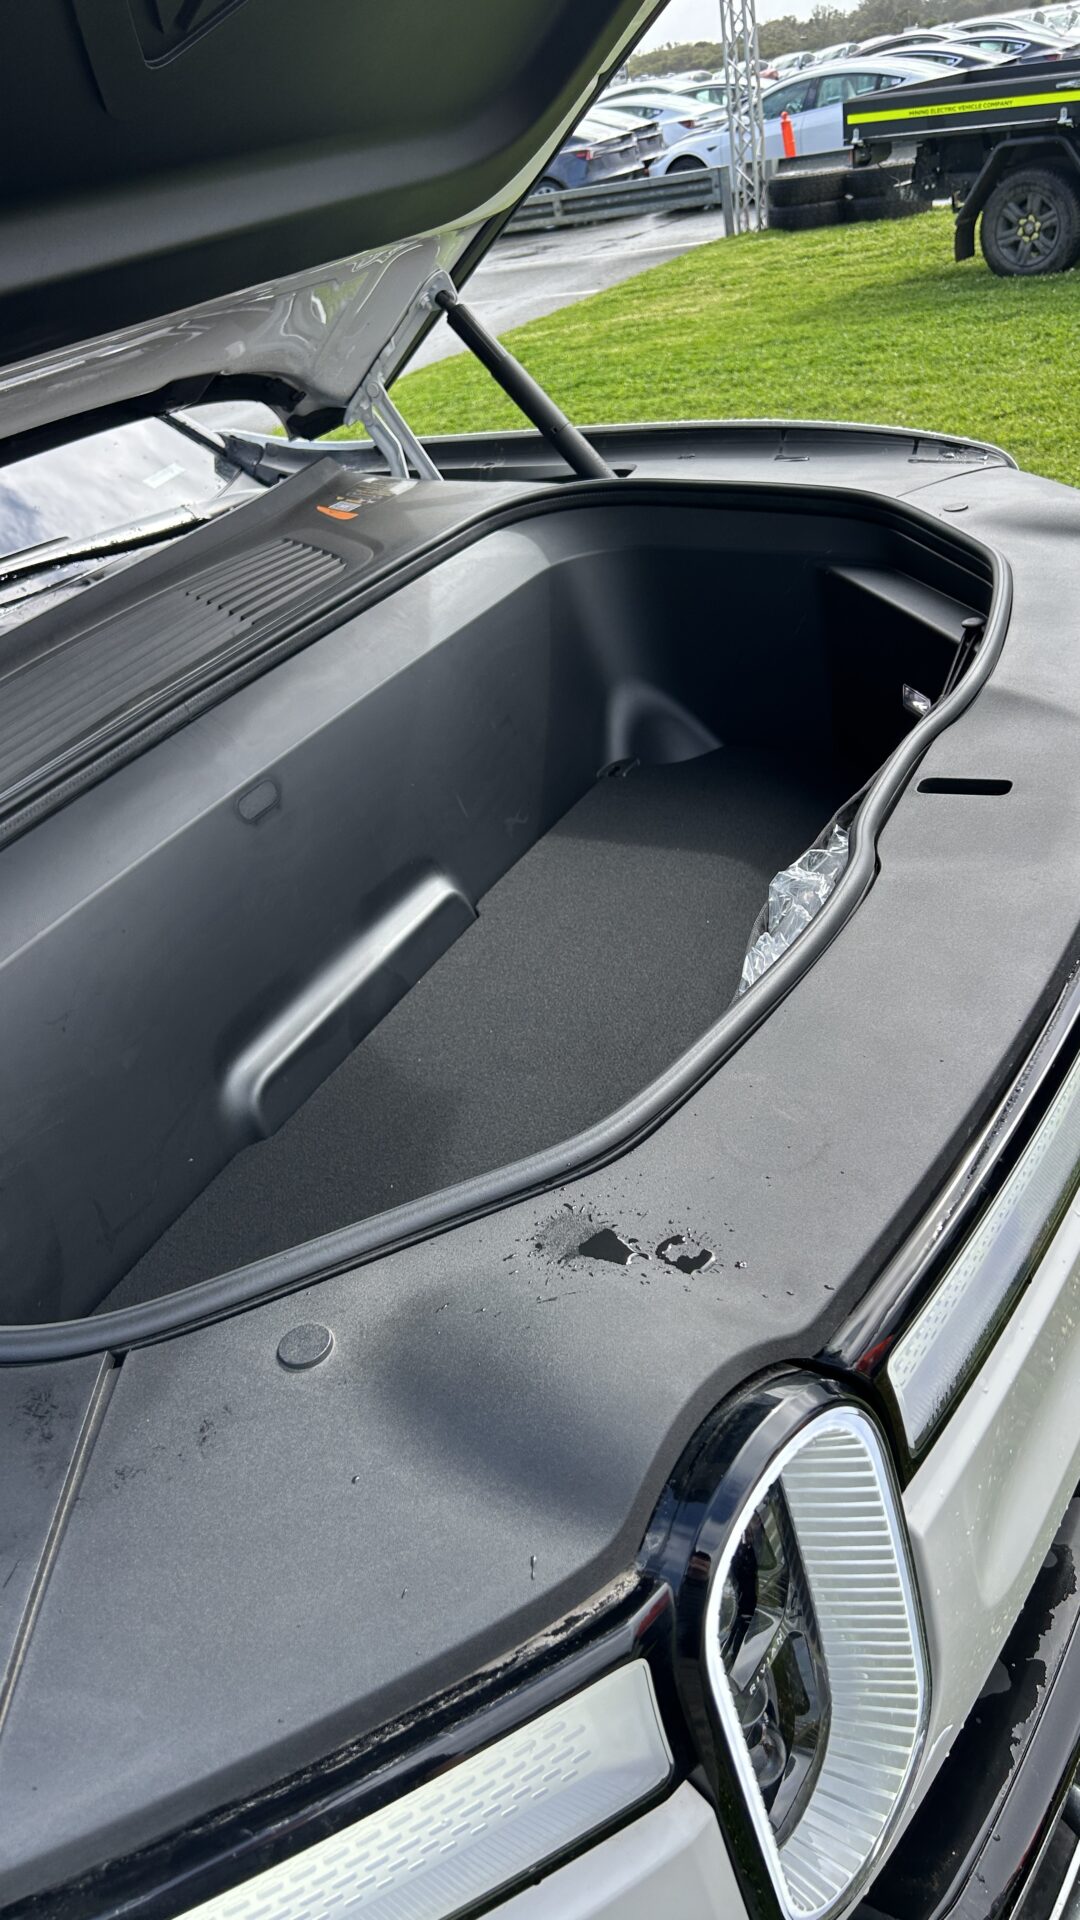
I loved the interior, UI of the screen and crazy amount of digital controls. The storage and ability to lift the suspension are also great.
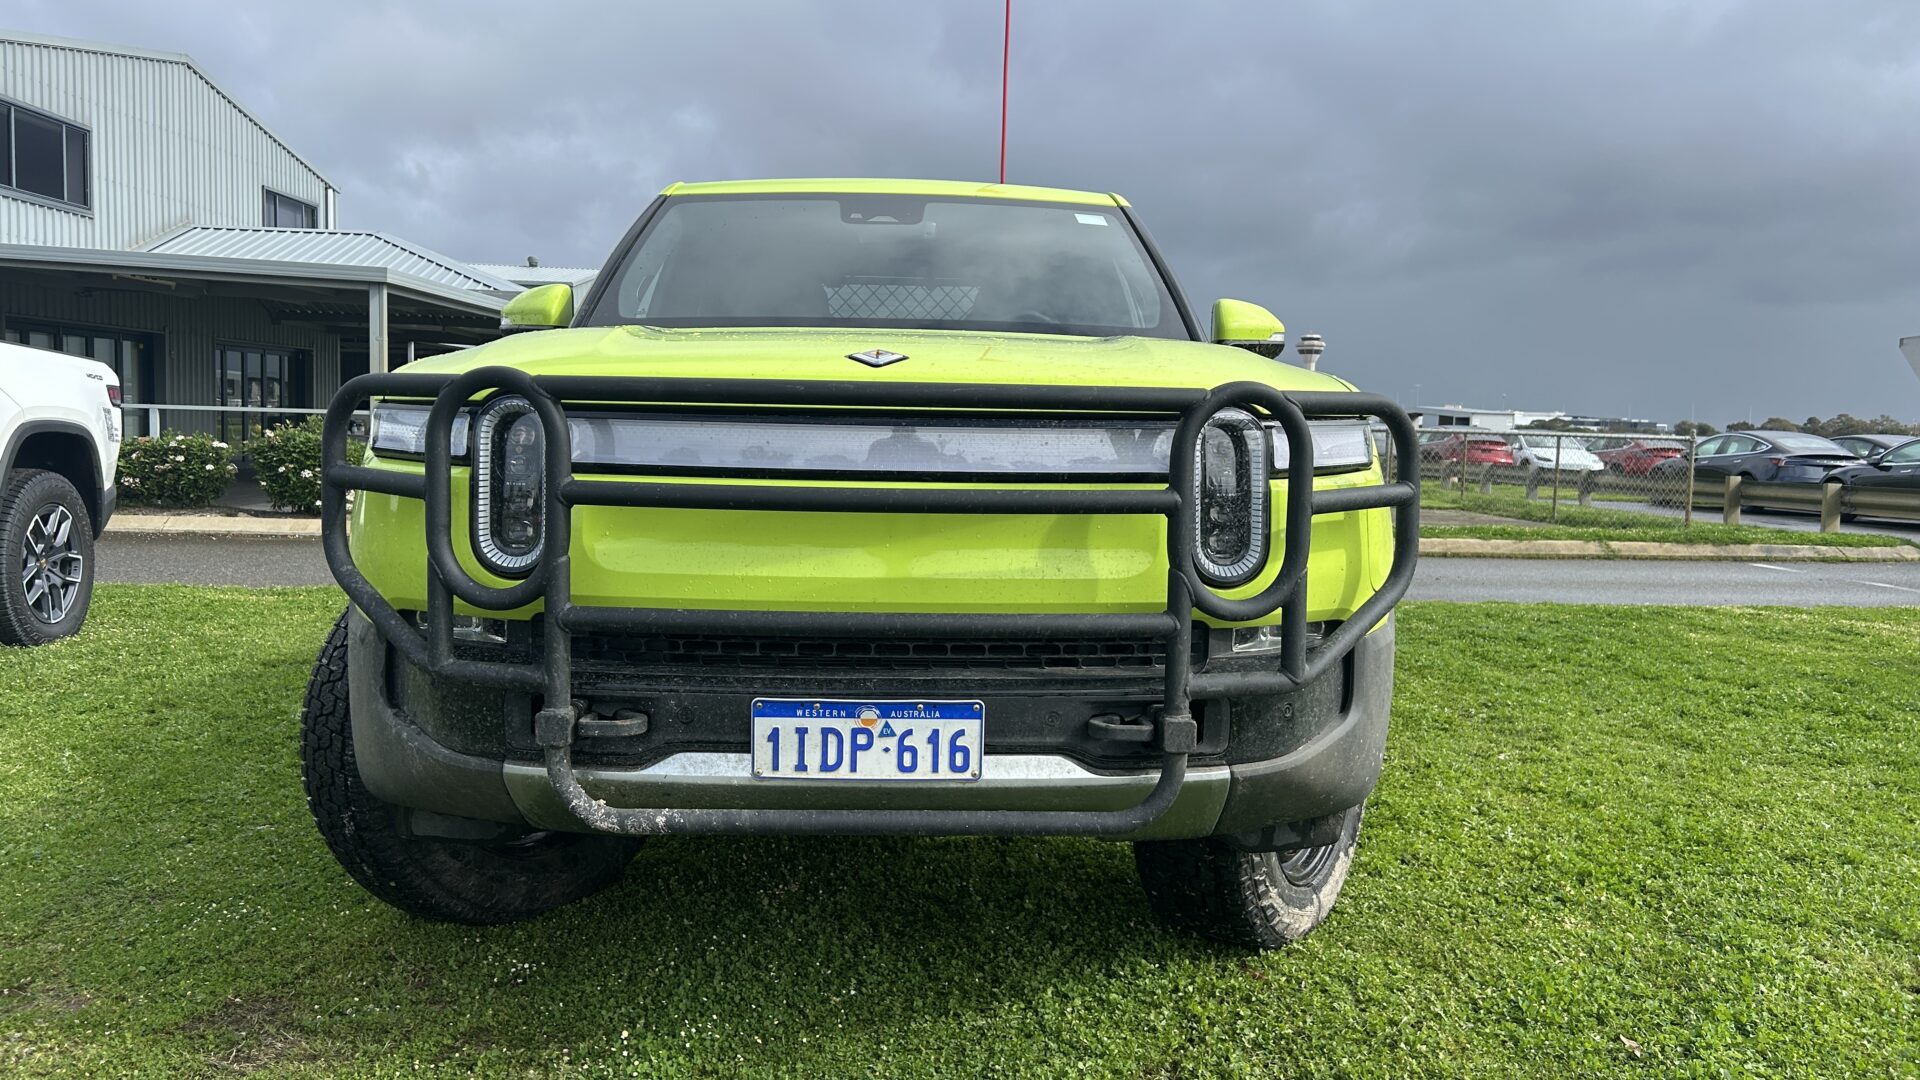
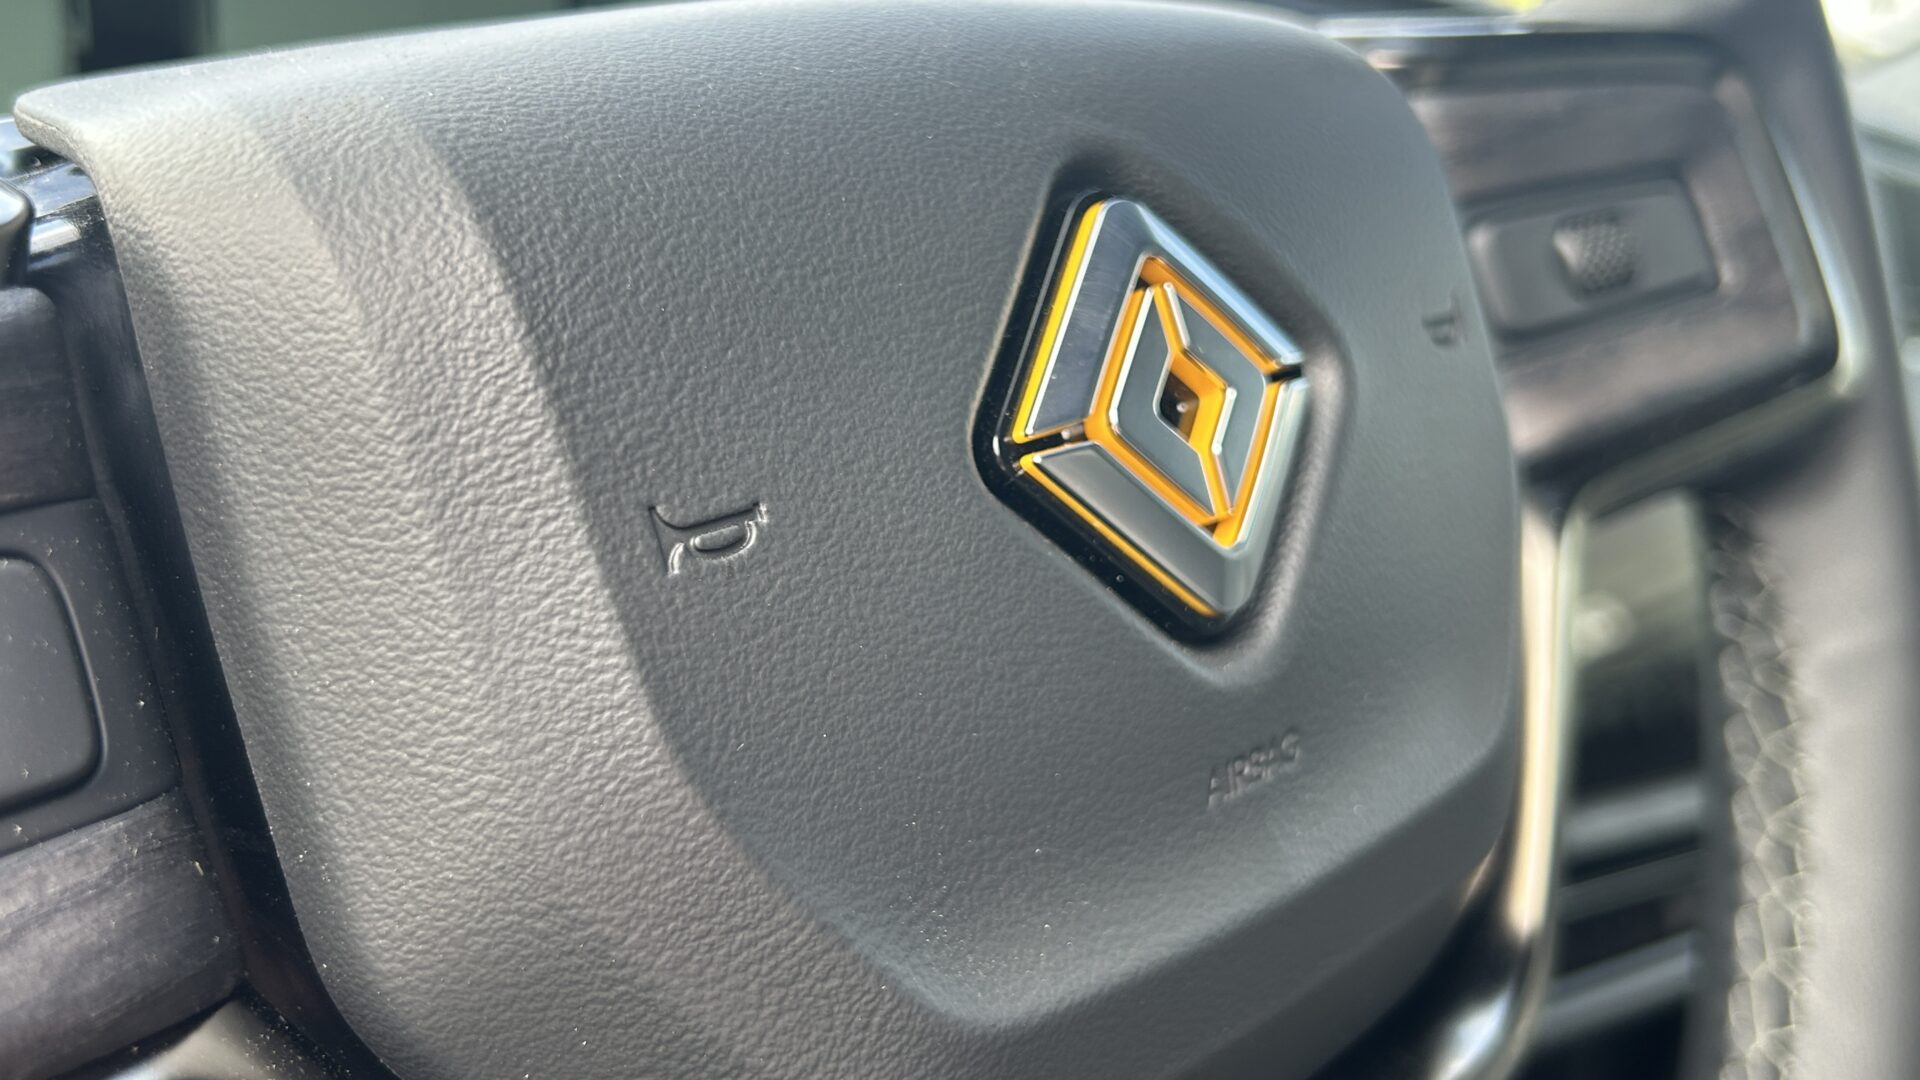
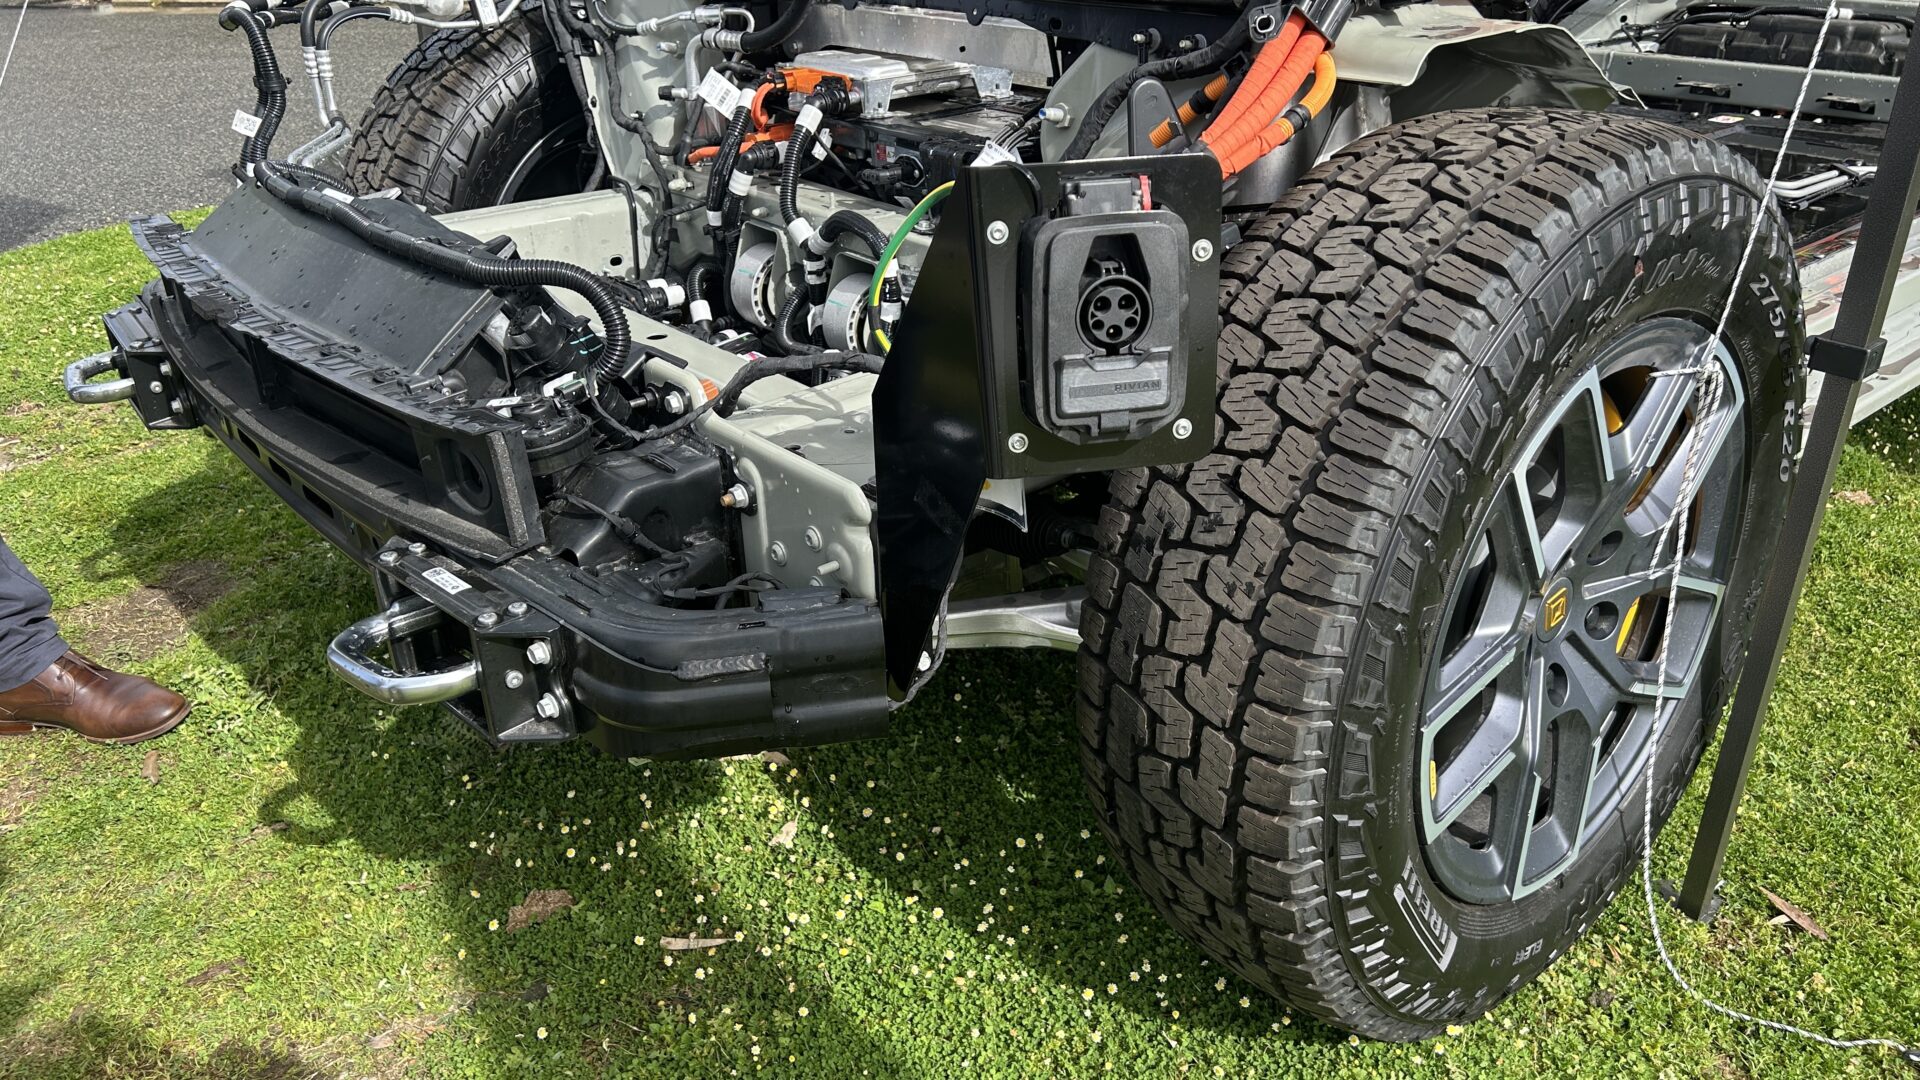
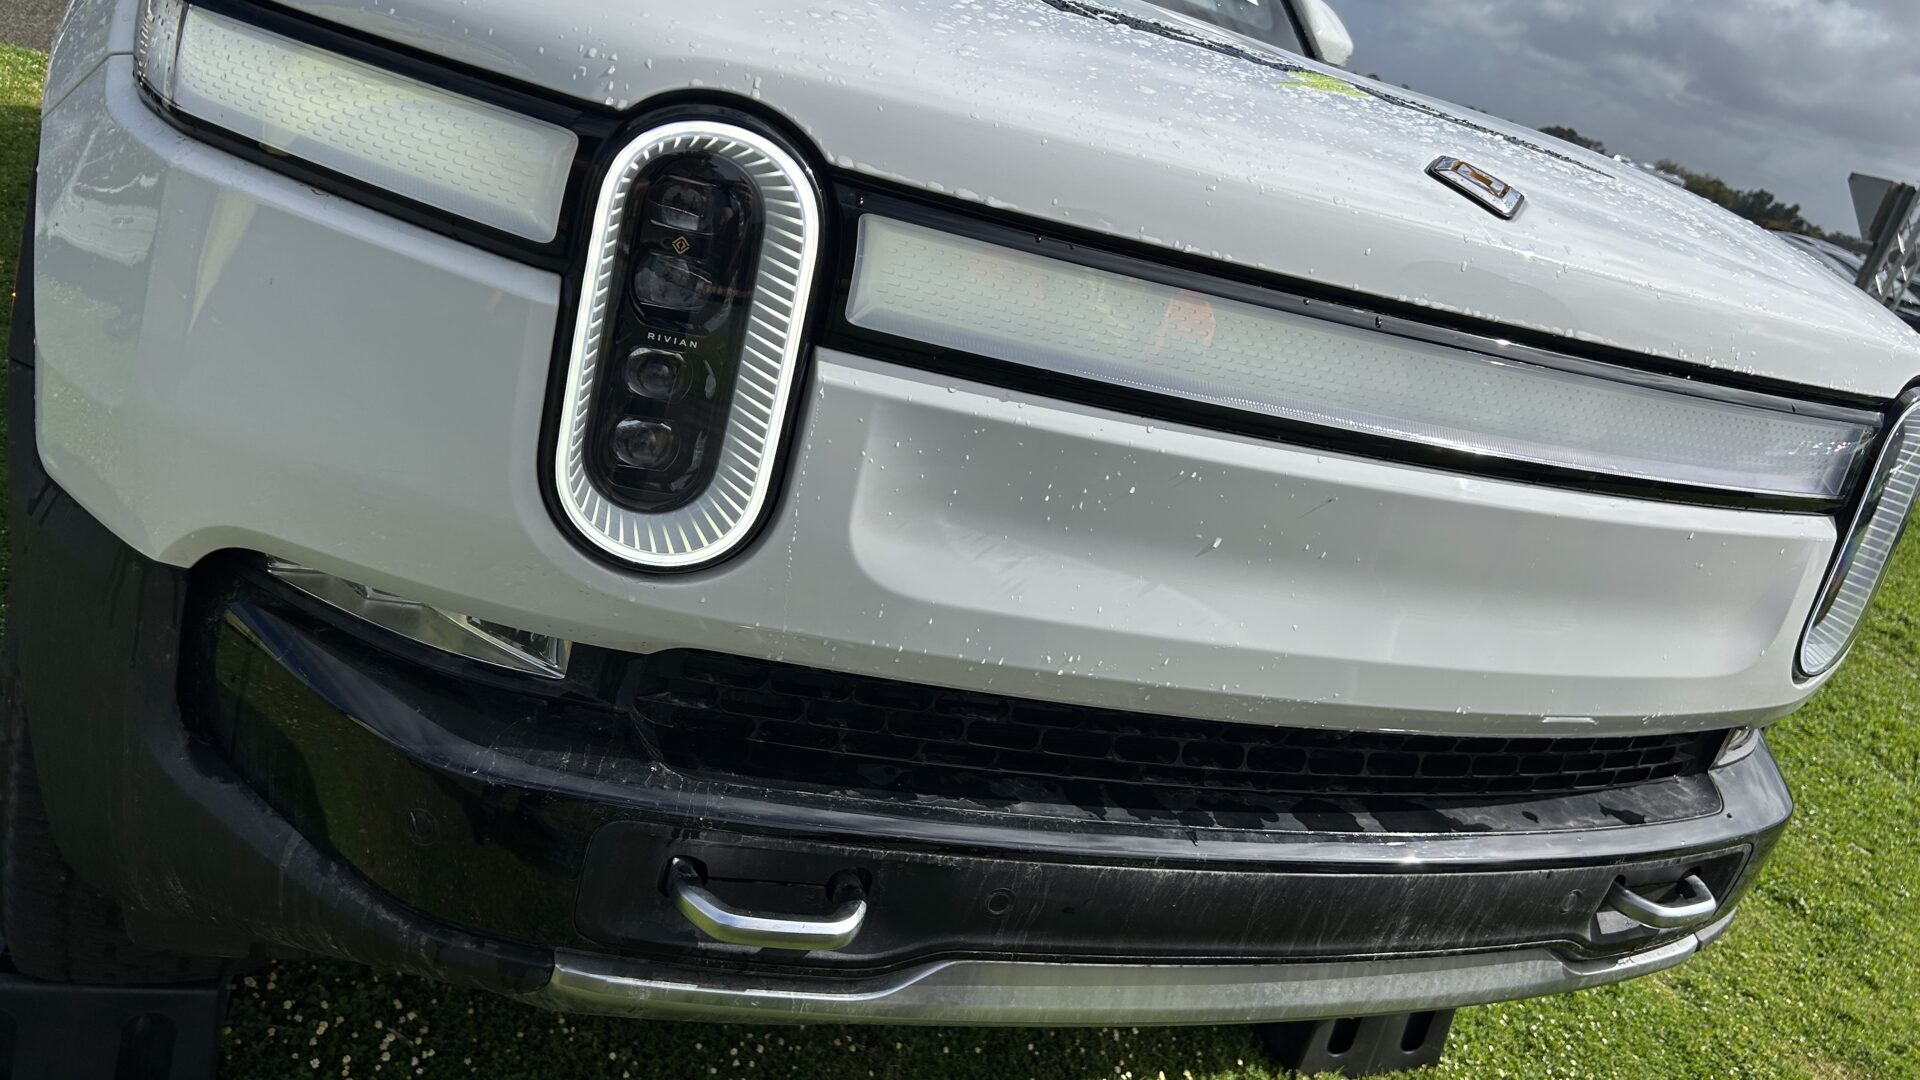
I’d still like to be able to swap out that front face plate though.
With some decent tires, lift and some front protection, this would be a serious beast off road.
At the time, Mevco were testing some in the Pilbara so the results in the heat, dust and salt will be interesting to learn about.
If they were available I’d buy one.
Have you driven one or are you an owner?