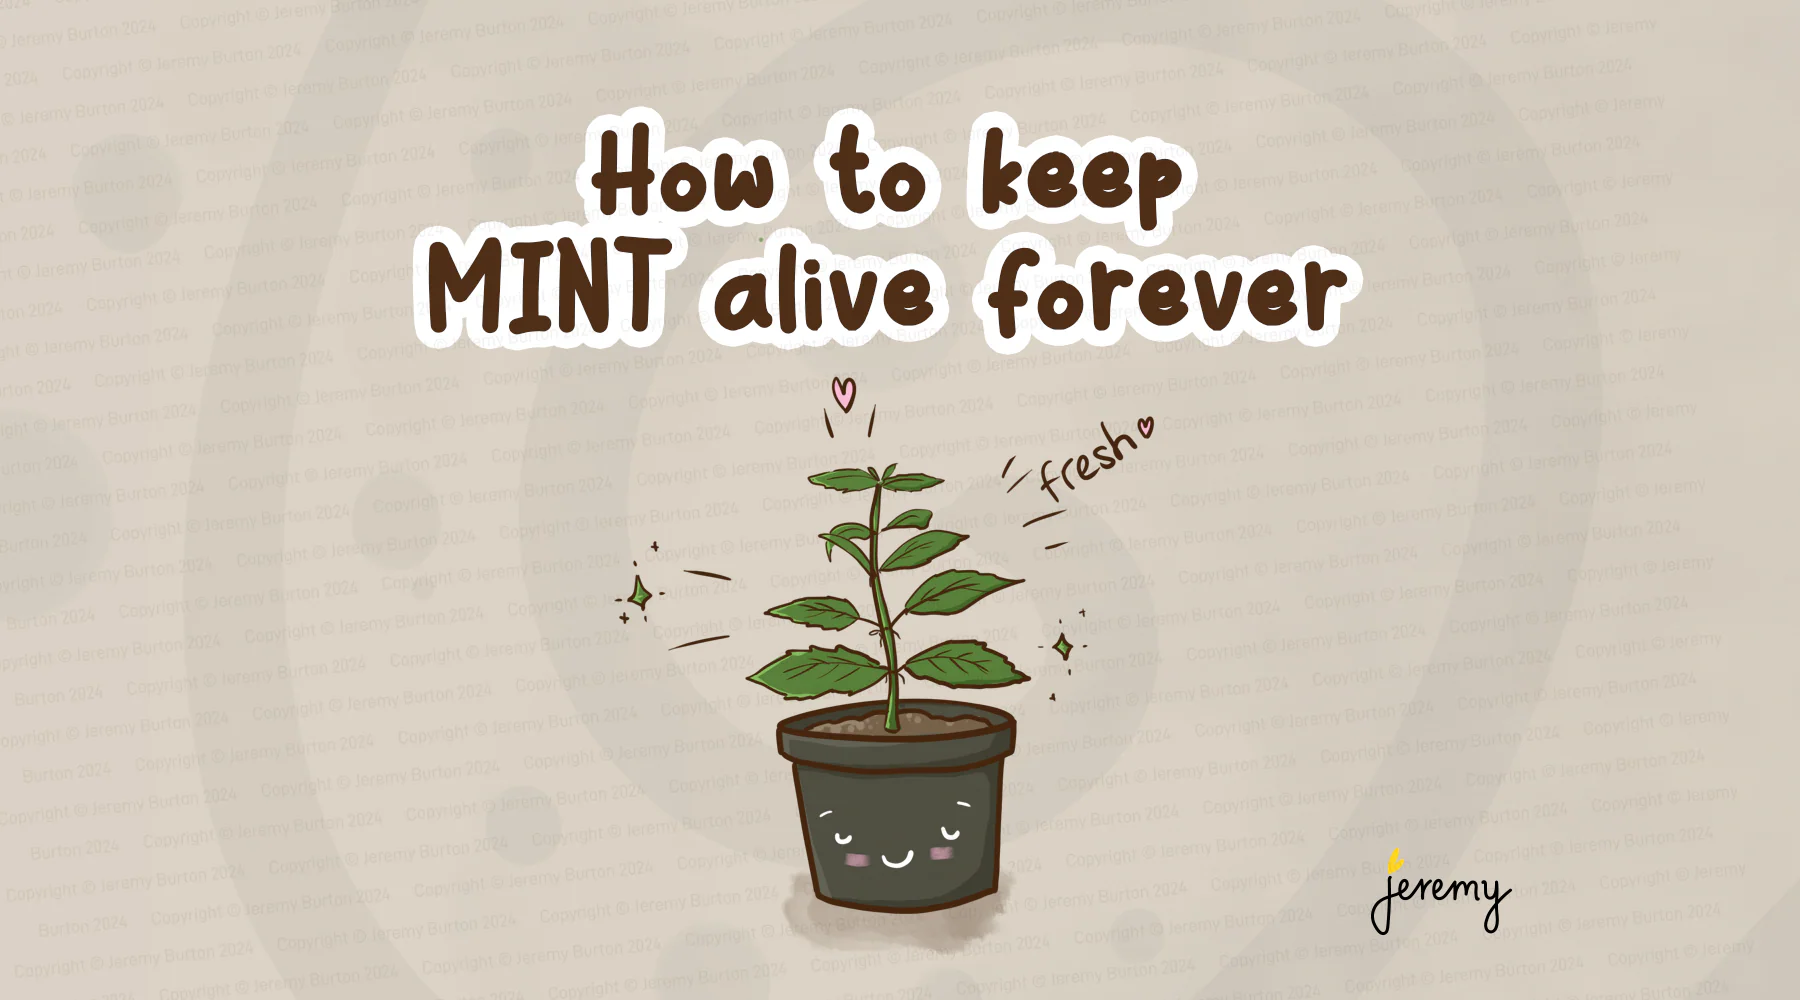
Here’s an easy way to keep mint alive so you always have some on hand, even through summer. Mint looooves water, and it’s best if it has access to it daily. It sends runners under the soil and is a hardy herb.
Who doesn’t love a bit of mint in a spritz or a salad. It’s just the best.
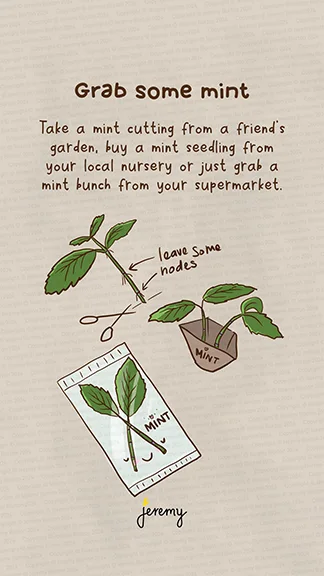
Grab some mint
Get your hands on some mint. It doesn’t have to be a full plant with roots, a small cutting will do to get started. A neighbour may have some in their garden, or visit your local nursery or supermarket.
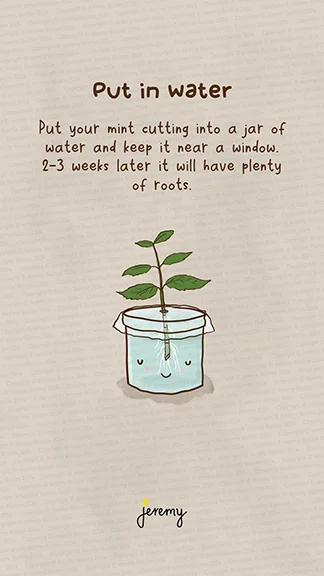
Put it in water
Put your cutting in a jar or glass of water and keep it near a window, not in direct sunlight. 2-3 weeks later it will have plenty of roots.
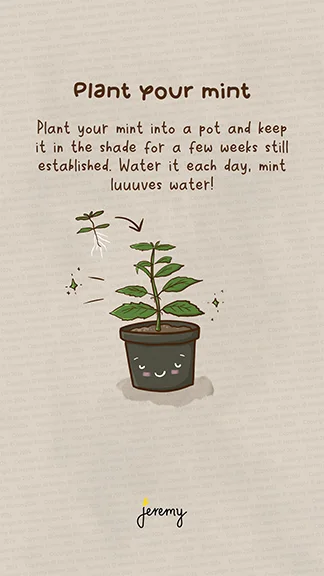
Plant your mint
Plant your mint into a soil in a pot once it’s got plenty of roots. Give it a light mulch and plenty of water. Keep it in the shade and the soil moist.
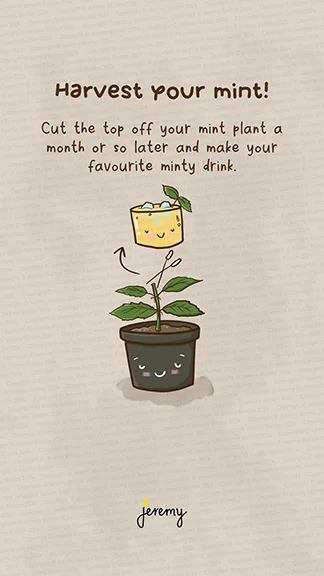
Harvest your mint
Cut off the top of your mint plant (2-3 nodes) a month or so later once it has some growth. Use it in your fave minty drink 🙂
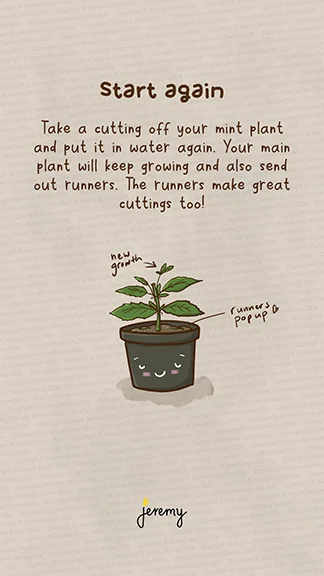
Start again!
Repeat the process. Take a cutting, put it in water, wait till it roots and plant again. Your main plant will get larger, send out runners and those can be cut off and replanted (or put in water) too.
Recycling the aluminium coffee pods is a good way to reduce landfill and get the right materials into the right place for reuse. Many of the coffee pods are made of aluminium and filled with coffee grounds. They’re easy to pop open and recycle, let’s get started.
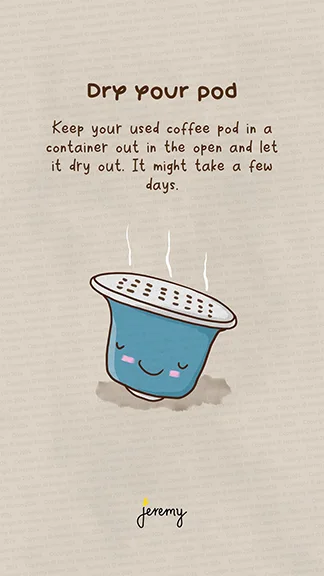
Dry your coffee pod
I do them in batches of 10 or so and store them up in a container for them to dry out. You can poke a hole in the top of them to hasten the process. Nothing much likes coffee grounds to there’s no issue of attracting ants or vermin.
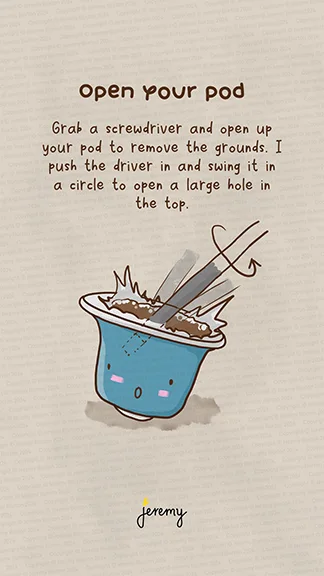
Open your pod
Grab a screwdriver or other sharp instrument and open up the top of the pod to remove the coffee grounds. I just poke the screwdriver into the middle and spin it in a circle, the pierced top sheet is very thin.
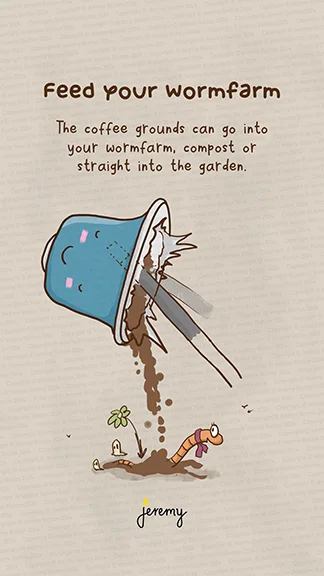
Feed your worm farm
The coffee grounds can go straight into the garden (yes plants love them), into the worm farm or compost. Too easy.
Recycle the metal coffee pod
Flatten your pod, I use a hammer or brick! Then put it into your metals recycle bin for repurposing. Job done!
Leave a comment if this in on recycling your coffee pods has been helpful.
You can make your own cold brew coffee by grinding your own coffee grounds, mixing wth water and letting it steep for a while. It’s not too hard, let’s get started.
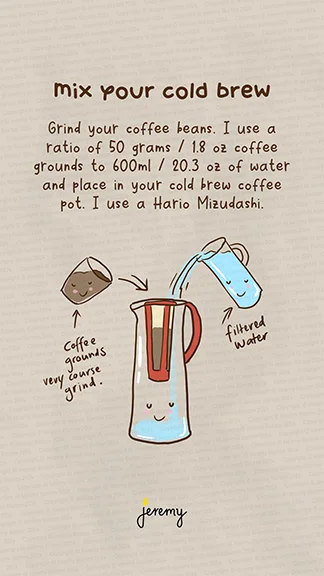
Grind your beans and mix your cold brew
You’re going to need your old coffee grounds or coffee beans, a grinder, water and something to steep your brew in. You can use anything. Something glass is ideal or use a coffee pot with a filter, like a Hario Mizudashi.
Grind your beans (or use the old grounds from your coffee efforts!) in whatever way suits you and add the grounds and water into your steeping pot. It’s easier to put the grounds in first and then the water. I use a ratio of 50 grams / 1.8 oz of coffee grounds to 600ml / 20 oz of water.
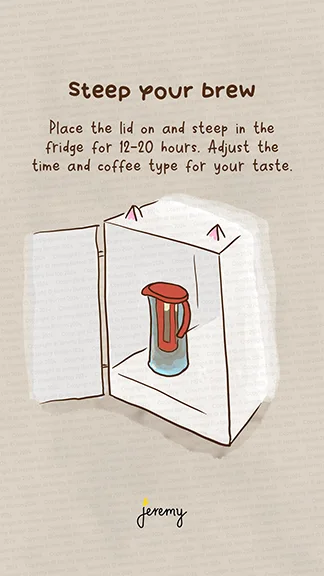
Steep your brew
Place the lid on your pot and steep it in the fridge for half or a full day. Test out the strength that suits you by taking it out at 12 hrs and tasting it. The longer the stronger, until at a certain point and then it becomes bitter.
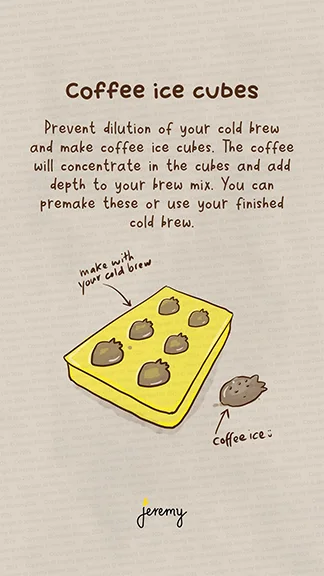
Make coffee concentrate ice cubes
I’ve experimented with all sorts to improve the concentration and coffee ice cubes work well. Premake some espresso shots and pour them into a silicone ice cube mould that pops out easily. Freeze! This way your cold brew doesn’t get diluted, it get’s more concentrated.
Enjoy your cold brew
I pour two thirds of a cup of cold brew and then use concentrated cream (learnt that trick in Japan) or milk if it suits you better to top it up. Throw in your concentrated coffee ice cubes too and enjoy with someone special.
Leave a comment if this helped your cold brew making.
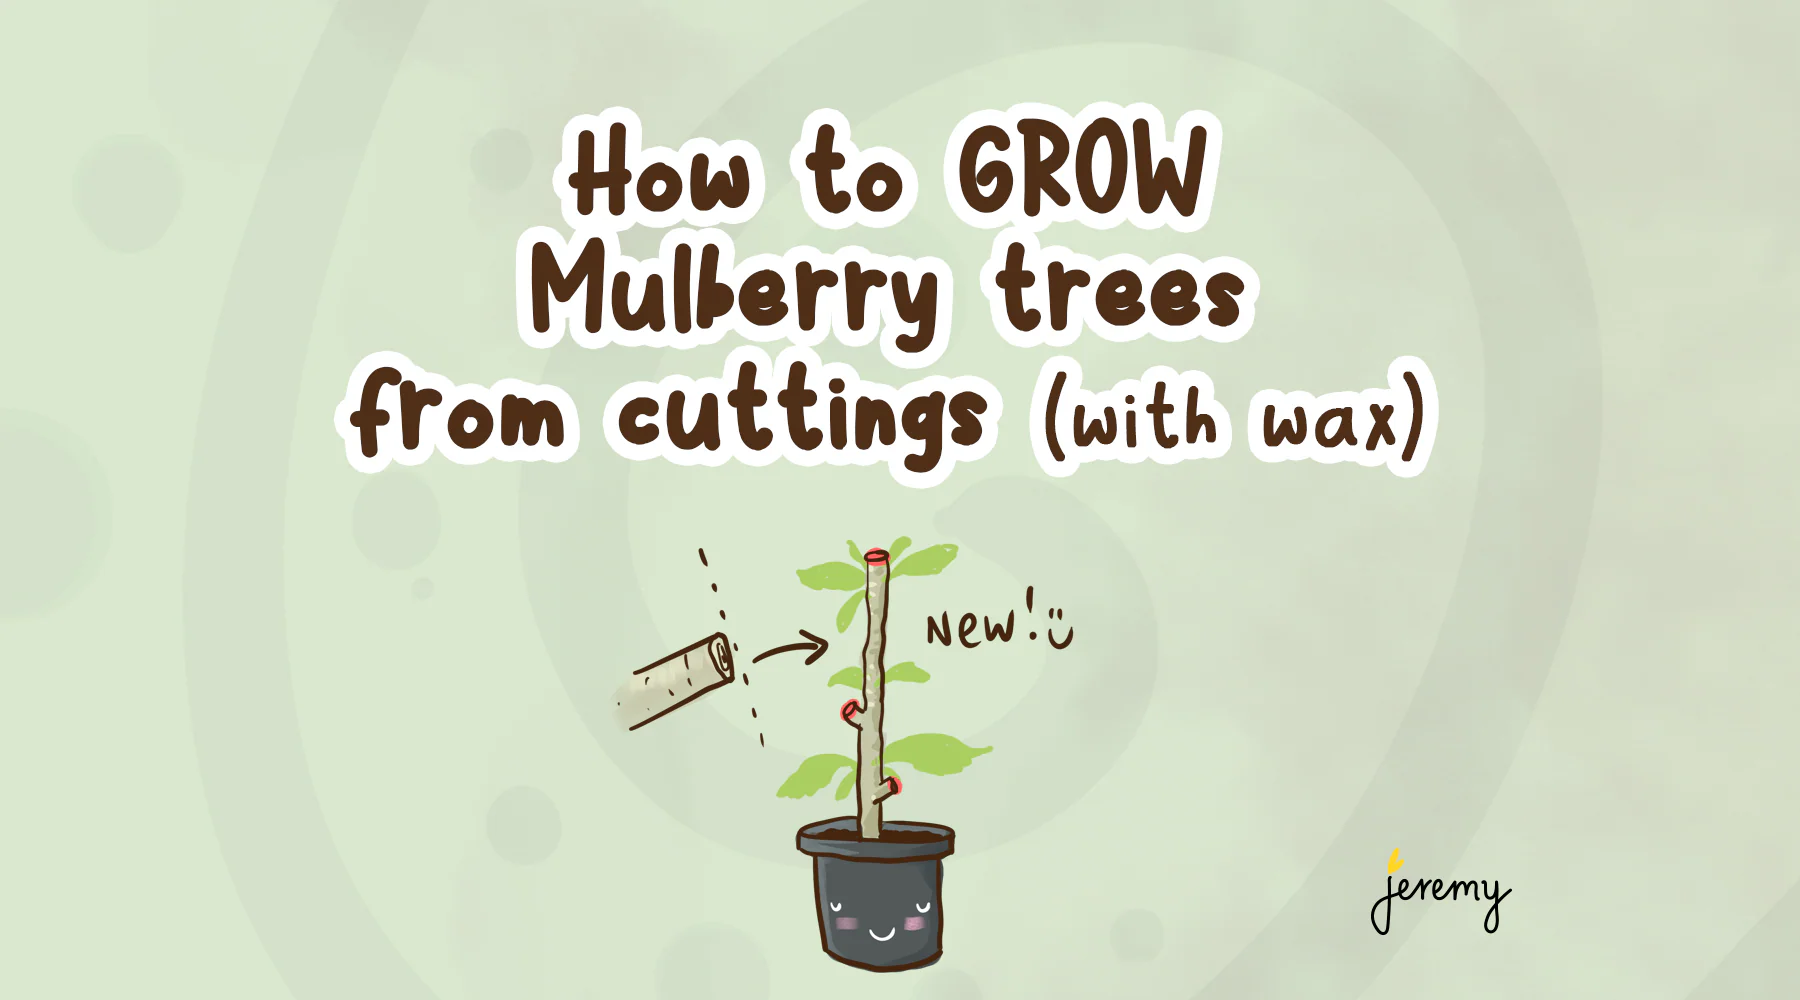
Mulberries are awesome trees because they have so many uses and are real easy to propagate. The cuttings will root if you leave them lying on the ground and they have enough water.
Here’s a few tips on how to grow your own mulberry trees from a cutting using wax.
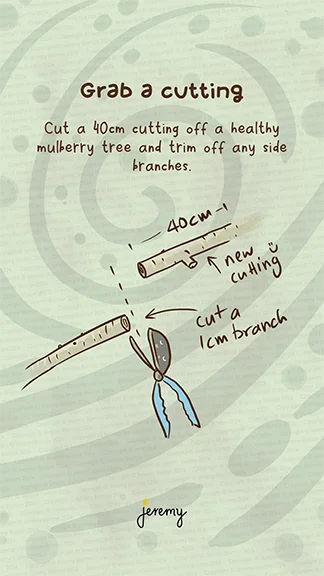
Grab a mulberry cutting
Get yourself a cutting off a healthy tree. You might able to find a tree in a public space in your neighbourhood, a neighbour may have one or you could order online.
A cutting that’s thicker than a pencil, 30-40 cm or 16 inches or longer is good. The thicker and longer, the better chance of survival. Anything thinner than a pencil may not survive and may need lots of attention.
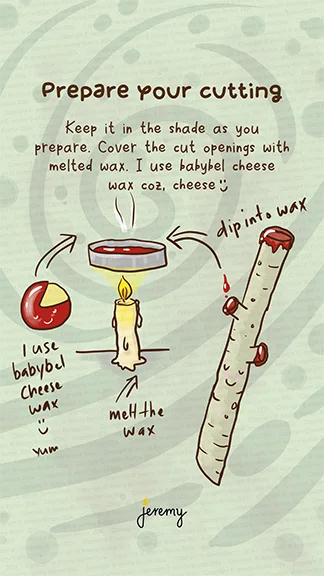
Prepare your cutting
Keep your cutting(s) in the shade. Close off the open parts where you cut (not the base) with some wax. I use baybybel cheese wax because we eat the cheese! Put the wax in a jar lid and melt it with a candle or other method. You can just use candle wax too.
This closes off the open wounds on the cutting so that water doesn’t evaporate the and cutting dries out.
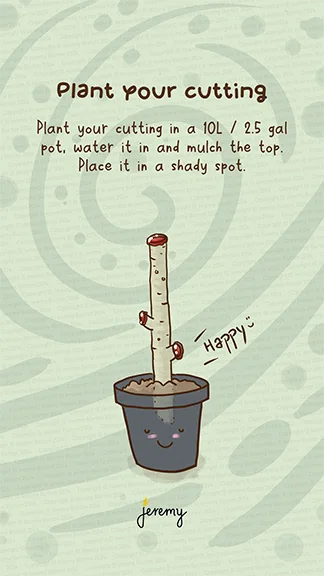
Plant your cutting
Plant your mulberry cutting in a 10L or 2.5 gal pot. Water it in and mulch it. Any neutral soil that’s a little sandy and has lots of organic matter will suit.
Place your potted cutting in a shady spot to settle and root.
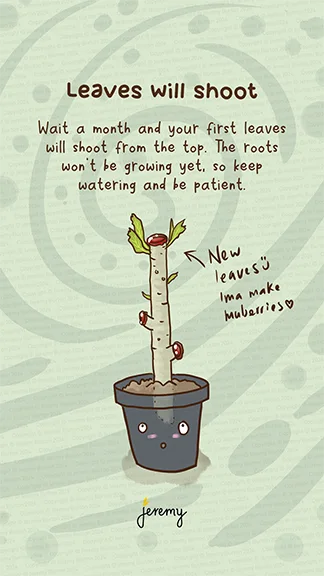
Leaves will shoot
Wait for a month or so and your first leaves will start to shoot from the cuttings. The cuttings won’t be rooting yet, so keep watering and be patient. I water every couple of days or daily in summer. Keep your pot in the shade.
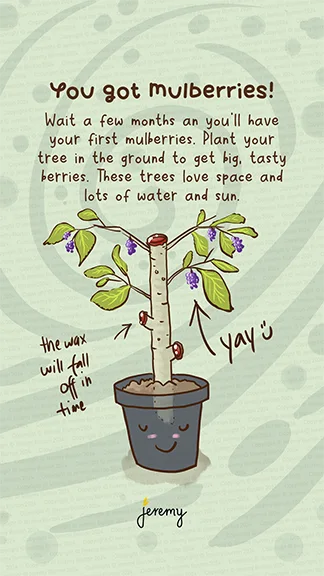
You got mulberries!
A few months later your cuttings will be small trees, rooted and producing small berries. The first berries will be small and not really the yummo. Plant your tree in the ground in a place where it has access to water and sun and it will thrive.
These trees (unless it’s a drwarf version) will grow up to 5m / 16 ft so give them some space. You can trim them aggressively and make more cuttings.
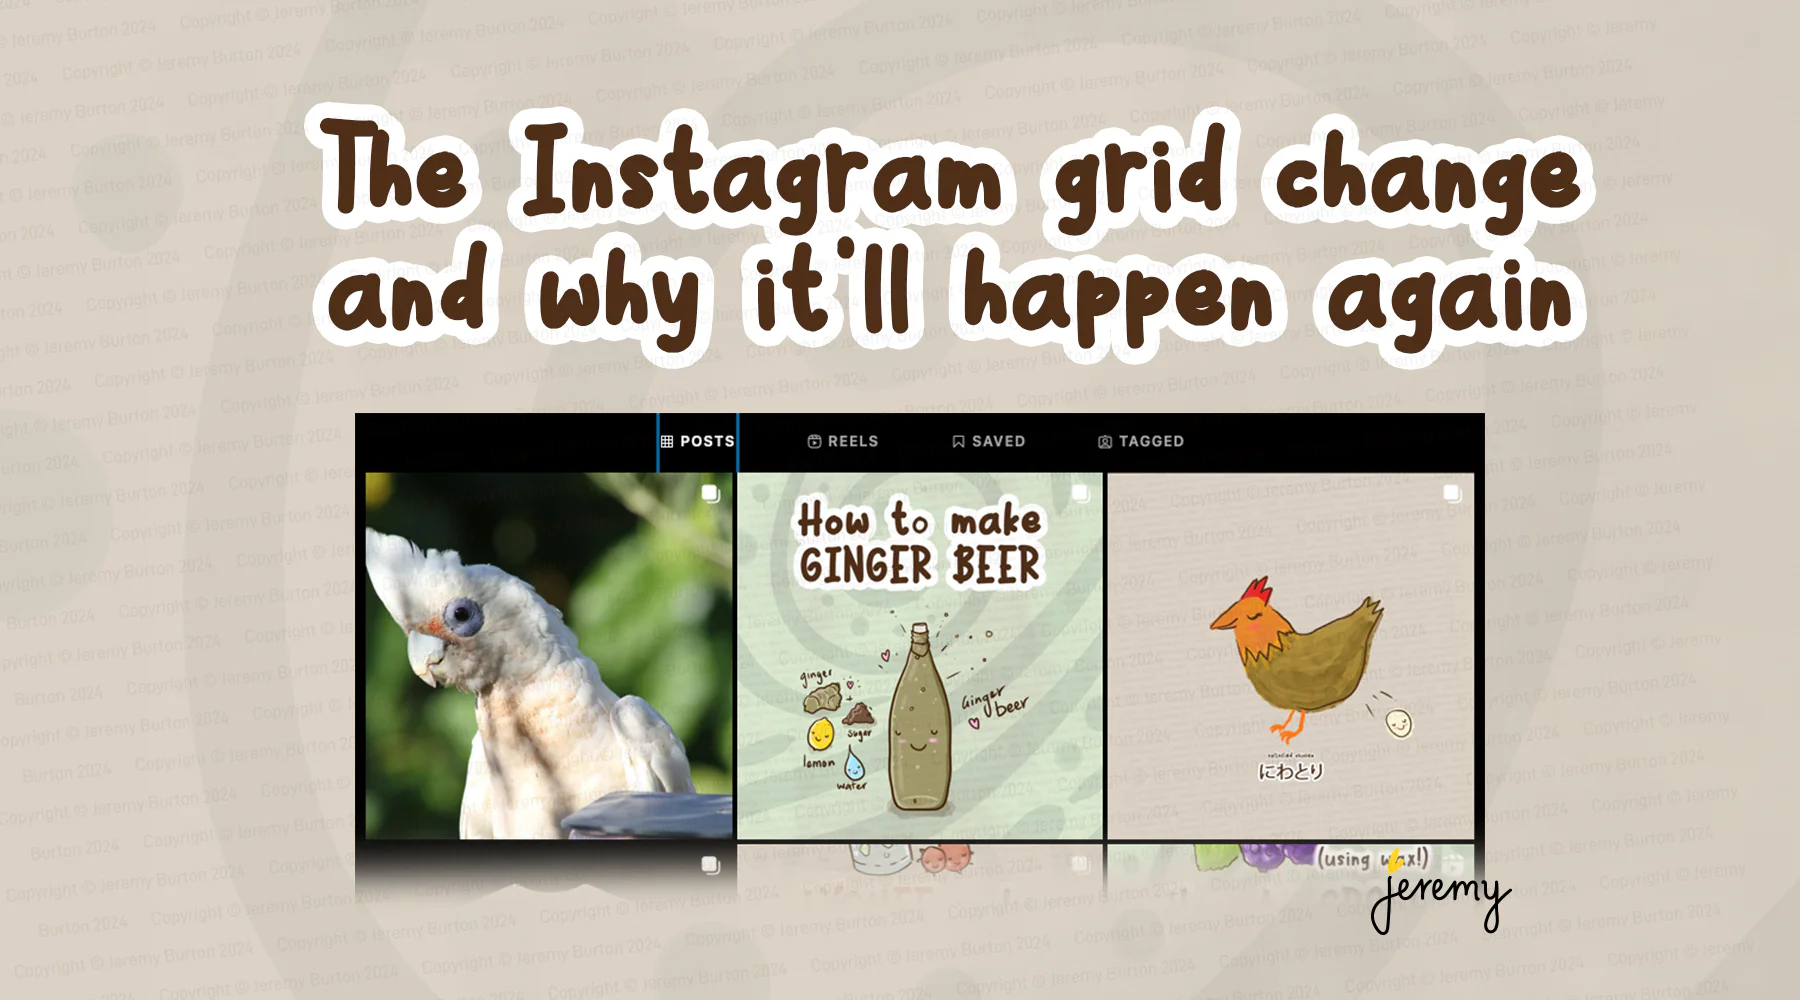
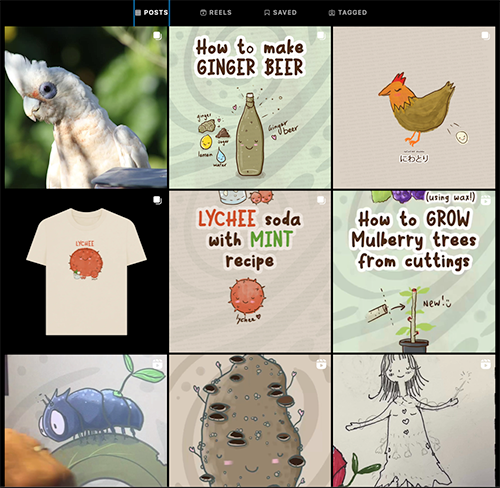
Instagram changed the layout of the post grid from square to a 3:4 aspect ratio format on mobile. It remains the same for now in the web browser. Note that the reels tab was already this new ratio.
The impact is that anyone who designed their content to fit Insta’s square format, now has a messy looking profile / grid. It’s clear that the platforms will continually make changes to fit whatever drives engagement and creatives are at the tail end of those changes.
Insta’s square grid has always been an outlier, a legacy layout from the early Insta days and never really worked well on mobile devices that have the 16:9 aspect ratio. 16:9 is an international standard and mobile cameras shoot in that ratio by default.
Here’s what the grid looks like in the browser.
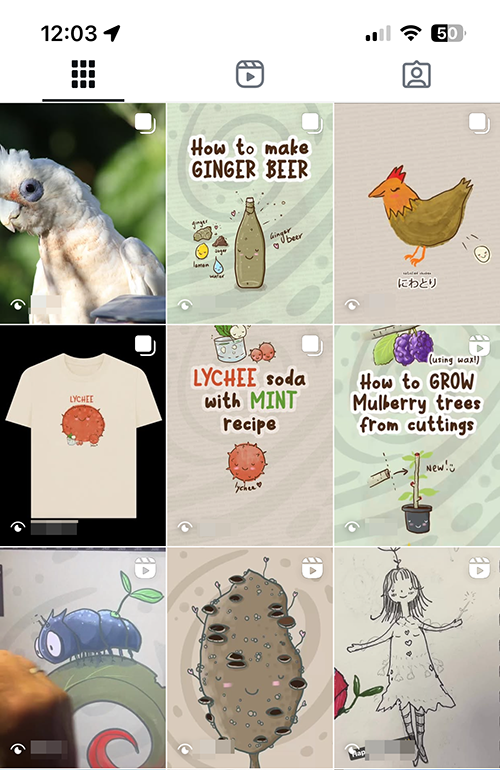
And on mobile.
The learning & the fediverse
The learning here is to create work in a format / ratio that suits your end game and also caters a little for the future, not for the platform.
I create a lot of my images at 5-6000 pixels across. It’s enough for most purposes and allows the work to be scaled down or cropped easily. If you’re a Redbubble user, you’ll be familiar with their one upload of the 6000 pixel upload that then generates all of the images for their various product merchandise.
The fediverse is Meta‘s answer to making all public online content and conversations available across all of its platforms that you give it permission to access. It’s important because what it means is that your online work / content is now (if you’ve turned it on) platform agnostic, Instagram users can see your threads content etc.
It’s not hard to imagine that the current platforms (Insta, Threads, Facebook etc) will all merge and become the Meta platform. So putting all of your effort into a single platform, is a risky long-term approach.
Federated content
The little fediverse icon next to your name (the two circles, on Threads) is there indicating progress on federating your post to the network. It’s posting it to the server infrastructure and running all sorts of algorithms for it to find the right audience across all of Meta’s platforms (Insta, Threads etc).
Own your house
From a marketer’s perspective, the best choice is always to own your house. Make your website and post the content there and share it out to the platforms. if you have the time and resources, there are benefits and necessary cases to posting direct on platforms such as TikTok (doesn’t support URLs), but branding and actions should drive back to your home where possible.
For the wanderlust travellers and those who post mainly on Instagram or TikTok, tips would be to make sure you save drafts of all of your media on your phone or lappie. You never know what will happen in the future, like the grid change, and you’ll need to resize or repost. Save any edited content, reels etc that you’ve added copy, effects and all that editing time, onto your device.
Let me know if you have thoughts on the grid change and what’s coming in the future.