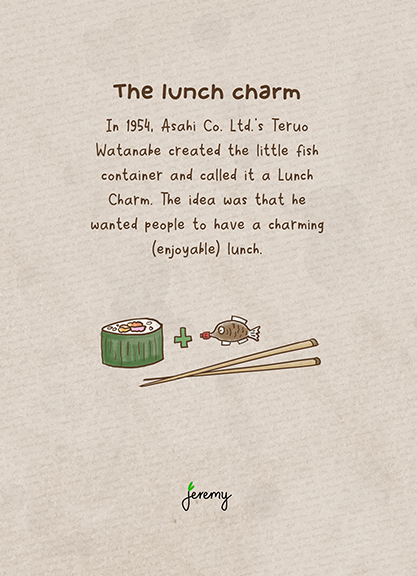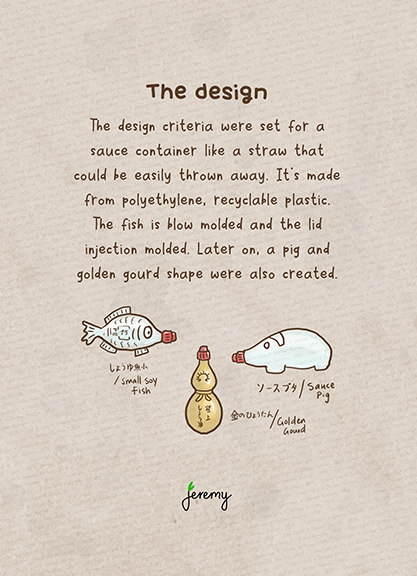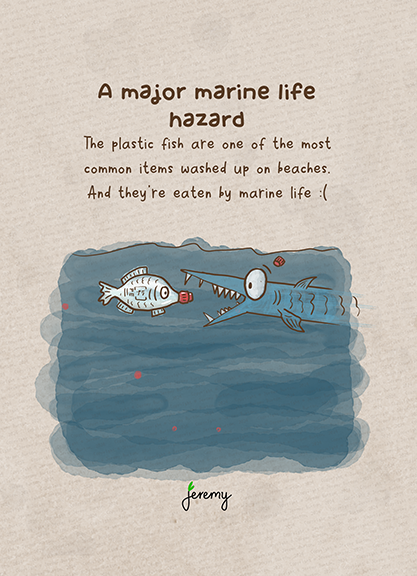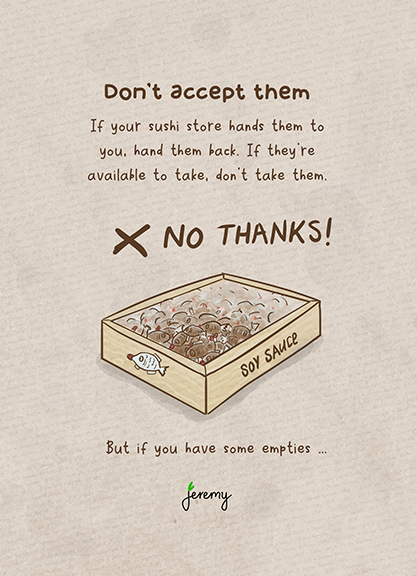
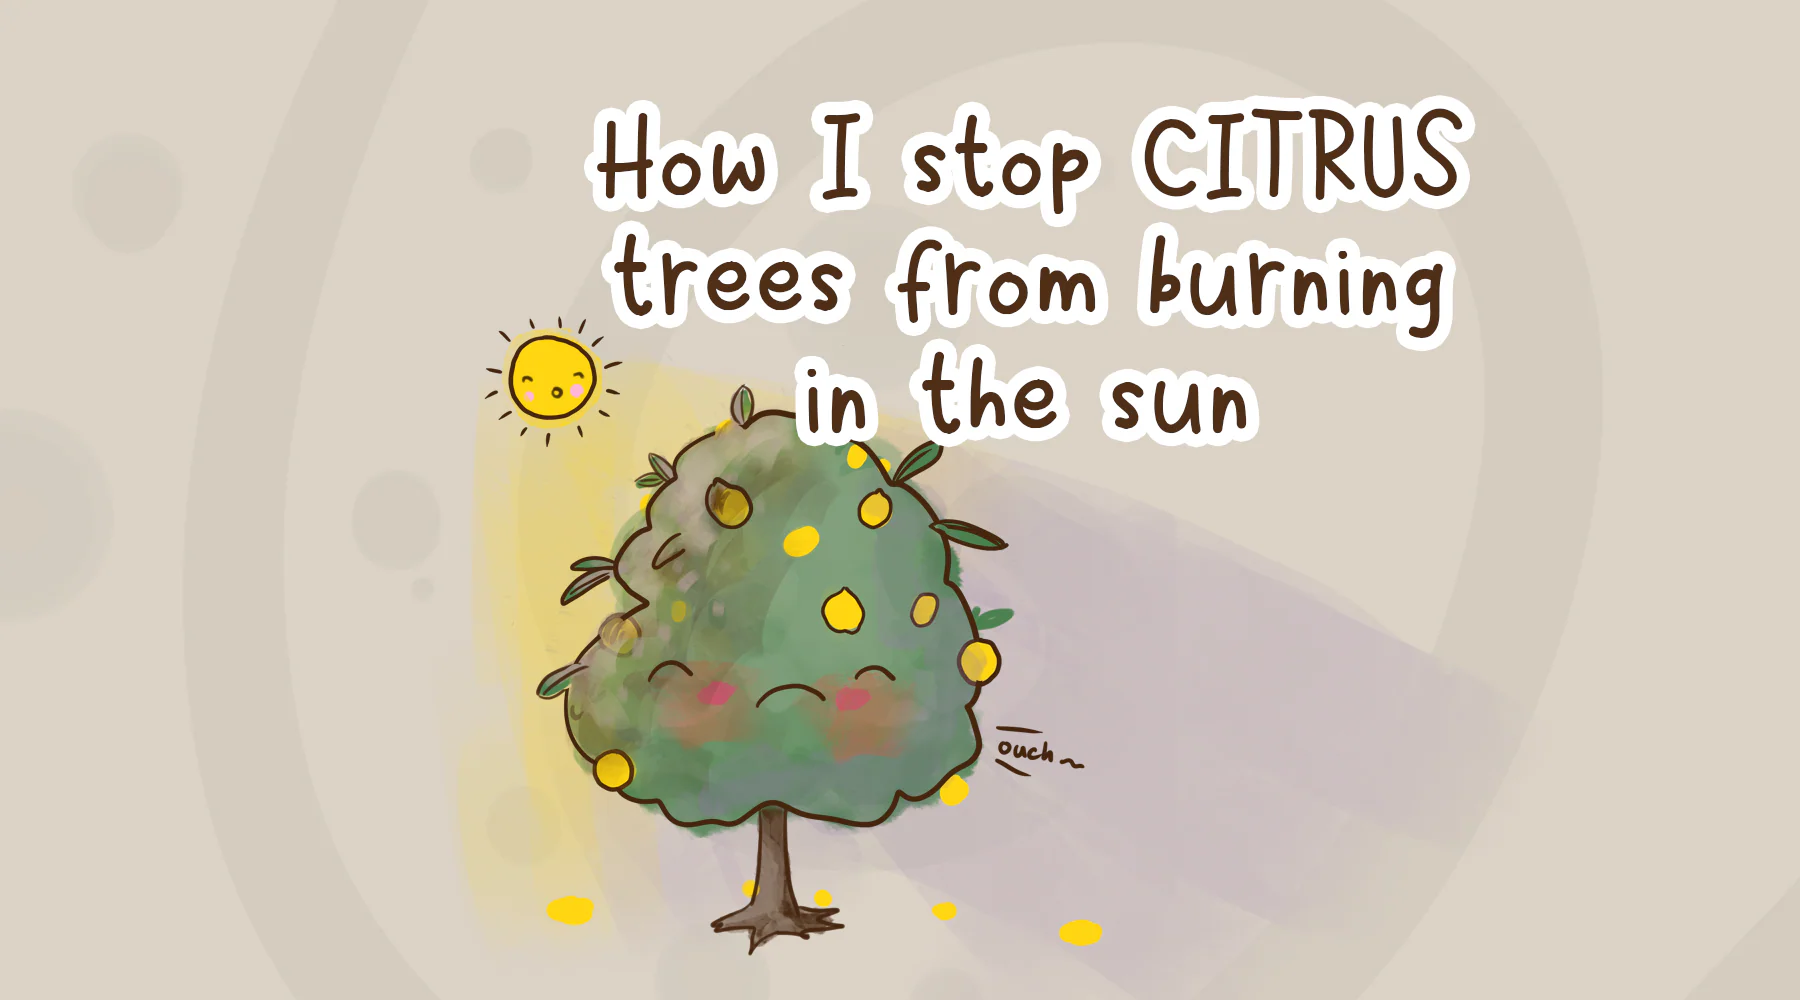
Citrus trees can suffer from sunburn. In Australia we have some serious sun and in summer time with no protection, some citrus trees will get burnt. There’s a lot of things we can do to help prevent it. Here are three simple ways to stop the burn and save your trees.
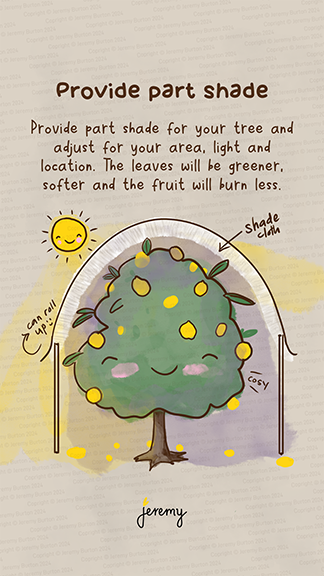
Provide part shade
Provide some shade for your tree by putting up some shade cloth. If your tree is in a pot you can move it into a shadier location. For some of my smaller trees, I put shade cloth on one side and it saves them during the major heat of the day.
You’ll find that the leaves will green up, get softer and grow larger in the shade. Adjust the amount of shade for each tree as their requirements are different.
Oh and yeah, this is great for some fruit too. I’ve found our lemons don’t burn as badly with a little shade.
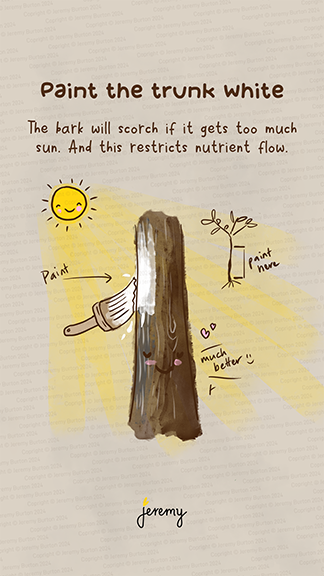
Paint the trunk white
Grab some paint that will last (water-based latex paint) or find tree trunk paint at your local home hardware centre. Some people mix it with white acrylic paint.
Paint the bottom two thirds or wherever you see sunburn. You’ll see the bark turning brown and eventually dying off if it’s getting burnt.
It’s like sunscreen for trees!
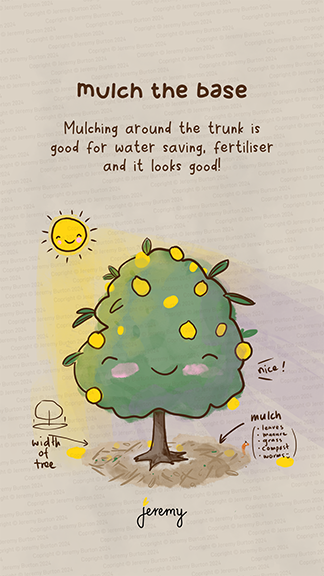
Mulch around the tree
Mulching a few inches around the base is a great way to save water, keep the citrus tree roots moist for longer and trap some of the heat into the soil.
Mulch the width of the tree.
Other ways to prevent burn
Water your trees before hot days. The night before is good so they’ve had adequate time to soak up the water.
Burlap barriers. These can be used instead or as well as the white paint method. However be mindful to keep checking where it comes into contact with the tree bark and no rot is forming.
Put geofabric around the base. I wasn’t a fan of this tbh, but I tested it and it’s worked well in smaller pots to reduce evaporation.
Reflective heat off building or other surfaces. I have a corner of the garden where three trees sit in an area with three light coloured walls around them. There’s quite a bit of radiant light and heat coming off the walls and the trees struggle.
I think I’ll be moving them soon.
Don’t prune during the heat of summer. It opens up wounds which enable water loss through evaporation. I’ve had trees die on me because I cut branches off during summer.
I hope these help, leave a comment if you give these a try.
Join me on Threads for more or subscribe at the bottom of the page for these posts in your email.