Your cart is currently empty!
Category: Sustainability
-
How to recycle coffee pods
Recycling the aluminium coffee pods is a good way to reduce landfill and get the right materials into the right place for reuse. Many of the coffee pods are made of aluminium and filled with coffee grounds. They’re easy to pop open and recycle, let’s get started.
Dry your coffee pod
I do them in batches of 10 or so and store them up in a container for them to dry out. You can poke a hole in the top of them to hasten the process. Nothing much likes coffee grounds to there’s no issue of attracting ants or vermin.
Open your pod
Grab a screwdriver or other sharp instrument and open up the top of the pod to remove the coffee grounds. I just poke the screwdriver into the middle and spin it in a circle, the pierced top sheet is very thin.
Feed your worm farm
The coffee grounds can go straight into the garden (yes plants love them), into the worm farm or compost. Too easy.
Recycle the metal coffee pod
Flatten your pod, I use a hammer or brick! Then put it into your metals recycle bin for repurposing. Job done!
Leave a comment if this in on recycling your coffee pods has been helpful.
Follow me on these platforms for more: threads, Insta, Facebook, TikTok
-
How to make cold brew with coffee grounds
You can make your own cold brew coffee by grinding your own coffee grounds, mixing wth water and letting it steep for a while. It’s not too hard, let’s get started.
Grind your beans and mix your cold brew
You’re going to need your old coffee grounds or coffee beans, a grinder, water and something to steep your brew in. You can use anything. Something glass is ideal or use a coffee pot with a filter, like a Hario Mizudashi.
Grind your beans (or use the old grounds from your coffee efforts!) in whatever way suits you and add the grounds and water into your steeping pot. It’s easier to put the grounds in first and then the water. I use a ratio of 50 grams / 1.8 oz of coffee grounds to 600ml / 20 oz of water.
Steep your brew
Place the lid on your pot and steep it in the fridge for half or a full day. Test out the strength that suits you by taking it out at 12 hrs and tasting it. The longer the stronger, until at a certain point and then it becomes bitter.
Make coffee concentrate ice cubes
I’ve experimented with all sorts to improve the concentration and coffee ice cubes work well. Premake some espresso shots and pour them into a silicone ice cube mould that pops out easily. Freeze! This way your cold brew doesn’t get diluted, it get’s more concentrated.
Enjoy your cold brew
I pour two thirds of a cup of cold brew and then use concentrated cream (learnt that trick in Japan) or milk if it suits you better to top it up. Throw in your concentrated coffee ice cubes too and enjoy with someone special.
Leave a comment if this helped your cold brew making.
Follow me on these platforms for more: threads, Insta, Facebook, TikTok
-
How to grow mulberry trees from cuttings with wax
Mulberries are awesome trees because they have so many uses and are real easy to propagate. The cuttings will root if you leave them lying on the ground and they have enough water.
Here’s a few tips on how to grow your own mulberry trees from a cutting using wax.
Grab a mulberry cutting
Get yourself a cutting off a healthy tree. You might able to find a tree in a public space in your neighbourhood, a neighbour may have one or you could order online.
A cutting that’s thicker than a pencil, 30-40 cm or 16 inches or longer is good. The thicker and longer, the better chance of survival. Anything thinner than a pencil may not survive and may need lots of attention.
Prepare your cutting
Keep your cutting(s) in the shade. Close off the open parts where you cut (not the base) with some wax. I use baybybel cheese wax because we eat the cheese! Put the wax in a jar lid and melt it with a candle or other method. You can just use candle wax too.
This closes off the open wounds on the cutting so that water doesn’t evaporate the and cutting dries out.
Plant your cutting
Plant your mulberry cutting in a 10L or 2.5 gal pot. Water it in and mulch it. Any neutral soil that’s a little sandy and has lots of organic matter will suit.
Place your potted cutting in a shady spot to settle and root.
Leaves will shoot
Wait for a month or so and your first leaves will start to shoot from the cuttings. The cuttings won’t be rooting yet, so keep watering and be patient. I water every couple of days or daily in summer. Keep your pot in the shade.
You got mulberries!
A few months later your cuttings will be small trees, rooted and producing small berries. The first berries will be small and not really the yummo. Plant your tree in the ground in a place where it has access to water and sun and it will thrive.
These trees (unless it’s a drwarf version) will grow up to 5m / 16 ft so give them some space. You can trim them aggressively and make more cuttings.
Enjoy your berries!
Follow me on these platforms for more: threads, Insta, Facebook, TikTok
-
How to grow store bought ginger
Growing your own ginger isn’t hard and you can start with the ginger rhizomes you get at your local store. Buy once and have plenty of fresh ginger each year.
Grab some fresh ginger from your local store.
Organic is better, or whatever is available. Look for fresh ginger which is firm and full. And ginger with the little green buds forming is a good sign.
Give it a bath
Soak your ginger in water overnight. It’s often sprayed with a growth inhibitor to prevent it sprouting in transit and while on the shelf. Soaking it helps to remove the inhibitor and revitalise its moisture content.
Snap!
Break your ginger into pieces so you can plant and grow ginger. The green buds (if your ginger has them) are where it will sprout, so use that as an indicator of where to break it.
Dry it out
Now give it some time to dry out a little. Place the ginger pieces in a cool dry position (shelf) and let them air dry for a few days.
Time to plant
Plant your pieces 5cm / 2 inches deep into the soil in a 1-2 litre / 0.5 gallon pot. Place it in the shade and keep the soil slightly moist, but not wet. In 8 months or so you should have plenty of fresh ginger growing.
Harvest, eat, repeat
You’ll know your ginger is ready when the long thing leaves start to yellow and brown off. Dig up your ginger roots, wash them off and store them in a dry cool place. Use some immediately for the amazing zing of fresh ginger. You can also eat the stalks in salads or other dishes. Ginger is a fantastic immunity booster.
Replant some smaller pieces of your ginger for next season. If you keep the rhizomes in soil and don’t overwater them, they shoot again when it’s time.
Enjoy growing ginger at home and comment if you’ve had success.
Follow me on these platforms for more: threads, Insta, Facebook, TikTok
-
How to make spicy ginger beer
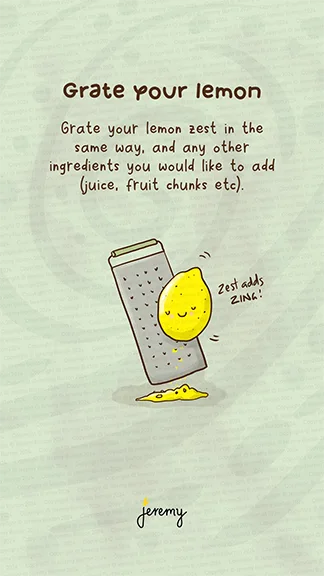
I’ve been making all sorts of combinations of this, mixing in other fruit, honey and spices. You can use any organic material that will ferment, basically any fruit.
I’ve experimented with peach, mango, ginger, strawberry, lychee, watermelon and all sorts. Sometimes you hit a good combination, sometimes simple is best. I love just a simple ginger and a little honey mix.
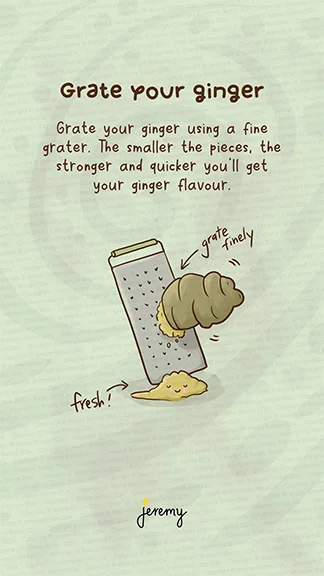
Make your ferment mix or ginger plant
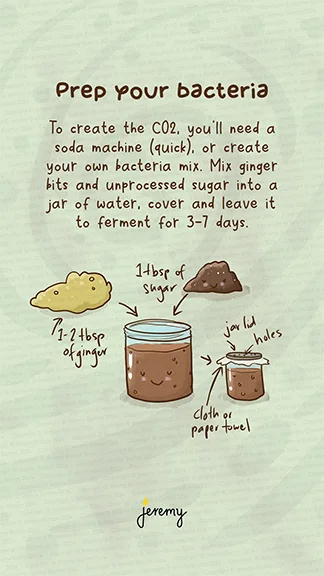
Start off by making your ferment mix (ginger plant). Sugar, water and ginger bits in a jar and let it ferment and bubble for a week. Warm weather helps this whole process.
I just pierce a metal jar lid for breathing holes. Add in two tbsp of your fruit ingredient, and one of sugar and ill with water. Keep adding a little fruit and sugar each day. Throw some water or fruit out if you overfill. After a few days it should start to generate CO2 and bubble. Cover it with a cloth or paper towel (keeps the ants out) and then put your aerated lid back on.
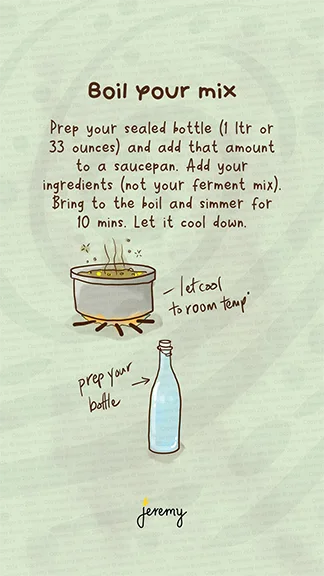
Boil your ingredients
I put them in a pot with a little more water than I need, chuck in all of the fruit ingredients and bring it to the boil. Let it simmer for 10 mins and tun the heat off. Then let it cool to room temperature.
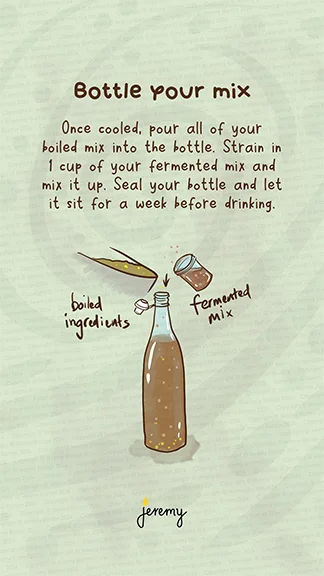
Bottle it up!
Put your boiled mixture (including the fruit) into your sealable bottle (I use these flip cap ones) and add a cup of your ferment mix (or half will do). Give it a gentle roll upside down to mix. Sit it in a cool, dark area to ferment for a week or two.
Top up your ferment mix
Add whatever you used back into the mix and you can make as much as you like!
If you don’t want to use a ginger plant / fermentation method, you can used a soda machine to carbonate your mix. Just keep it in the fridge and mix it with soda to the strength you like.
This is all worth the effort, my ginger and honey 🍯 mix is really carbonated and so refreshing in the morning. It’s a real zing and immunity booster in the morning or hot afternoon.
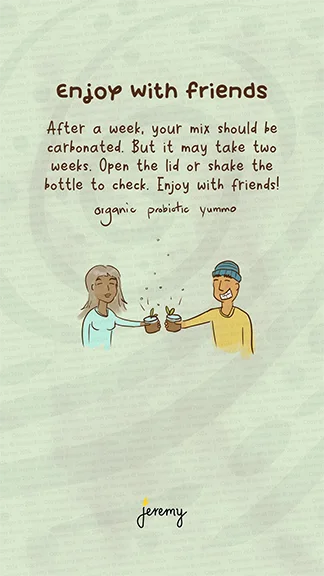
Let me know in the comments if you make your own probiotic ginger beer!
Follow me on these platforms for more: threads, Insta, Facebook, TikTok