Your cart is currently empty!
Category: Grow Your Own Food
-
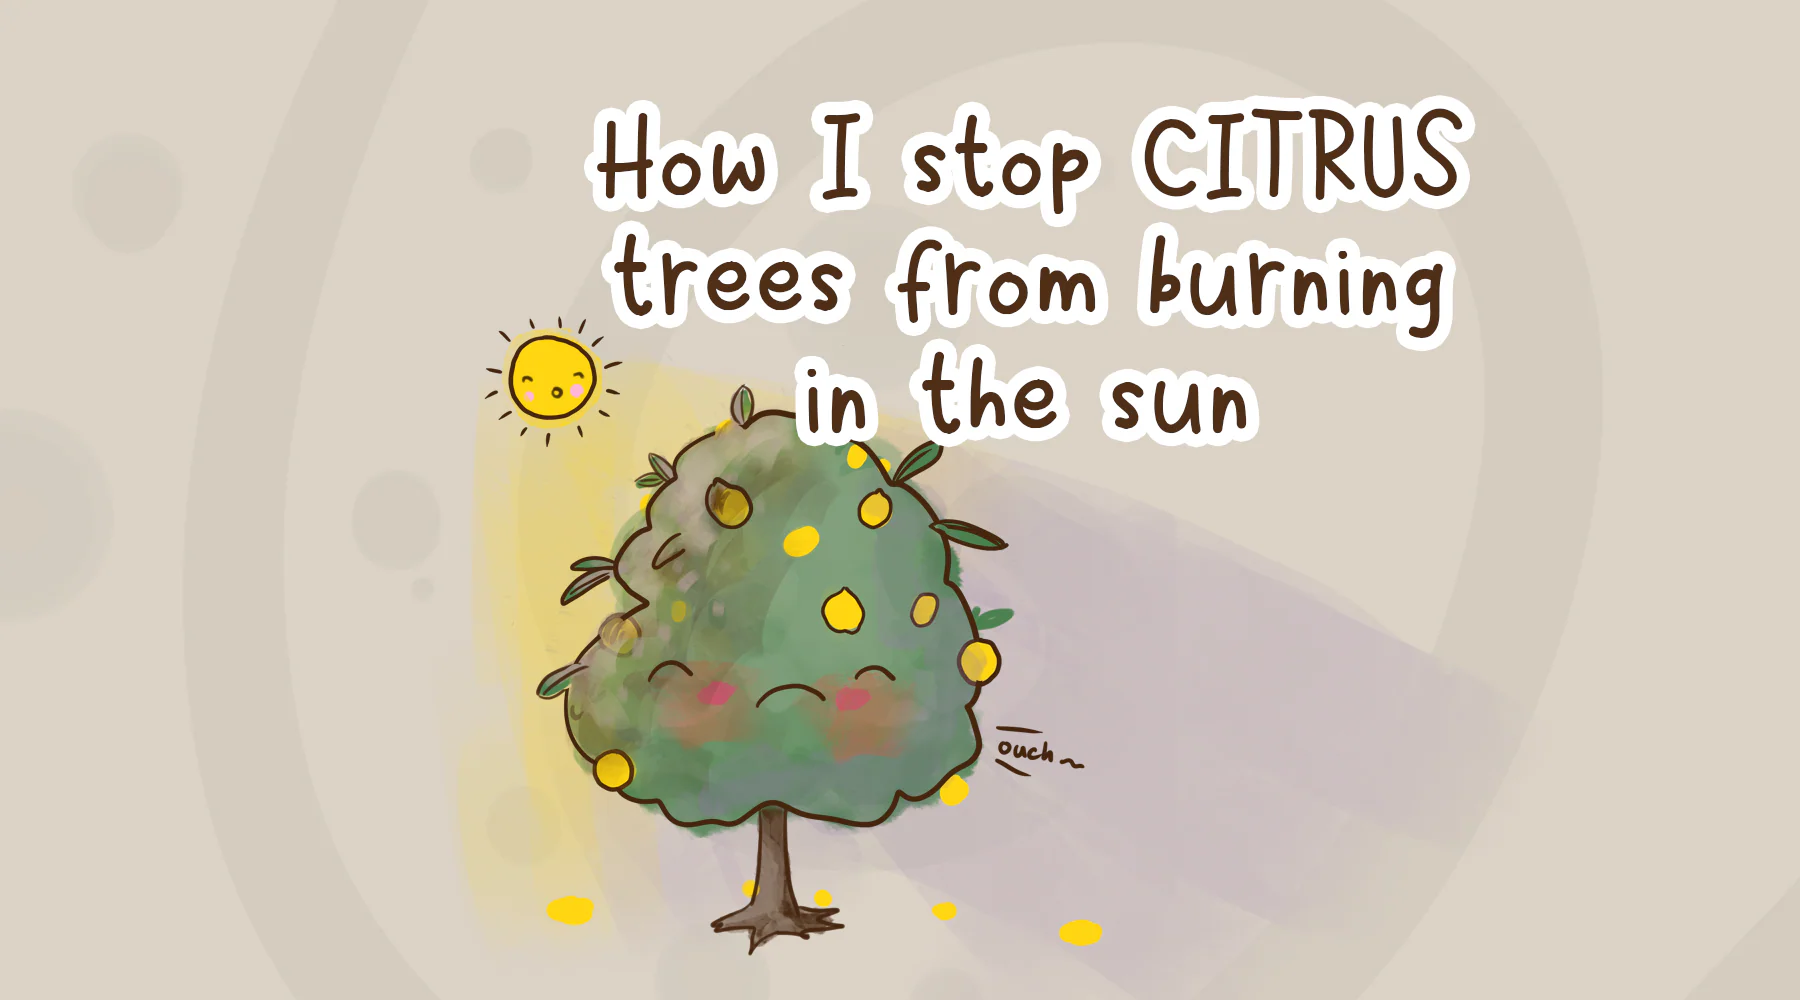
How I stop citrus trees from burning in the sun
Citrus trees can suffer from sunburn. In Australia we have some serious sun and in summer time with no protection, some citrus trees will get burnt. There’s a lot of things we can do to help prevent it. Here are three simple ways to stop the burn and save your trees.
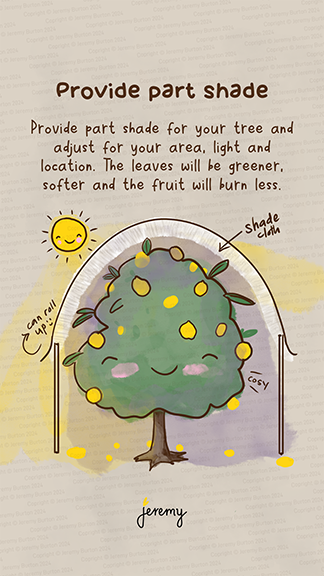
Provide part shade
Provide some shade for your tree by putting up some shade cloth. If your tree is in a pot you can move it into a shadier location. For some of my smaller trees, I put shade cloth on one side and it saves them during the major heat of the day.
You’ll find that the leaves will green up, get softer and grow larger in the shade. Adjust the amount of shade for each tree as their requirements are different.
Oh and yeah, this is great for some fruit too. I’ve found our lemons don’t burn as badly with a little shade.
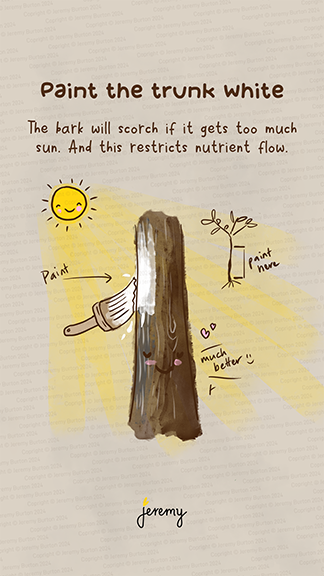
Paint the trunk white
Grab some paint that will last (water-based latex paint) or find tree trunk paint at your local home hardware centre. Some people mix it with white acrylic paint.
Paint the bottom two thirds or wherever you see sunburn. You’ll see the bark turning brown and eventually dying off if it’s getting burnt.
It’s like sunscreen for trees!
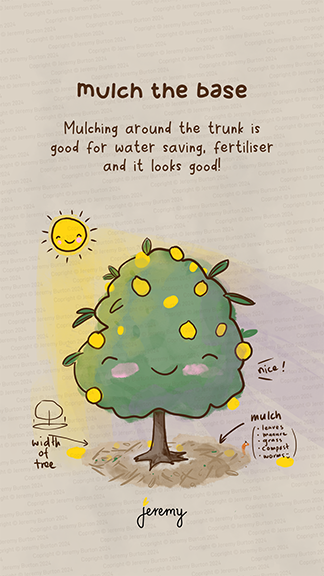
Mulch around the tree
Mulching a few inches around the base is a great way to save water, keep the citrus tree roots moist for longer and trap some of the heat into the soil.
Mulch the width of the tree.
Other ways to prevent burn
Water your trees before hot days. The night before is good so they’ve had adequate time to soak up the water.
Burlap barriers. These can be used instead or as well as the white paint method. However be mindful to keep checking where it comes into contact with the tree bark and no rot is forming.
Put geofabric around the base. I wasn’t a fan of this tbh, but I tested it and it’s worked well in smaller pots to reduce evaporation.
Reflective heat off building or other surfaces. I have a corner of the garden where three trees sit in an area with three light coloured walls around them. There’s quite a bit of radiant light and heat coming off the walls and the trees struggle.
I think I’ll be moving them soon.
Don’t prune during the heat of summer. It opens up wounds which enable water loss through evaporation. I’ve had trees die on me because I cut branches off during summer.
I hope these help, leave a comment if you give these a try.
Join me on Threads for more or subscribe at the bottom of the page for these posts in your email.
-
How I grow citrus tree cuttings
Citrus tree cuttings are one of the easiest ways to clone a fruit tree. Just by taking a good size cutting and getting it to strike, you can have a cloned tree very quickly. Here’s one of the ways I duplicate citrus trees in my garden.
In Australia I do it right after fruiting and the warmth of summer is perfect for striking the cuttings in a humid container.
Gather your cuttings
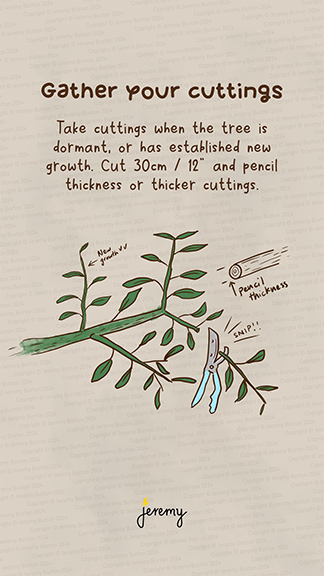
Figure out which tree you’d like to duplicate and choose the right time to take some thicker cuttings from it. A good time is when it’s not fruiting or flowering.
Cuttings that have a higher probability of survival are, 30cm / 12″ or longer and as thick as a pencil or thicker. The thicker and longer the better chance of it surviving. I get pretty much 100% strike rate with cuttings that are thumb thickness.
Preserve or plant
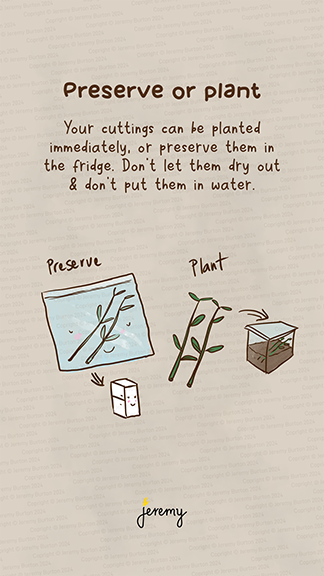
Plant your cuttings immediately (to strike them) or you can put them away to keep them for later. To preserve them, put them in a zip lock bag and put them in the fridge.
Plant in a container
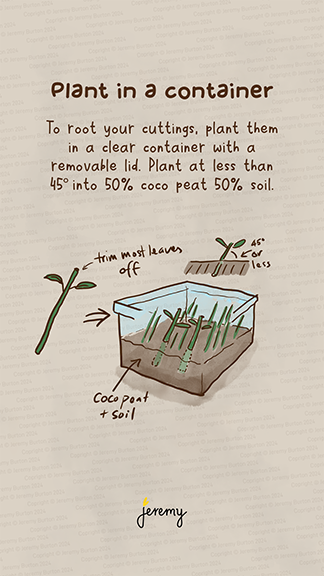
To root your cuttings, plant them in a clear container with a removable lid. I’ve tested coco peat and soil and a mix seems to work well. But just soil will work fine.
Plant your cuttings at 45 degrees.
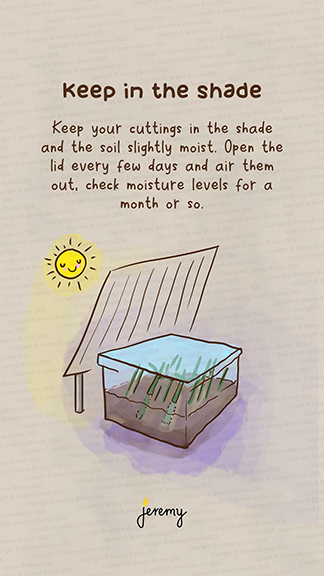
Keep them in the shade
Put the lid back on and keep the container in the shade. The soil needs to be slightly moist. Too wet and the cuttings will go mouldy and start to rot.
Open the lid and air them out every few days. A slightly loose fitting lid helps with trapping the humidity in but also letting oxygen in.
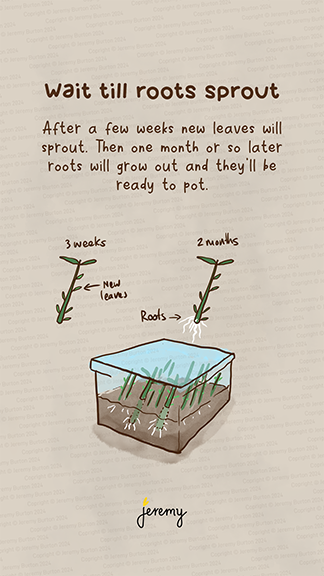
Wait till roots sprout
After a few weeks, new leaves will sprout from the cuttings. The roots won’t come until a month or two later. Once they have roots 10cm / 4″ long (you might be able to see from the side of the container), then they’re ready to plant out.
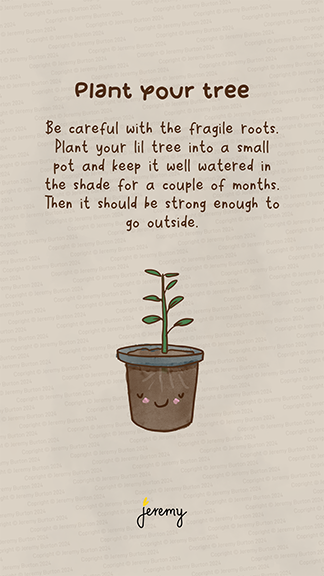
Plant your tree
Carefully remove the cuttings and plant your lil trees in pots. The roots are fragile so be careful. Keep them moist and in the shade for a couple of months. Then they should be ready to plant outside.
You’ve done it! You made yourself a whole bunch of new citrus trees. Not long before you’ll be enjoying the fresh fruit!
Leave a comment if you found this useful.
Join me on Threads for more or subscribe at the bottom of the page for these posts in your email.
-
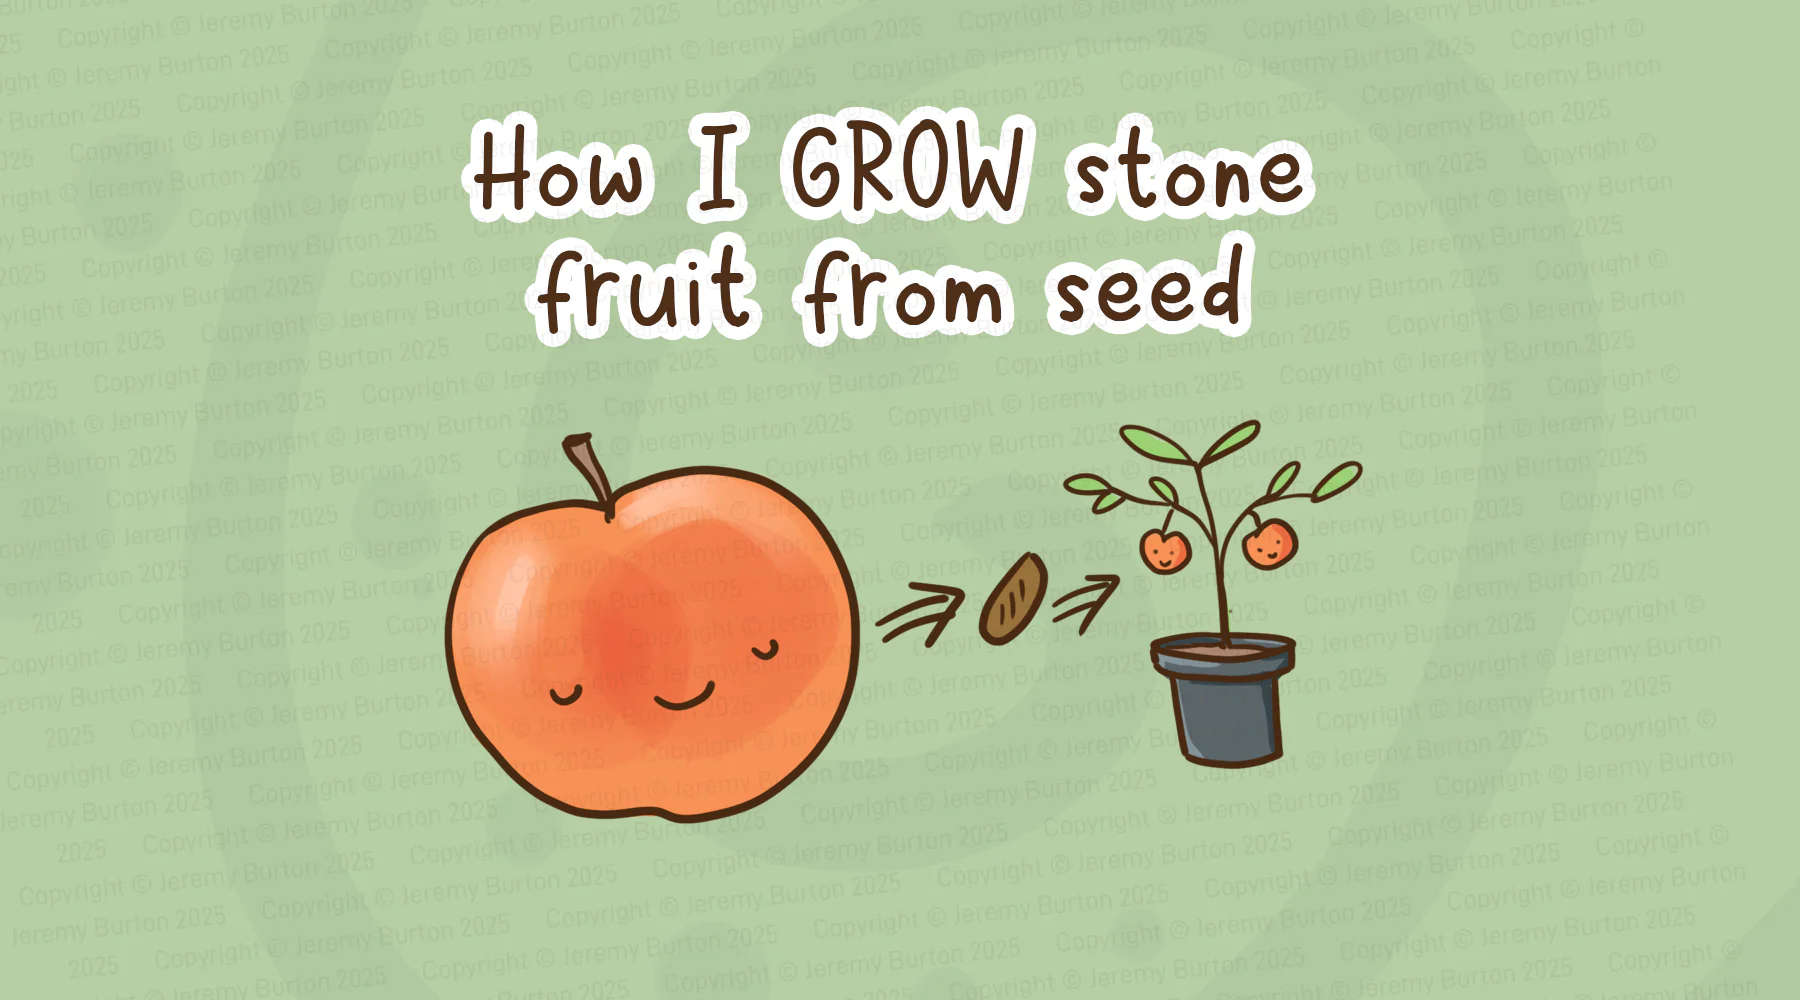
How I grow stone fruit trees from seed
How I grow stone fruit trees from seed. There’s a huge variety of stone fruit and if you’re lucky to live in a climate where they grown, they’re so delicious and amazing trees to have in the garden.
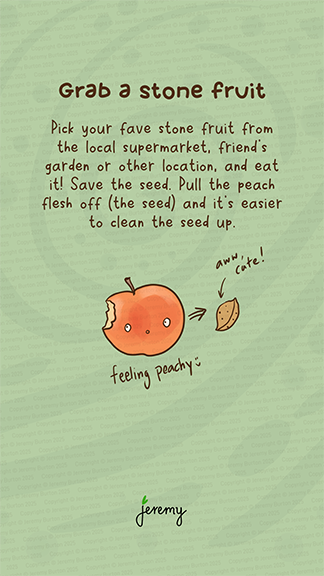
Grab your favourite stone fruit
In this case I chose peaches. I love the white peaches in particular. It’s a habit I picked up in Japan where the white peaches are so big, they’re a meal in one. Eat your fruit and save the pit.
Give it a rinse to get the flesh off, it will be easier to handle.
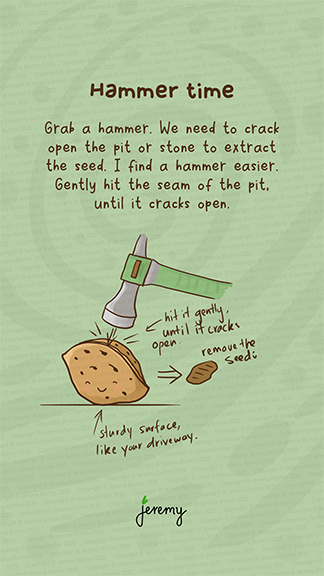
Hammer time
Grab a hammer (or you can use something else solid – a brick) and hit the pit gently on the seam. It will eventually crack open. Hit it repeatedly but gently. If you hit it too hard you’ll likely smash the soft seed inside. It takes practice.
Check the quality of your seed.
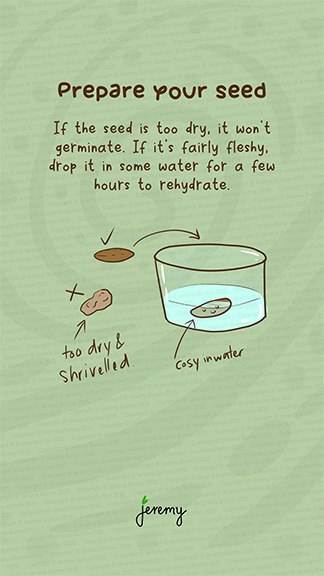
Prepare your seed
If the seed looks pale yellow and dried up, it is likely a goner. Your seed needs to be round and firm. Put it into some water for a few hours to rehydrate.
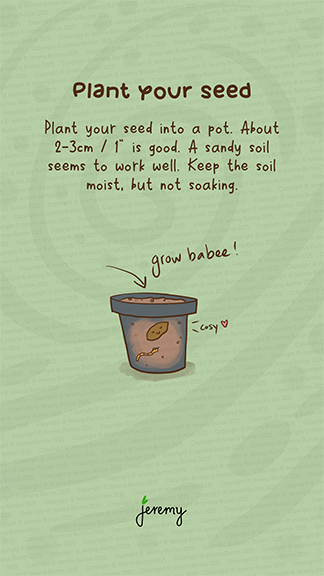
Plant your seed
last your seed into a pot, a sandy soil seems to be good. 2-3cm or 1″ deep is plenty. Keep the soil moist and put it in the shade. Full sun will likely kill the seed.
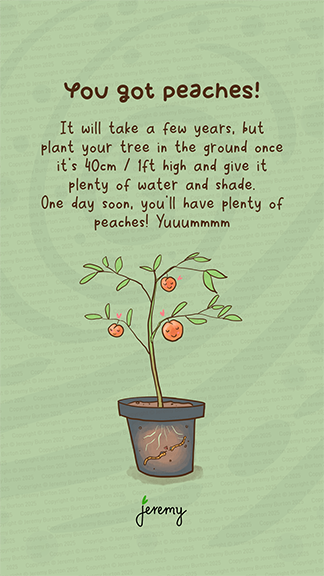
You got peaches!
After a month or so, your seed will germinate and a small seedling will grow. Keep it in the shade and grow it to 40cm or 1ft. Bigger if you’d like. Then plant it in the ground in a sunny position, water it often and mulch the base.
Put plenty of organic matter in the hold when you plant it. Fruit trees love that. It will take a few years, but eventually you will have grown a beautiful peach tree that bears lots of yummy peaches!
I’ve grown lots of stone fruit trees this way. I have several nectarines growing via this method at the moment. Good luck!
Join me on Threads for more.
-
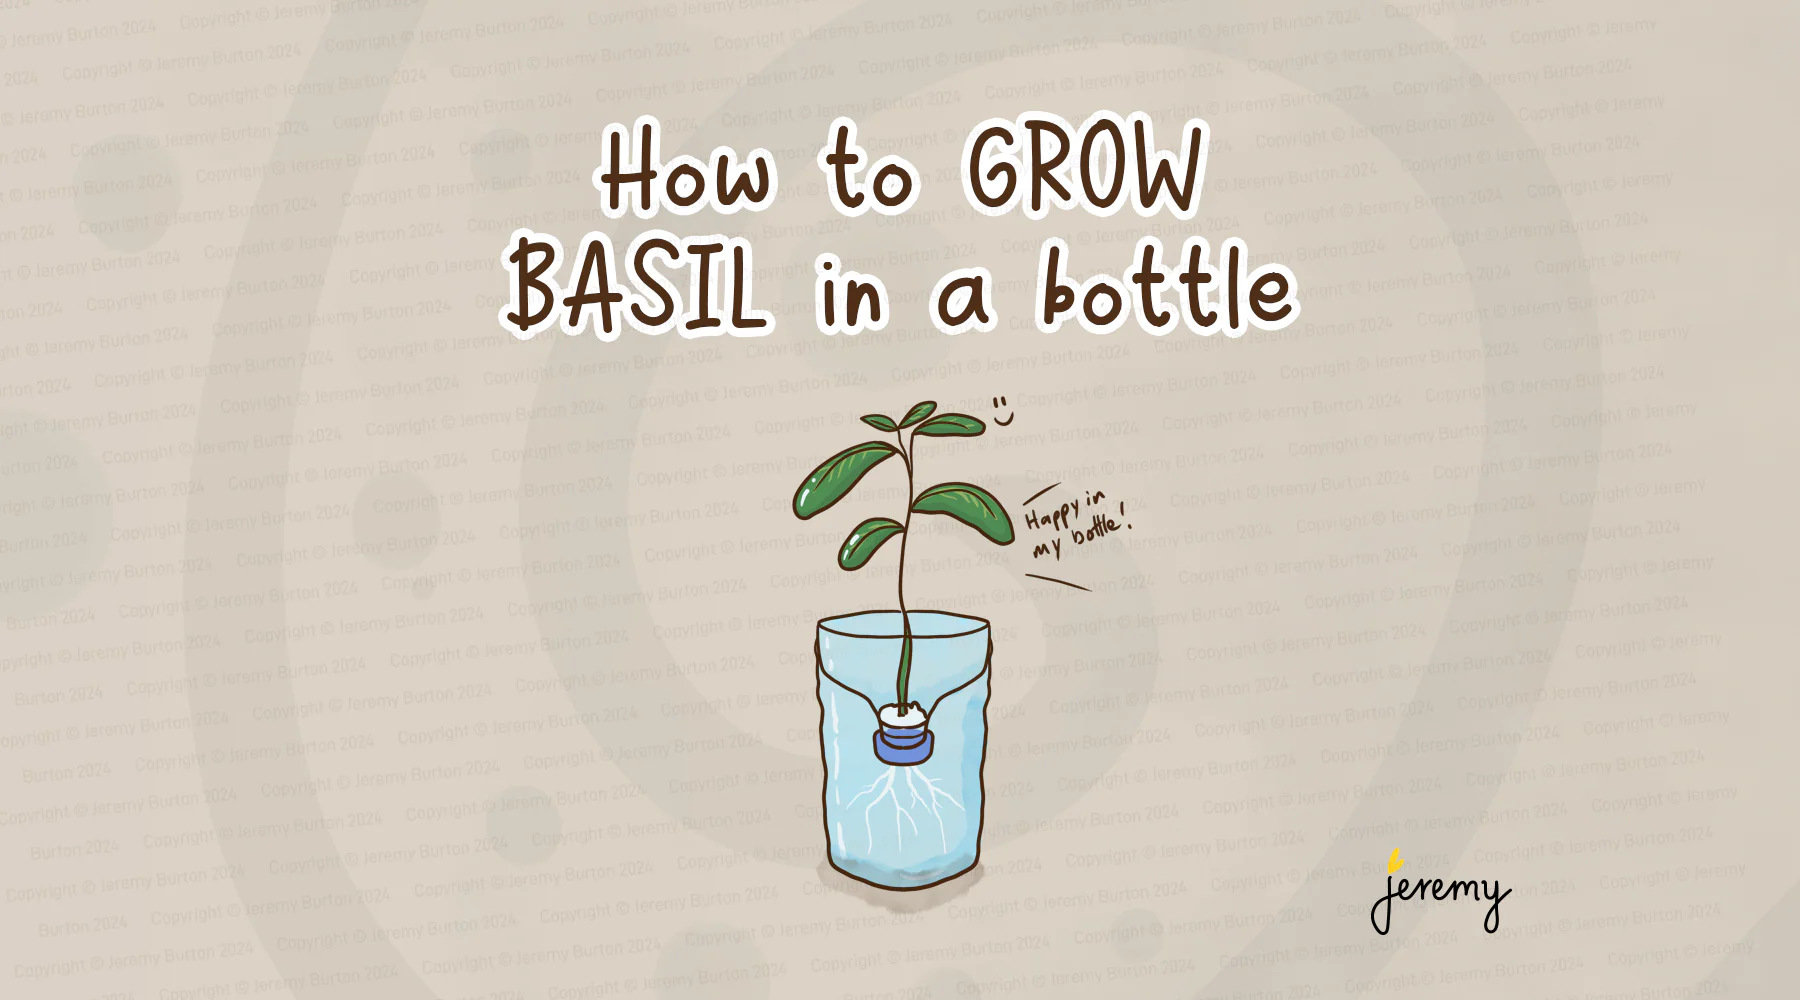
How to grow basil in a bottle
I love basil, you might too. It’s fresh herby smell and taste in a salad or on pizza is one of the pleasures in life. Let’s face it, the basil from the supermarkets isn’t all that fresh and since it’s been cut, it’s on its way out. Unless you’re lucky enough to have access to potted basil in your supermarket.
That’s what I always try to have some growing in the garden or near the kitchen window. It grows quickly and you can just take a cutting and start again with a new plant. Here’s an easy method to grow basil in an up cycled plastic bottle, you’ll need a basil seed or two.
Prepare your bottle
Wash your plastic bottle so it’s fairly clean. I remove the label so it’s easier to see the root progress. Then cut the top off with scissors.
Drill the lid
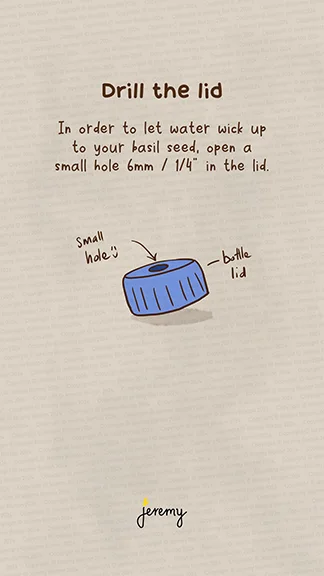
Drill the lid with a 6mm / 1/4″ hole to allow water to seep into your growing medium.
Flip your lid
Flip the lid and place it upside down into your bottle. Use a sharpie or similar marker to mark halfway up the lid as your watermark.
Plant your basil
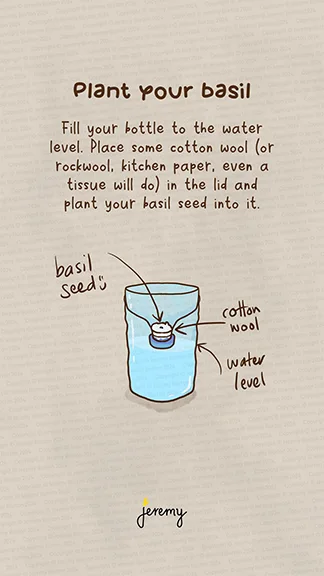
Fill your bottle to the water mark and lace some cotton wool or kitchen paper into the lid and plant your basil seed into it.
Wait for germination
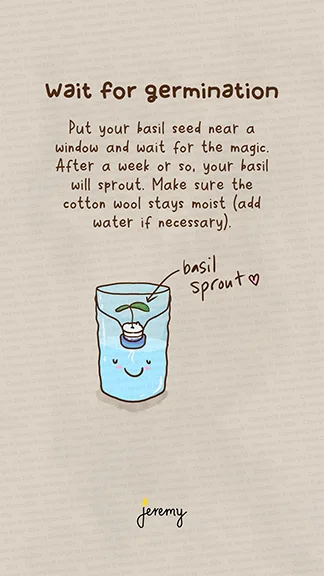
Put your bottle near a window and wait for the magic. Make sure to keep the water level constant and after a week or so, your basil should germinate.
Plant it out
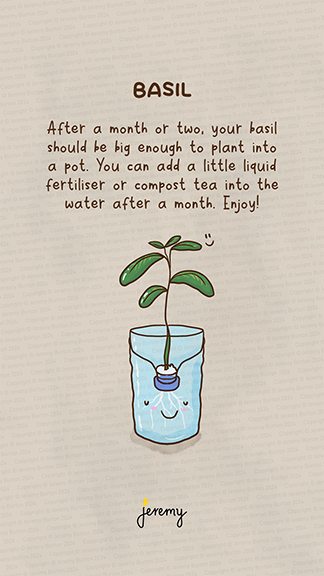
After a month, you should have a nice little seedling ready to be planted out into a pot. Add some compost tea to the water if you’d like to keep it in near the window. Enjoy!
Follow me on these platforms for more: threads, Insta, Facebook, TikTok, Pinterest
-
How to keep mint alive forever
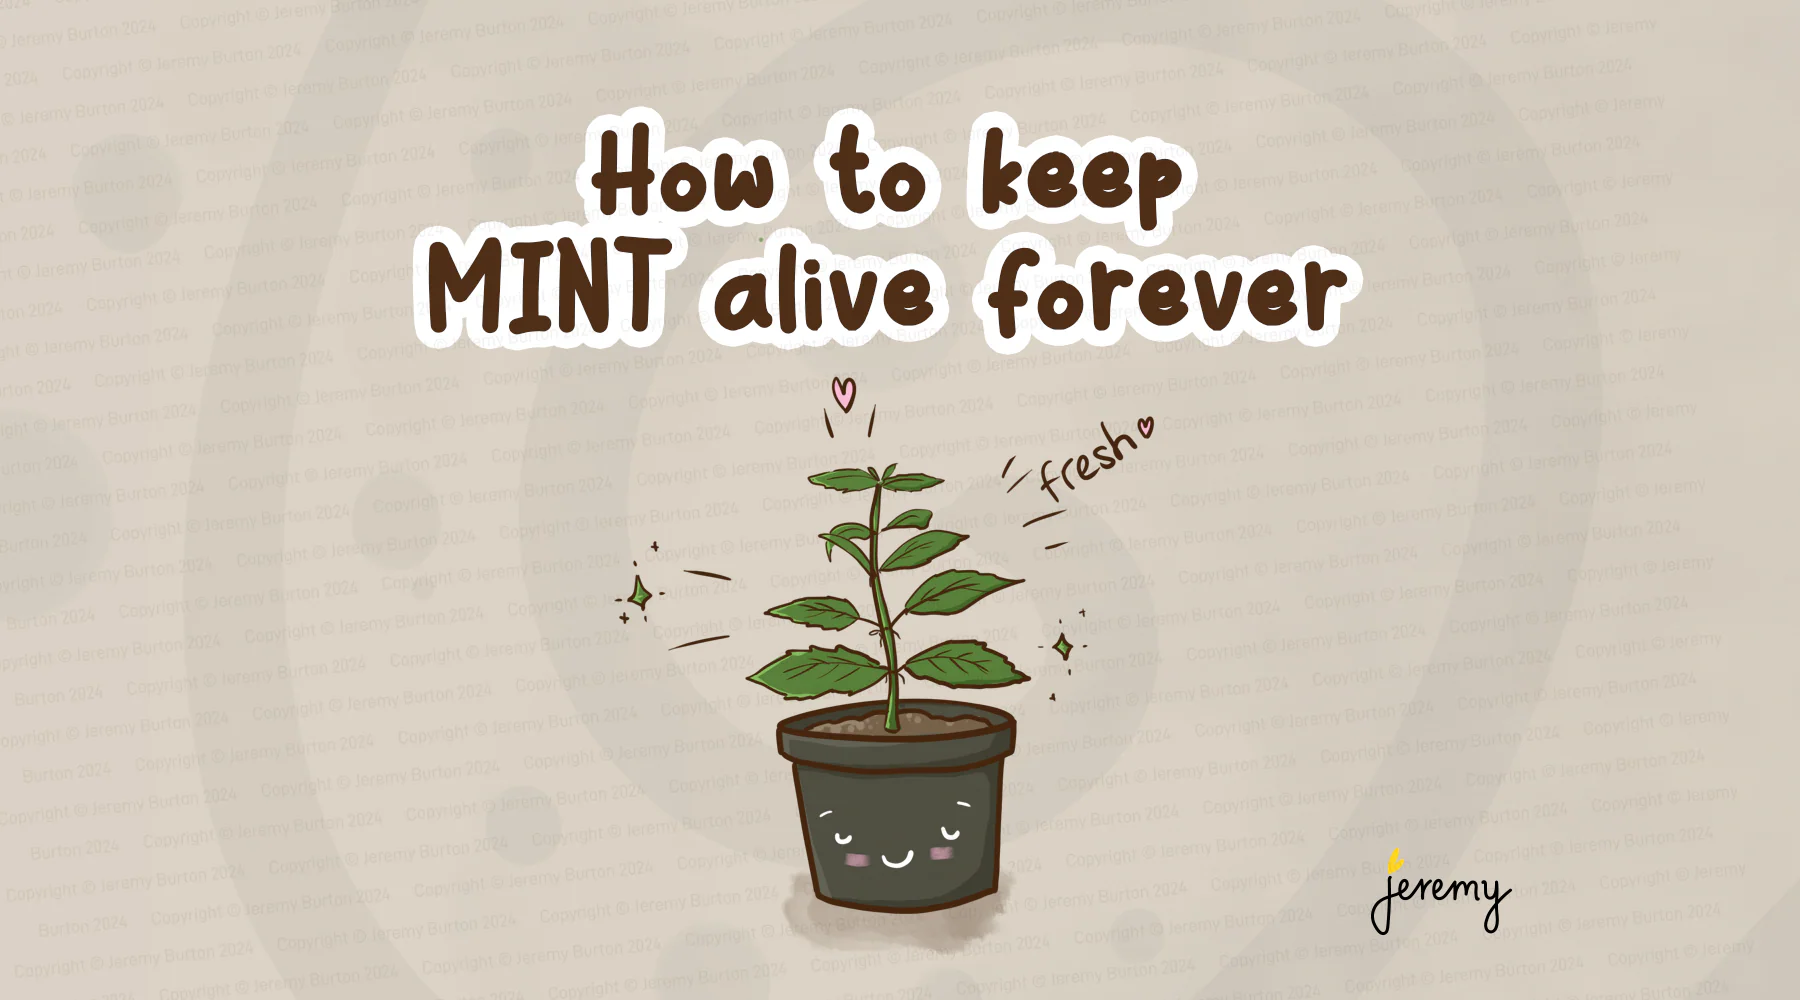
Here’s an easy way to keep mint alive so you always have some on hand, even through summer. Mint looooves water, and it’s best if it has access to it daily. It sends runners under the soil and is a hardy herb.
Who doesn’t love a bit of mint in a spritz or a salad. It’s just the best.
Grab some mint
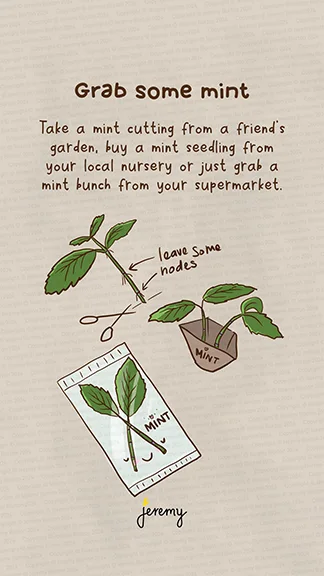
Get your hands on some mint. It doesn’t have to be a full plant with roots, a small cutting will do to get started. A neighbour may have some in their garden, or visit your local nursery or supermarket.
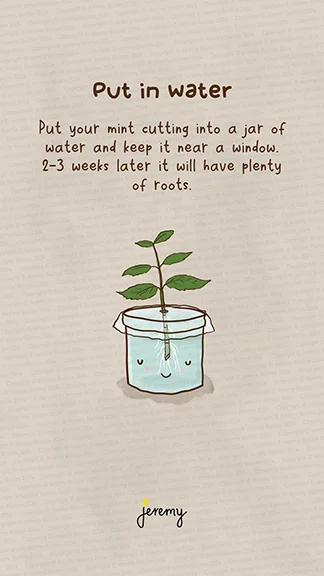
Put it in water
Put your cutting in a jar or glass of water and keep it near a window, not in direct sunlight. 2-3 weeks later it will have plenty of roots.
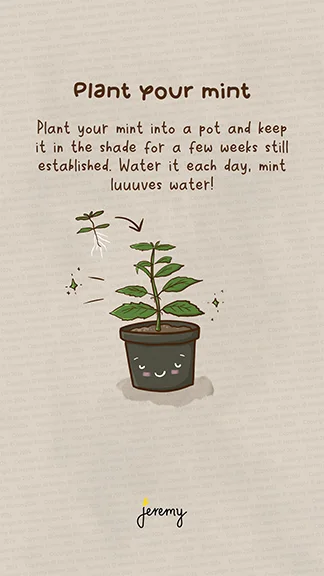
Plant your mint
Plant your mint into a soil in a pot once it’s got plenty of roots. Give it a light mulch and plenty of water. Keep it in the shade and the soil moist.
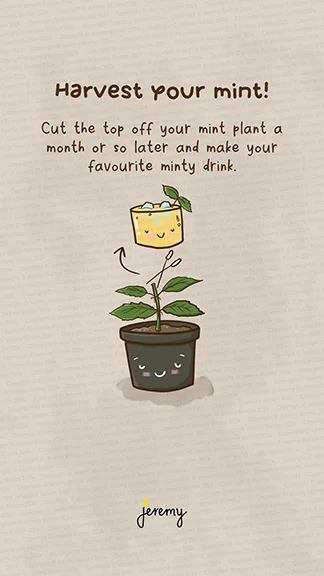
Harvest your mint
Cut off the top of your mint plant (2-3 nodes) a month or so later once it has some growth. Use it in your fave minty drink 🙂
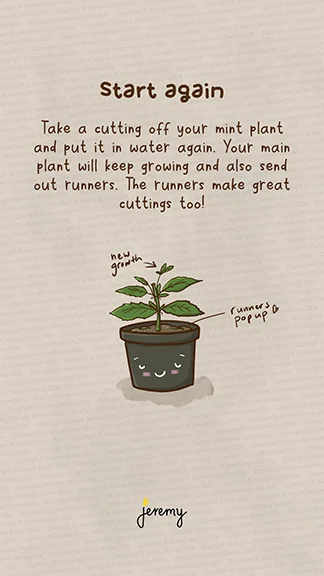
Start again!
Repeat the process. Take a cutting, put it in water, wait till it roots and plant again. Your main plant will get larger, send out runners and those can be cut off and replanted (or put in water) too.
Follow me on these platforms for more: threads, Insta, Facebook, TikTok