These are my shiso plants still going strong two years on.
These plants have been kept in their strawberry planter for two years now. I’m surprised tbh just how well they’ve done, as they’ve pretty much been left alone.
Mitsuba (三つ葉) is known by a few names and the most common would be Japanese parsley. It’s quite similar to parsley in size and appearance. Other names are wild parsley or Japanese hornwort.
The name
三つ葉 or Mitsu-ba literally means three objects + leaves (three leaves) or compound leaves with three leaflets. It is often spelt using Katakana in nurseries in Japan. The genus is Cryptotaenia and the species is Japonica. It’s a perennial and part of the celery family. I’ve had some plants live a couple years, but they do generally all dry up here in Australia due to the heat. But with a little care, you can keep it alive. Of course as they get older, their bitterness increases.
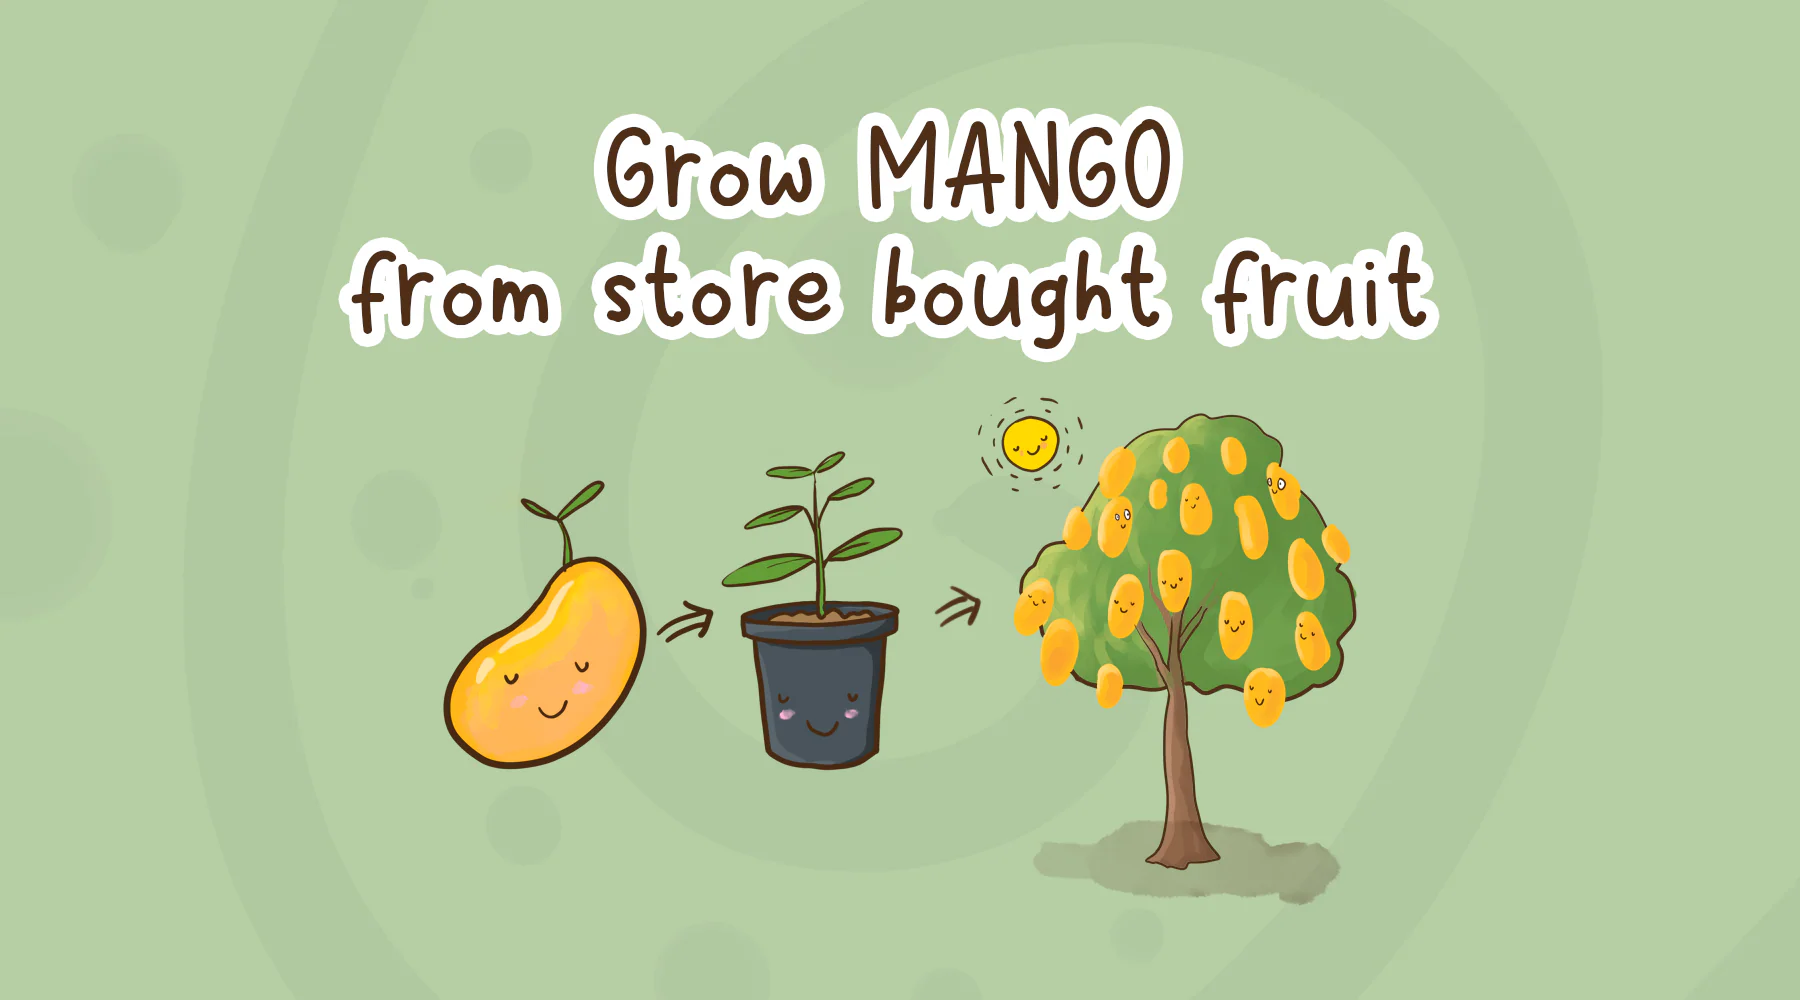
This article explains how to grow a mango tree from a store bought mango fruit by germinating the seed.
If you’re a mango fan, then you dream of having a huge mango tree that always has massive sweet fruit. You might be lucky enough to live on property or in an area that has trees you can access. Lucky you!
Varieties of mango
In Australia we grow varieties like Kensington Pride, Calypso, R2E2, Honey Gold, and Palmer. I prefer the Honey Gold because of their texture and sweetness. Although I haven’t had a chance to try them yet, I really want to try the Nam Doc Mai.
Eat your mango
Don’t forget to peel it first!I slice both sides and then eat what’s left on the seed. After that I give it a wash and let it dry off for a day or two. It’s easier to handle that way.
Eat your mangoes
It’s time to eat! The best part! What’s the best way to cut a mango?
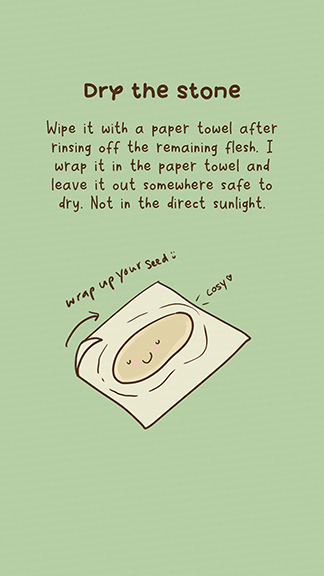
Dry the stone / kernel
Wash it off and then wrap it in a paper towel. Leave it out for a few days, not in the sun. It should be pretty dried by then. I sometimes put it on an ants nest, they clean it up really well.
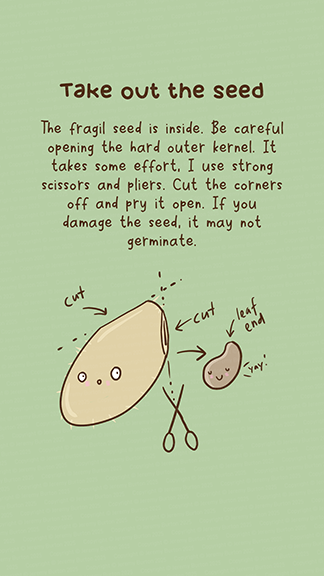
Slice open the seed
Grab a flat screwdriver, pocket knife and some scissors. Unwrap the kernel from the paper towel and cut the corners off carefully so that you can see inside the casing. I usually cut one or two corners off.
Then grab your screwdriver and gently pry the case open. It takes a bit of force. Be careful not to damage the soft seed inside. If you do damage it, it may not germinate. The seed is several parts held together in a fragile way. If they break apart, you’ll need a new seed.
When you get the kernel case open, carefully cut through the remainder of the connector between the seed and the case. Now you have your seed! You can leave all of the papery casing (the pit) on it, that’s fine.
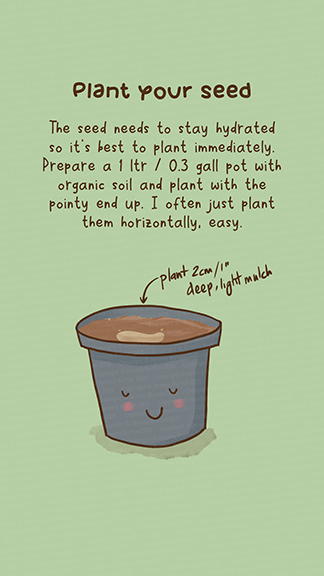
Plant your seed
Plant it into a pot, it doesn’t have to be big to start off. A small 0.5L or 17oz pot is enough to get it started. Which direction do you plant the seed? The leaves will sprout from the pointy end of the seed. I usually just lay it on its back, easy.
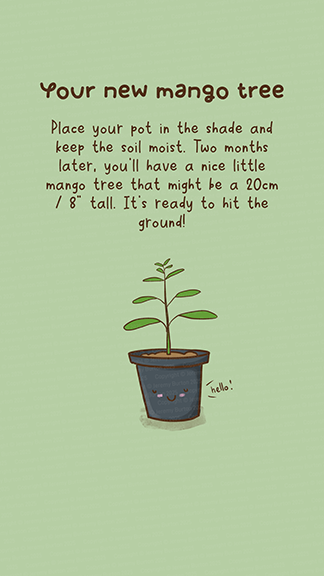
New mango plant
It will germinate and grow in a 1-2 months. The first leaves come our dark red, then pink and then light to dark green. They’re soft and fragile, I keep mine under shade to prevent sunburn in summer. Usually by the end of summer they’ll be 1-2 foot high and ready for a bigger pot.
Mangoes are not too fussy about the soil, it just needs to be well draining. They are a deep rooting tree (can be 5-6m) so once it gets to a meter or a few feet in your bigger pot, then it’s time to plant it into the ground.
You can germinate the seeds in water and a paper towel. Honestly it’s gonna end up in the soil anyway, just put it in the soil! It is fun to watch though if you want to share the process with the kids, so yeah half submerged in a water container near a kitchen window. Watch it sprout 🙂
After it hits 20cm or 8″ or so it’s ready for the ground, you can play it safe and wait till it’s a meter / 3′.
Sunshine and climate
Mangoes love the sunshine and a warm climate. If you’re in a subtropical or tropical climate zone, your mangoes will love you. They can grow in cooler climates and also inside, but they may not fruit. Ideal temperature ranges are 70–85°F (21–29°C).
In Broome in the north of Australia, there are often cyclones and these can damage the tree branches, knock the fruit off and damage the flowers. I’ve wandered around Broome picking up mangoes off the ground after strong winds.
Pruning
In the first 2-3 years, run it back 30% in height and also the horizontal branches. Mangoes need a good pruning.
Mulch your tree
In Australia we mulch them in Spring and this encourages branching and fruiting. I mulch out to half the width of the tree. You can fertilise with something like you’d use for a berry.
Wait 3-8 years
Yeah, it takes a while. So today’s the day to plant your tree! After 8 or so years you will have beautiful fruit if all goes well. So maybe it’s a good idea to plant more than one. There is a chance of it not making it.
The trees can grow up around 10m, so you’re going need space if you let it go.
Picking your mangoes
Harvest them when they are ripe but not squishy. If they’re squishy they might be over ripe so eat immediately. You’ll notice the green will start to yellow and maybe turning pink.
Eating your mangoes
There are so many ways. But I love them in gelato with coconut, honey and some mint or other herbs.
Hope you found this useful and you grow yourself a huge mango tree. Leave a comment if you germinate a mango seed.
Join me on Threads for more or subscribe at the bottom of the page for these posts in your email.
Shiso / しそ, also known as perilla, is a popular herb in Japan and Korea and known for its unique flavour and health benefits. While traditionally grown in Asia, it is possible to grow shiso year-round in Australia with a little TLC. Here are some tips to help you successfully grow the shiso herb in your Australian (or elsewhere) garden.
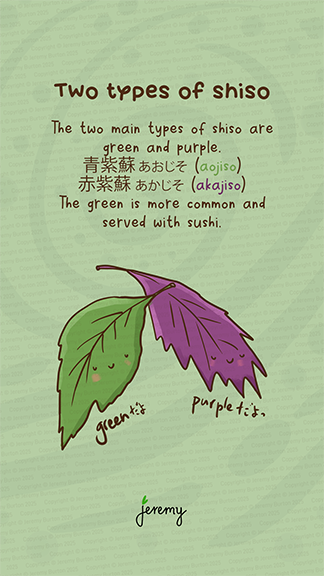
There are different varieties of shiso with the main two being aojiso (or green Shiso) and akajiso (red (aka) but it’s more purple). Its scientific name is Perilla frutescens var. crispa. You’re more likely to come across the green shiso as it’s by the far the most common.
The red shiso has a slightly different and more subtle taste, I’ve found when grown here in Aus. It was a lot stronger in flavour in Japan and used more for pickling and other things. Here are the kanji and wikipedia links for the two varieties:
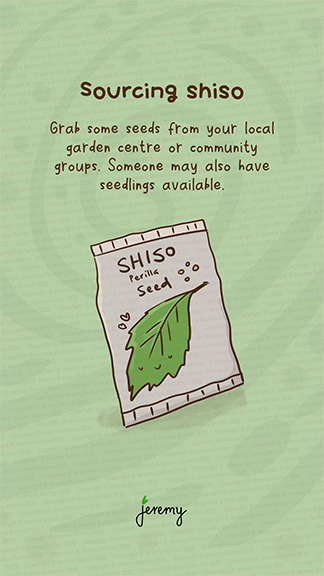
Your local gardening centre may stock some seed packets. Our local one in Perth stocks small packets that seem to be sourced from a Korean supplier. There are a handful of seed suppliers in Australia that also stock the purple when it’s in season. It’s unlikely you’ll find seedlings in your garden centre, it’s just not that popular yet.
Happy Valley Seeds have them online, green and red shiso or try amazon. Check your local Japanese or Korean communities or social pages, there’s likely someone selling small plants for a reasonable price. Do Bunnings sell shiso seeds? No they don’t. I can supply you seeds if you’re in Western Australia.
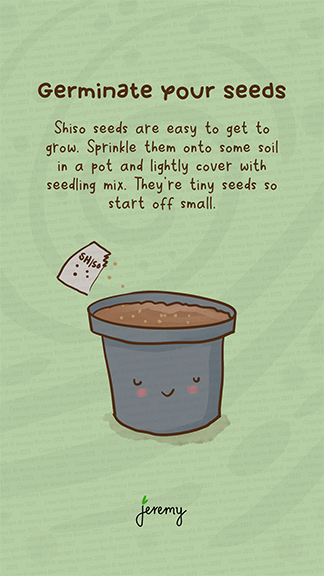
Germinating shiso seeds
The seeds are tiny, less than a millimetre. Think poppy seed size. They’re quite hardy and long lasting though. I’ve stored some for many years and they germinated fine. Because they’re so small, they just need sprinkling across the top of the soil and a very light cover (if any) with seedling mix.
So them in spring – early summer as they germinate at around 20 degrees C (68 F). They will germinate in around 2-4 weeks. A light soak in water does seem to improve the germination rate, especially if the seeds have been stored for a while.
Watering the seed in will mix them enough with the top layer of soil so that you get a strong germination rate. I’ve found the green shiso germinates so much more consistently than the red. They can be germinated in seedling containers and also on silicone mats in a humid container / room using a light water spray or bath.
Once you get one plant to seed, you’ll have shiso for life. They’re as hardy as basil and if you leave them in the garden you’ll find shiso popping up all over the place.
Let’s talk about shade and light
Shiso plants require plenty of sunlight to grow and thrive. Make sure to plant them in a location that receives at least 6-8 hours of mild sunlight per day. The Australian summer sun is too harsh for these plants without a giving them a little TLC.
If you plan to have them out in the mid-summer sun, they need to be well established (well rooted mature plants), have a constant low level of moisture around the roots (deep pot) and some respite from the afternoon light.
I’ve had shiso survive out in the summer sun using the combination of environmental factors above. Those plants are still surviving today even though they got some crispy leaf edges. They didn’t receive full afternoon sun, I think that saved them.
From my experience, shiso grown under shade (verandah) will produce the best, lush and soft leaves. The harsh aussie sun hardens the leaves up and crisps the edges. They also grow smaller and have less flavour.
If you are growing shiso indoors, consider using grow lights to provide sufficient light for the plants.
Ensure good drainage
Shiso plants prefer well-draining soil to prevent water logging, which can lead to root rot. Add heaps of organic matter such as compost to improve soil drainage. Plant in raised beds or containers with drainage holes to ensure proper drainage.
They have a fine root system and so need a some sand to help with nutrient and water transfer. I found that a thin layer of moisture-holding mulch in the base of the pot or bed really helped make them resilient. So when you plant out, put in some mulch first, soil and mulch again.
Pests
Just like some other herbs, snails and slugs love a bit of shiso. You will likely need some kind of snail repellant. The main enemy however for us in Australia, is the cabbage white butterfly – or its caterpillar larvae. I’ve found that a net is necessary when the butterflies are breeding. It’s the easiest way to keep them away.
Ants also tend to like the sand around the root system.
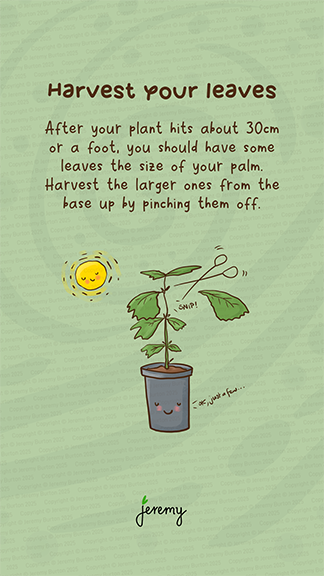
Harvesting your shiso
Harvesting needs to be done delicately. Shiso don’t get as woody as basil does and so pulling on the leaves too hard will uproot the plant. I use the method the pickers use in Japan because I don’t need a huge volume, and that is to pinch the leaves off with the thumb and forefinger nail. Scissors also make it easy!
Shiso plants benefit from leaf harvesting. You’ll notice as the plants get taller, the lower leaves will start to brown off and drop. They’re not receiving enough light and will not grow any bigger.
It’s best to regularly harvest from the base up, even if you don’t eat them. Pinch off any larger leaves and it will help reduce disease, provide more air flow and keep pests away.
Drying the leaves
Shiso leaves can be dried in the same way as many herbs. Just put them out to air dry, use the oven or dehydrator. I prefer to air dry them. I’ve tested the oven and even on a very low heat it takes a lot of the flavour away.
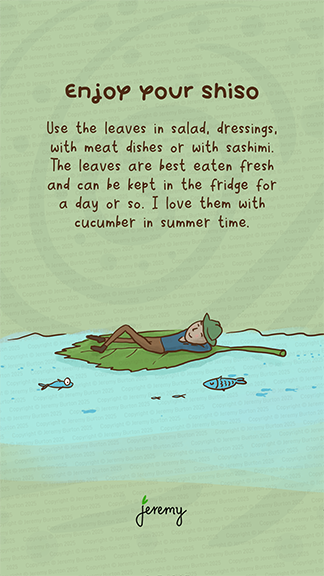
Dry them out till crunchy and then smash them up into a sealable jar. Shiso for life. You can sprinkle this into your meat dishes, salads, cocktails, drinks, ice cream – you name it. Think of it as the herb that sits between mint and basil.
Shiso oil
Using a distilling method (check out Shinagawa Distillery’s method. He uses lab equipment to distill flavours and oils from organic matter), you can extract the shiso oil quite easily. A very interesting process and something I want to test out at some point. I’d love to do this for citrus fruits.
Anyway, there is a lot of oil in shiso and it is commercially harvested and sold in bottles for cooking and other things, particularly so in Korea.
Shiso recipes
At this point I haven’t documented any shiso recipes on this blog, but will add them as we go. Try shiso gelato if you get a chance. I mix it with coconut, banana and a little honey, it’s sooo good in summer.
Shichimi – includes shiso
Shichimi is the Japanese word for a common mix of a seven spice used often in Japan.
Shichimi or nana-bro tougarashi is the name for the seven colour chilli mix – 七色唐辛子.
Shiso is one of the seven in the Shichimi mix, and it’s a great mix to try and make yourself if you can grow the set at home.
The other 6 may be (it’s chopped and changed) black and white sesame seed, chilli, ginger, sansho pepper, roasted orange peel, aonori, poppy seed and Kuzu peel. You can grab the S&B Togarashi online, S&B is one of the more popular brands.
Restart the grow process
Your shiso plants will go to seed if you don’t pinch the flower spikes off. So if you maintain the right conditions, white flowers will appear very similar to basil flowers. Let the flower spikes dry out and harvest the seed for planting again!
I’ll keep adding to this as I learn more. Leave a comment and let me know if this has been useful.
Join me on Threads for more or subscribe at the bottom of the page for these posts in your email.
Have you ever looked at those plastic milk containers and just thought, what a waste? Yeah me too. They’re single use plastic, even though they are recyclable.
Fortunately, there are lots of ways to reuse these. One way I upcycle them is into pots for plants. They’re a great size to get seedlings or small trees started and they have a convenient little handle built in.
Here’s how I upcycle the plastic milk bottles we have in Australia.
Grab your milk bottle
I use the standard 2L milk bottles that are common here in Australia. It’s a good size for planting into.
Cut the top off
I make two cuts using scissors, around the top all the way around. You’re going to make an inverted funnel to plant the seedling into. You can alternatively, just cut the top off and use it that way (just cut the top off and keep the handle).
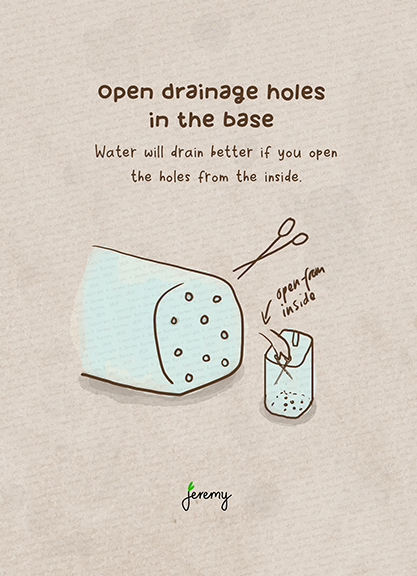
Open drainage holes
Use scissors or a drill to open drainage holes in the bottom of the bottle. it works better if you push them out from the inside if you’re using scissors, the water will drain better. The holes also provide an escape route for your worms if you add them.
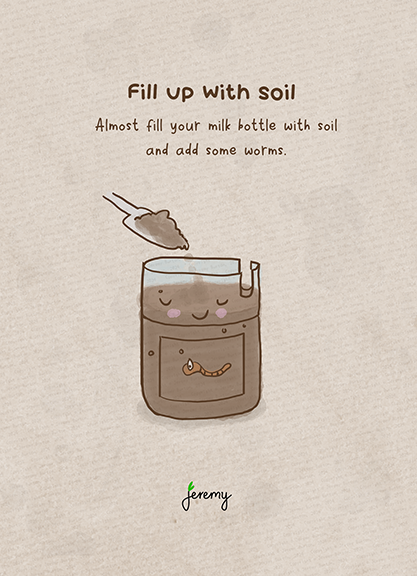
Fill up with soil
Almost fill your milk bottle with potting mix or soil and add a worm or two if you have them. Worms will only eat anything rotting.
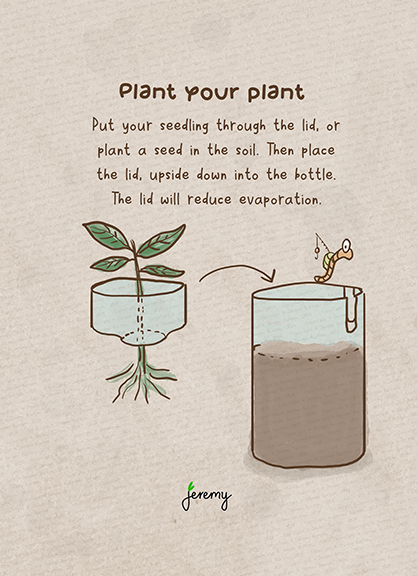
Plant your seedling
Put your seedling through the upside down lid and plant the roots into the soil by placing the inverted lid into the main bottle. This is a little tricky but you’ll get it!
The upside down lid helps reduce water evaporation.
Place it in the shade
Your seedling will need some time to settle. Give it some care and attention until it’s big enough to plant into the ground or a bigger pot.
You can use this container again even after you plant out your seedling into a bigger pot. Just start all over again.
Nice work!
Leave a comment if you found this useful.
Join me on Threads for more or subscribe at the bottom of the page for these posts in your email.