
Mulberries are awesome trees because they have so many uses and are real easy to propagate. The cuttings will root if you leave them lying on the ground and they have enough water.
Here’s a few tips on how to grow your own mulberry trees from a cutting using wax.
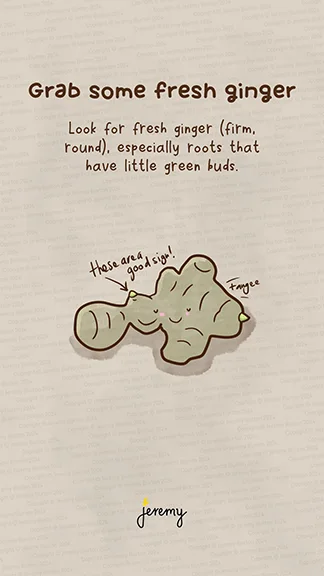
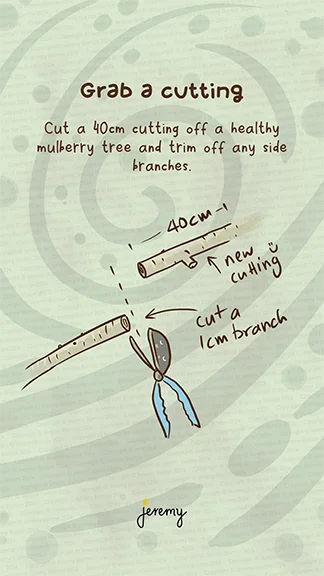
Grab a mulberry cutting
Get yourself a cutting off a healthy tree. You might able to find a tree in a public space in your neighbourhood, a neighbour may have one or you could order online.
A cutting that’s thicker than a pencil, 30-40 cm or 16 inches or longer is good. The thicker and longer, the better chance of survival. Anything thinner than a pencil may not survive and may need lots of attention.
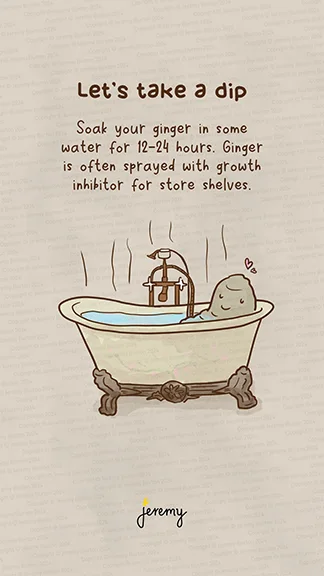
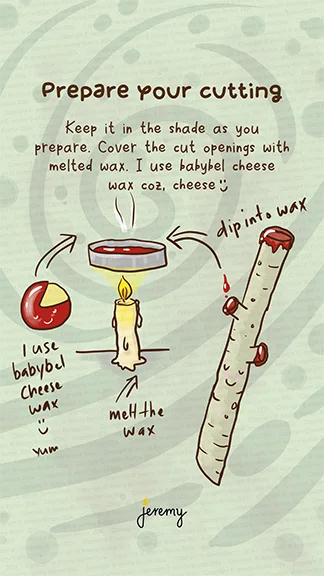
Prepare your cutting
Keep your cutting(s) in the shade. Close off the open parts where you cut (not the base) with some wax. I use baybybel cheese wax because we eat the cheese! Put the wax in a jar lid and melt it with a candle or other method. You can just use candle wax too.
This closes off the open wounds on the cutting so that water doesn’t evaporate the and cutting dries out.
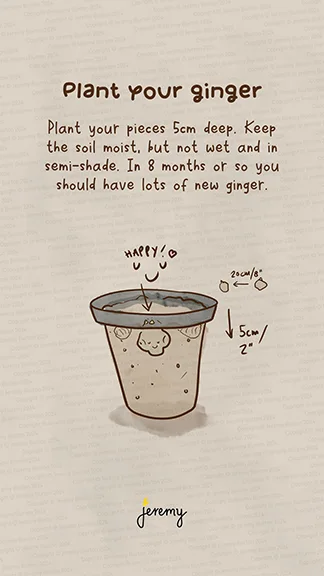
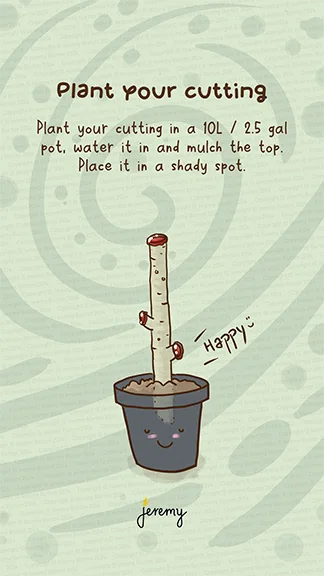
Plant your cutting
Plant your mulberry cutting in a 10L or 2.5 gal pot. Water it in and mulch it. Any neutral soil that’s a little sandy and has lots of organic matter will suit.
Place your potted cutting in a shady spot to settle and root.
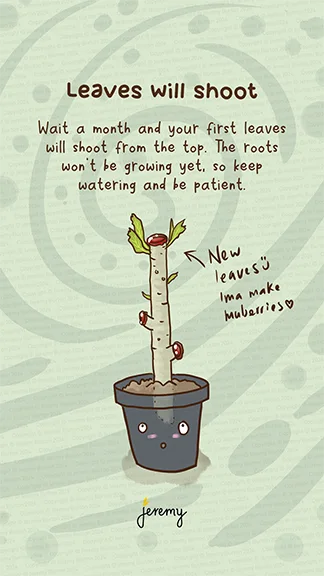
Leaves will shoot
Wait for a month or so and your first leaves will start to shoot from the cuttings. The cuttings won’t be rooting yet, so keep watering and be patient. I water every couple of days or daily in summer. Keep your pot in the shade.
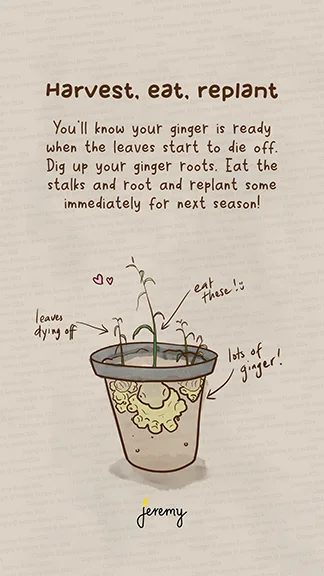
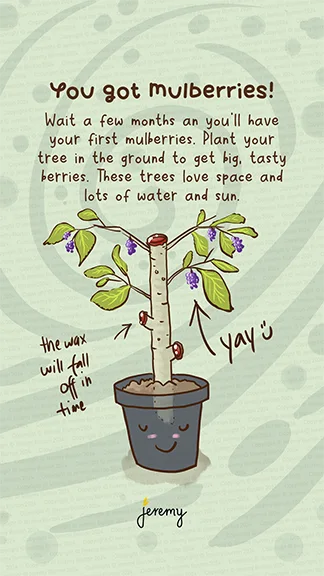
You got mulberries!
A few months later your cuttings will be small trees, rooted and producing small berries. The first berries will be small and not really the yummo. Plant your tree in the ground in a place where it has access to water and sun and it will thrive.
These trees (unless it’s a drwarf version) will grow up to 5m / 16 ft so give them some space. You can trim them aggressively and make more cuttings.
Enjoy your berries!
Follow me on these platforms for more: threads, Insta, Facebook, TikTok