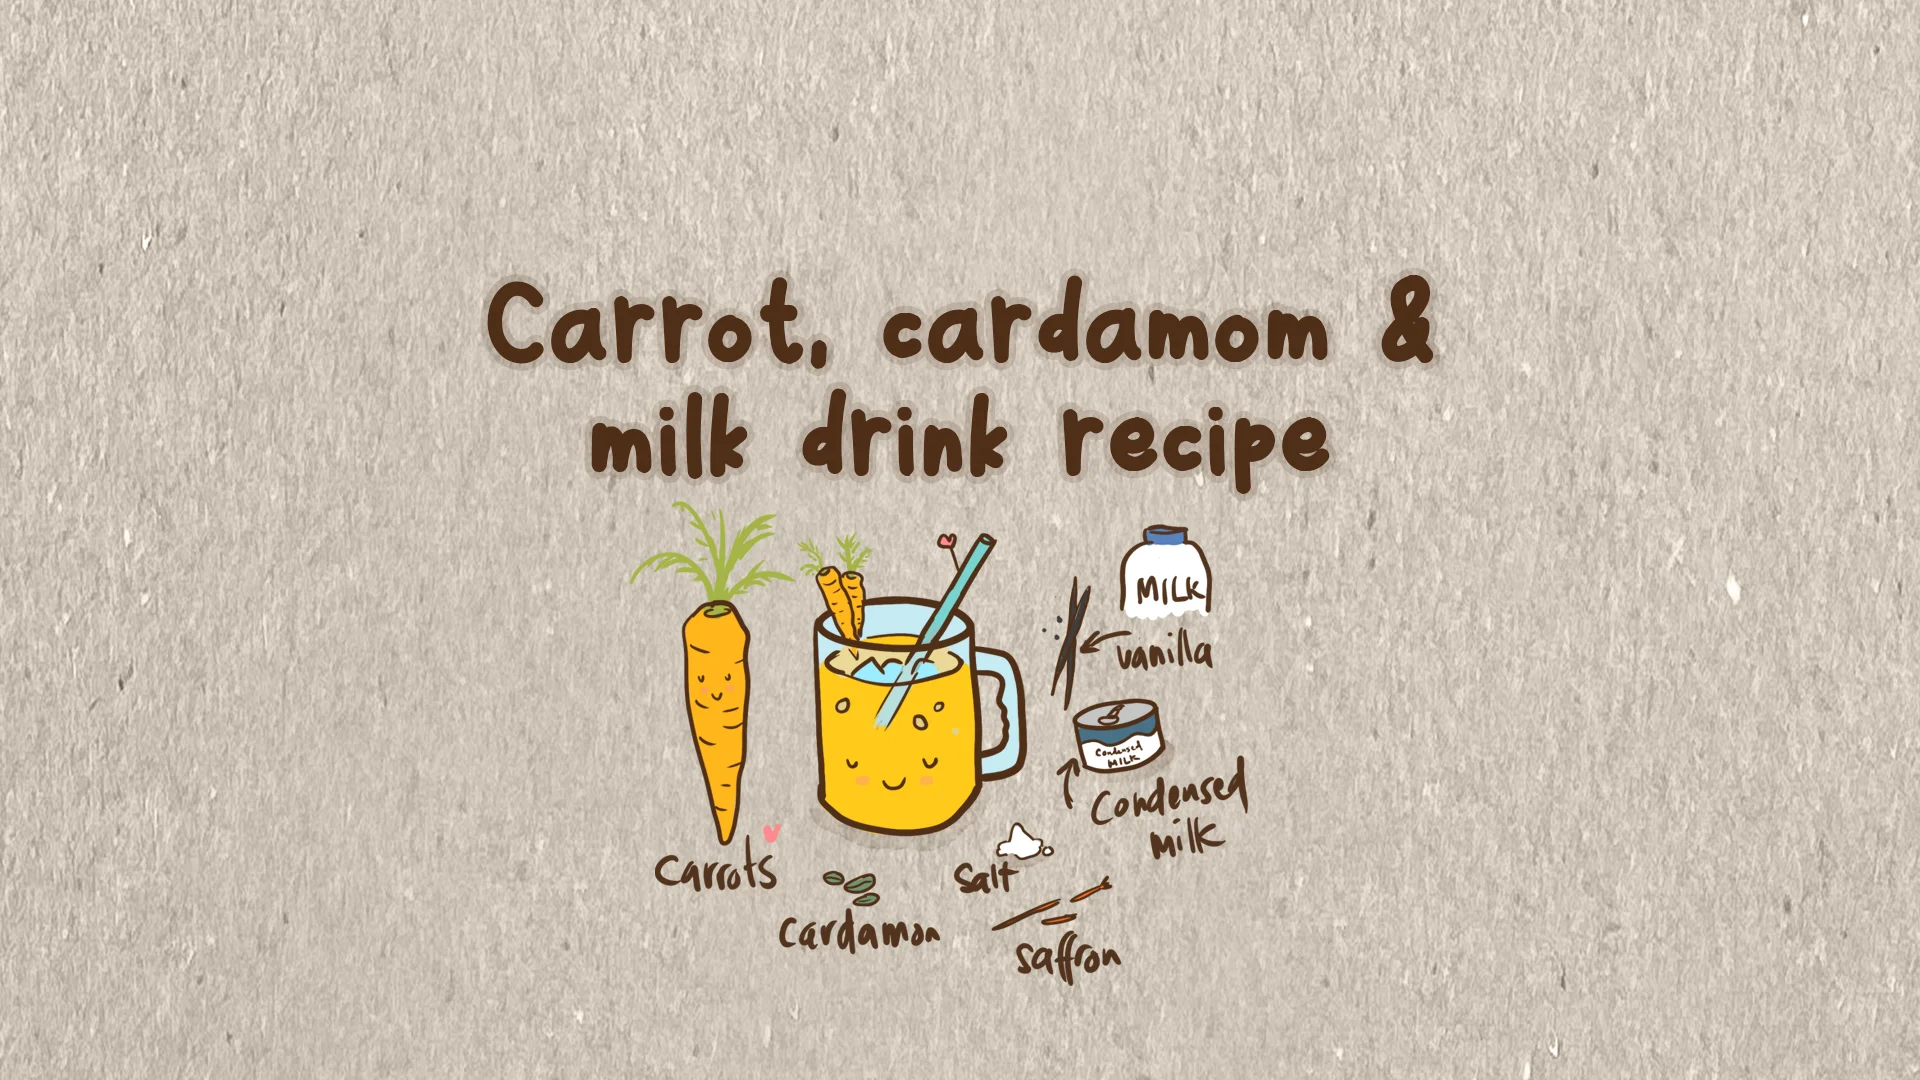
This recipe is based of the post by Nirup Konijeti about the carrot milk her grandmother used to make her. I’ve tweaked it slightly using more cardamom and some other spices. See what you think, I love this on a hot summer day as a cool off drink.
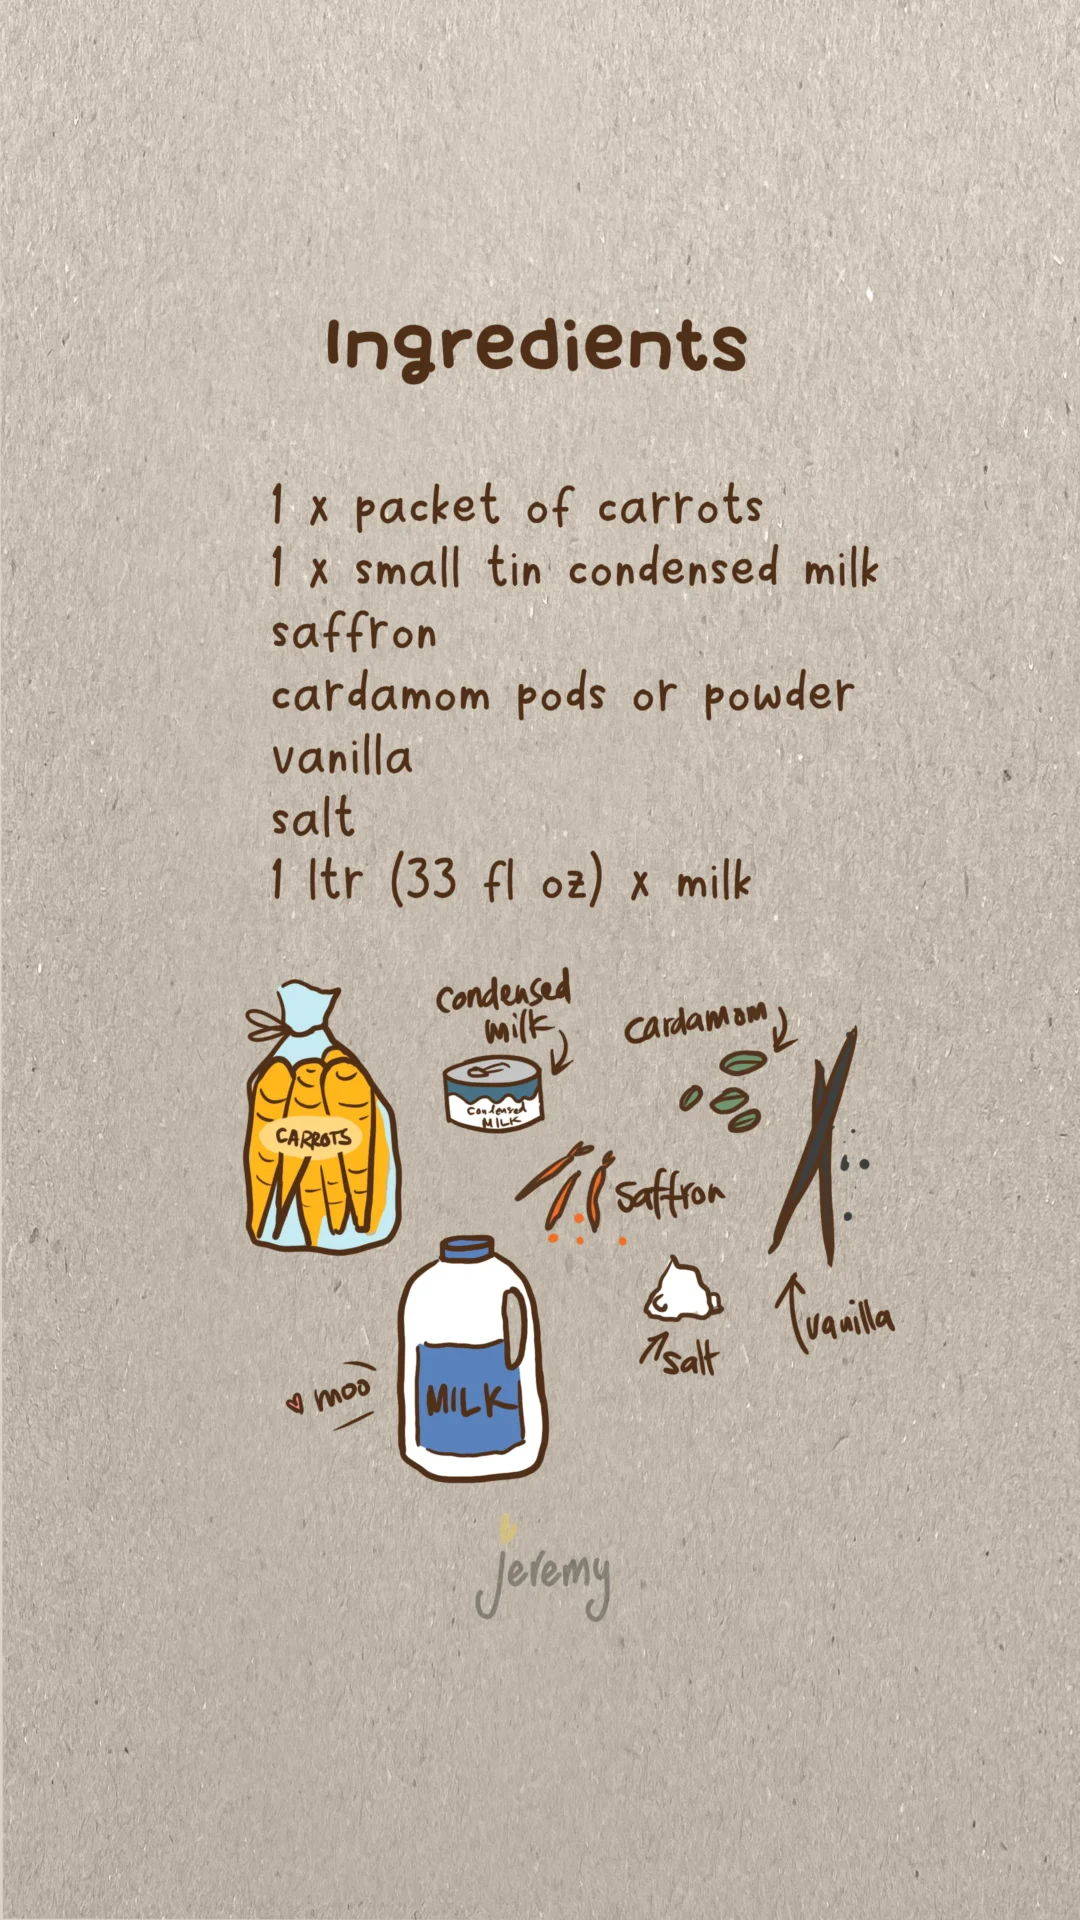
Ingredients:
1 x packet of carrots 1 x small tin condensed milk saffron cardamom pods or powder vanilla salt 1 ltr (33 fl oz) x milk
Boil your carrots
Peel and boil them until they are soft and almost falling apart. They need to be soft enough to blend.
Blend
Blend the carrots after cooling, with 1/3 of the milk the condensed milk (I used 300ml or 10 fl oz), 2 tbsp of cardamom, pinch of salt.
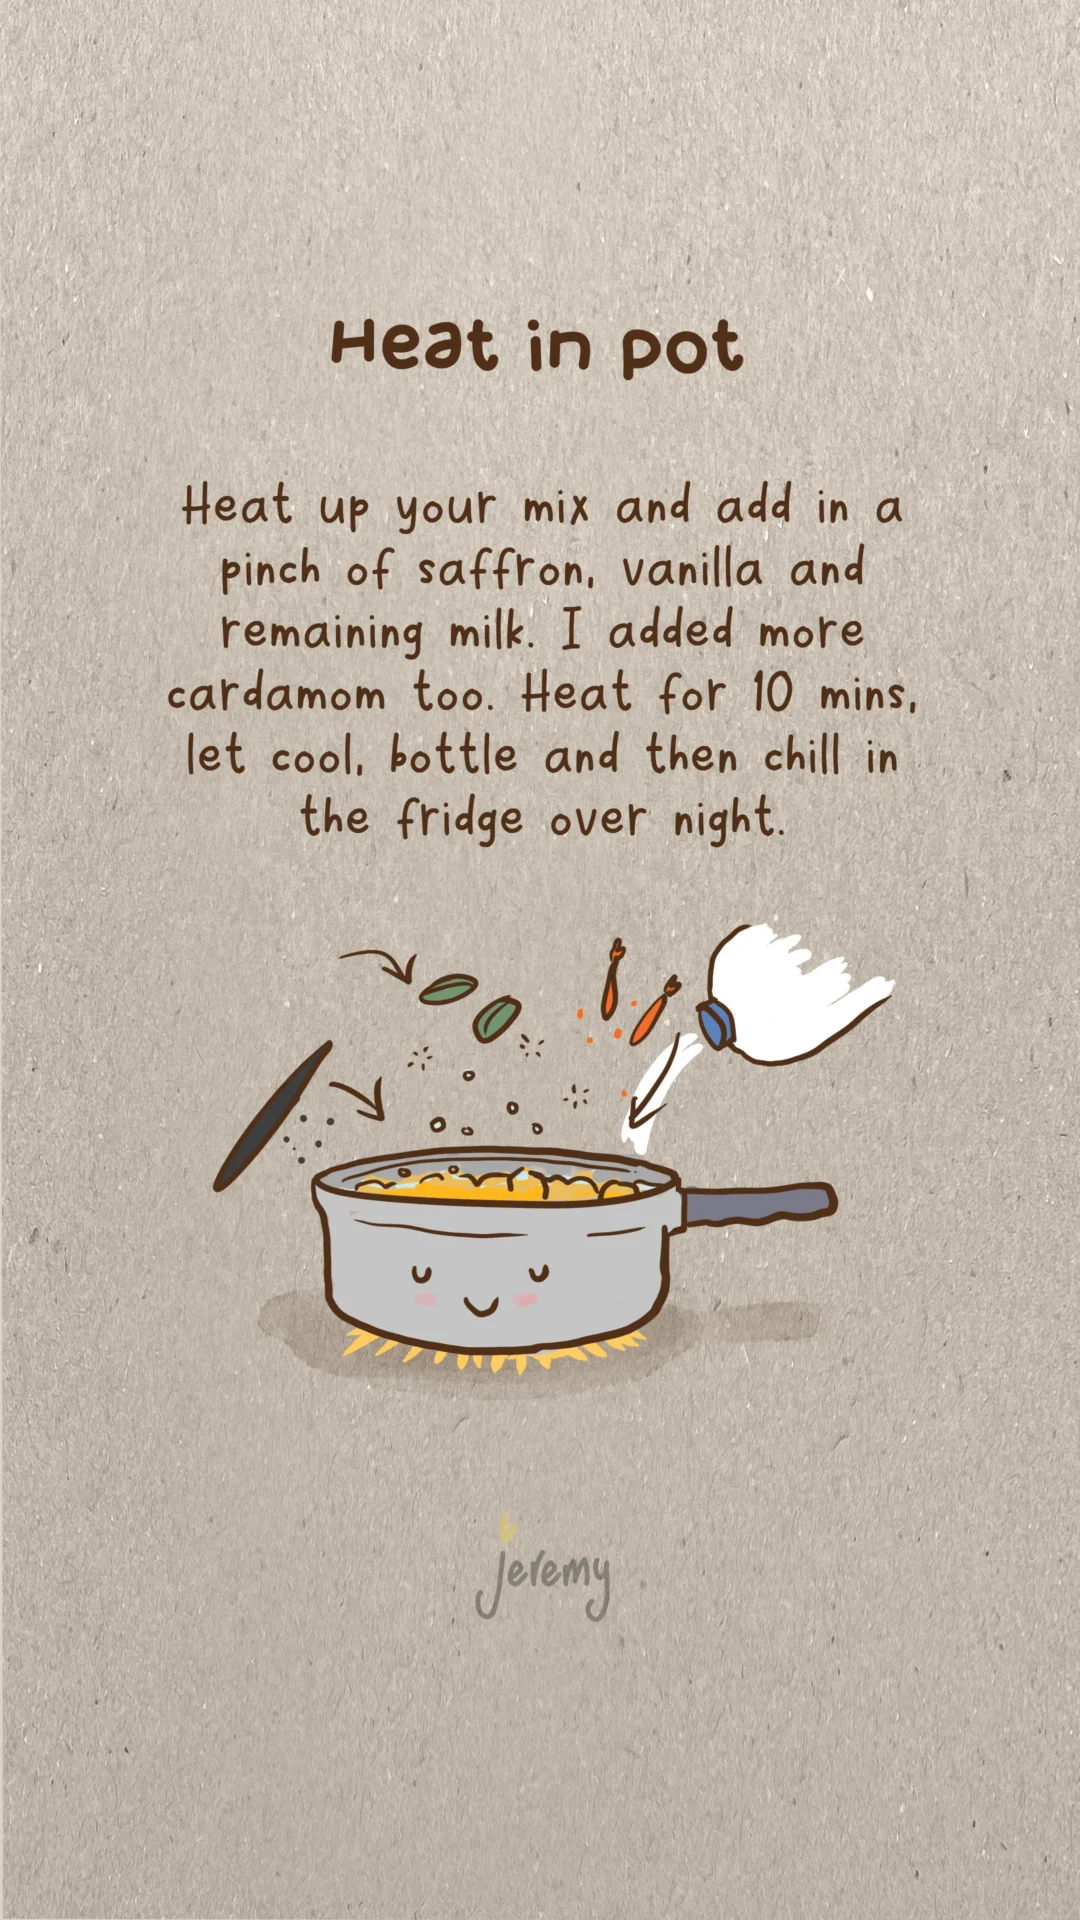
Heat in pot
Heat up your mix and add in a pinch of saffron, vanilla and remaining milk. I added more cardamom too. Heat for 10 mins, let cool, bottle and then chill in the fridge over night.
Serve to friends
I serve it by diluting it with a little more milk, over ice in a chilled glass. A sprinkle of cinnamon or nutmeg seems to work too!
Recycle your Christmas ham and easily turn it into bacon by giving it a quick fry in the frypan. It’s some of the best bacon you’ll ever have 🧡 🥰
Once your ham is opened, xmas is over and we’ve divided up the left overs amongst everyone – we got ham for dayssss. What do we do with it all? Well, luckily it makes some of the best bacon, trust me!
Every year I swear to myself, this is how I’m gonna have my bacon from now on, all year. And then I forget and end up returning to the strip or streaky bacon in the packet. Okay this is the year, ima get ham legs for bacon.
If you’ve ever been in a restaurant or someone’s house and ever had that most amazing bacon moment (if you eat it that is 😬), you might’ve experienced that turning point where you swore to yourself to cook it like that / buy that brand etc. Just coz it was sooo gud.
If you’re a Perth, Western Australia local, Mason & Bird in Kalamunda make some amazing bacon. It’s thick, textured and FLAME GRILLED 😋 I can hear the sizzle now .. and they put it on some solid sourdough. 10/10.
The strip bacon in the plastic packets in your local supermarket are vacuum packed, generally thin and pretty tasteless tbh. You might find an ok brand, or try some ham steaks or whatever. But trust me, they won’t win out on the leg ham -> bacon combo.
Your supermarket leg ham may have been brined, or salt cured where moisture is removed. (Head to your local deli or specialist supplier for higher quality.) It may have been smoked too which doesn’t help preservation, but adds depth of flavour. Lastly it is simmered and cooked, ready for serving hot or cold.
Let’s go HOT 🔥
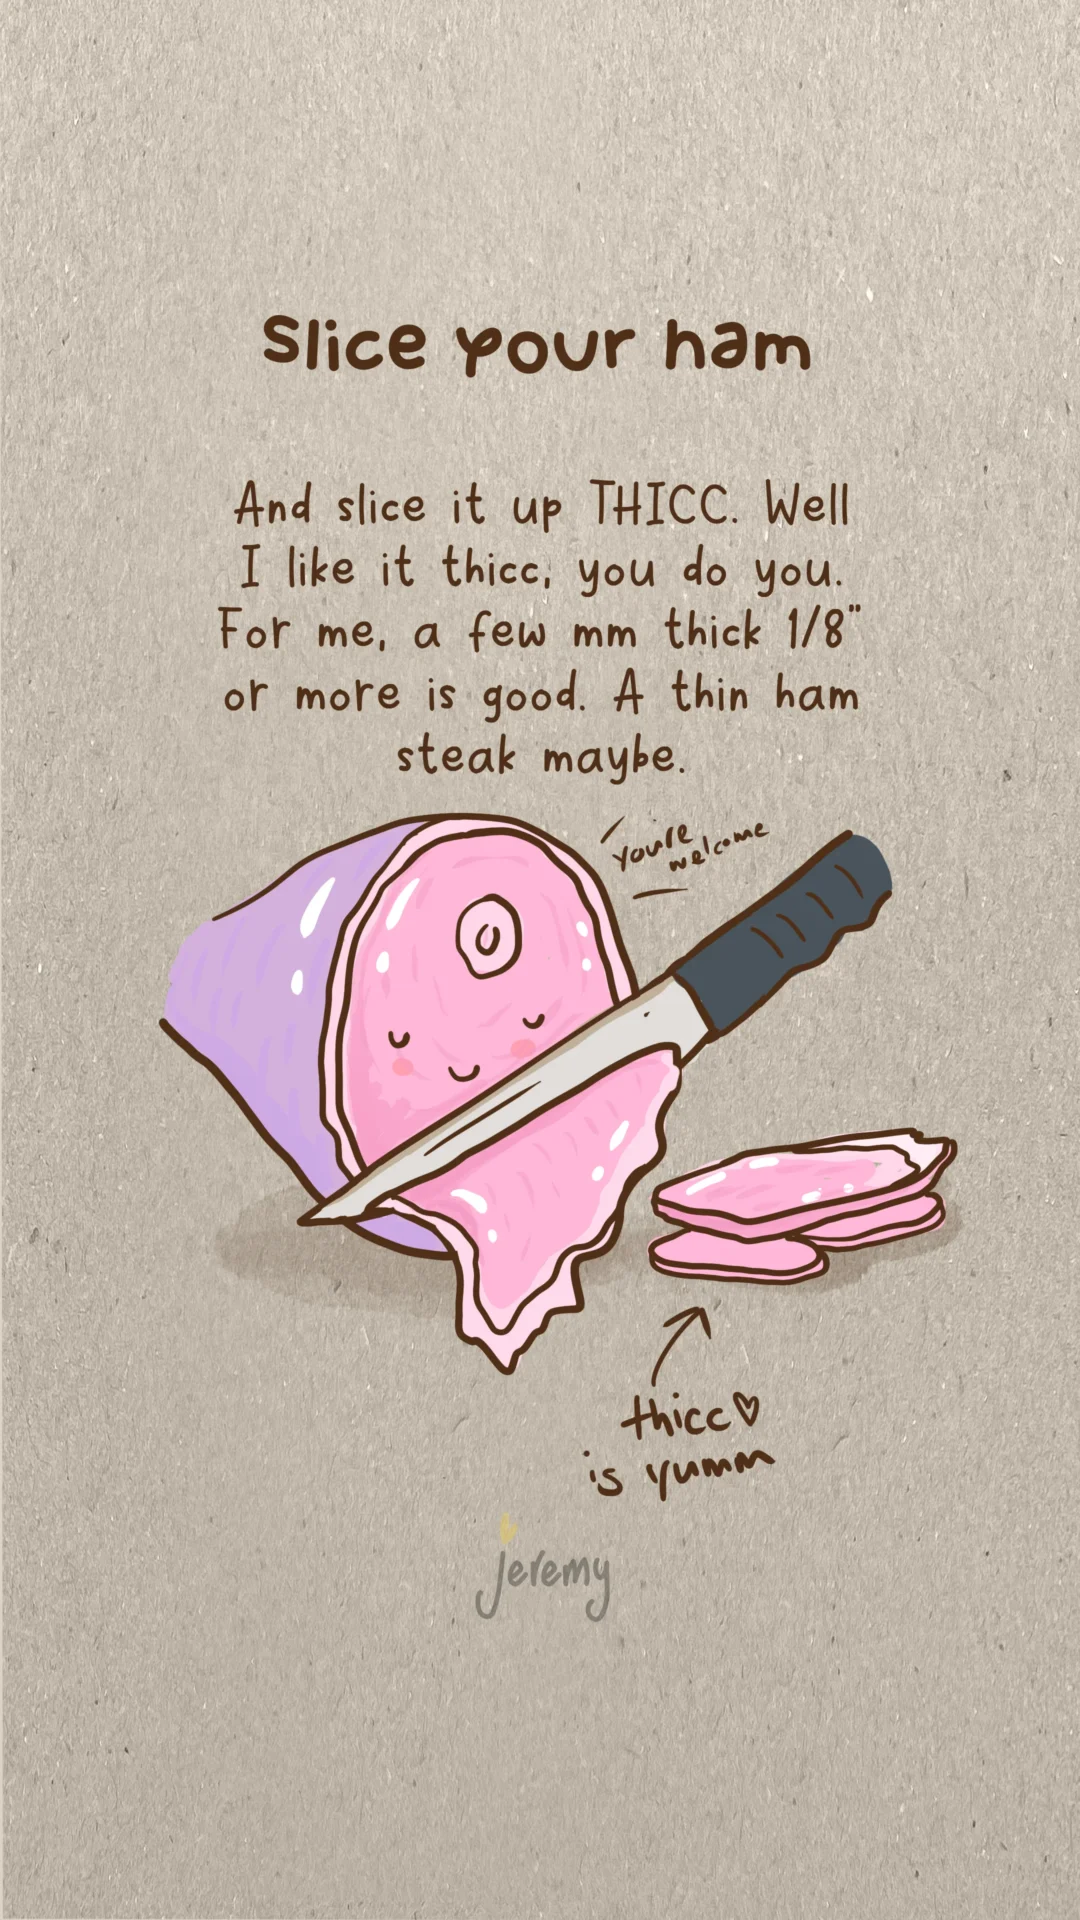
Slice your ham off the leg or whatever left overs you have. I like mine around 4mm or 1/8 inch or so.
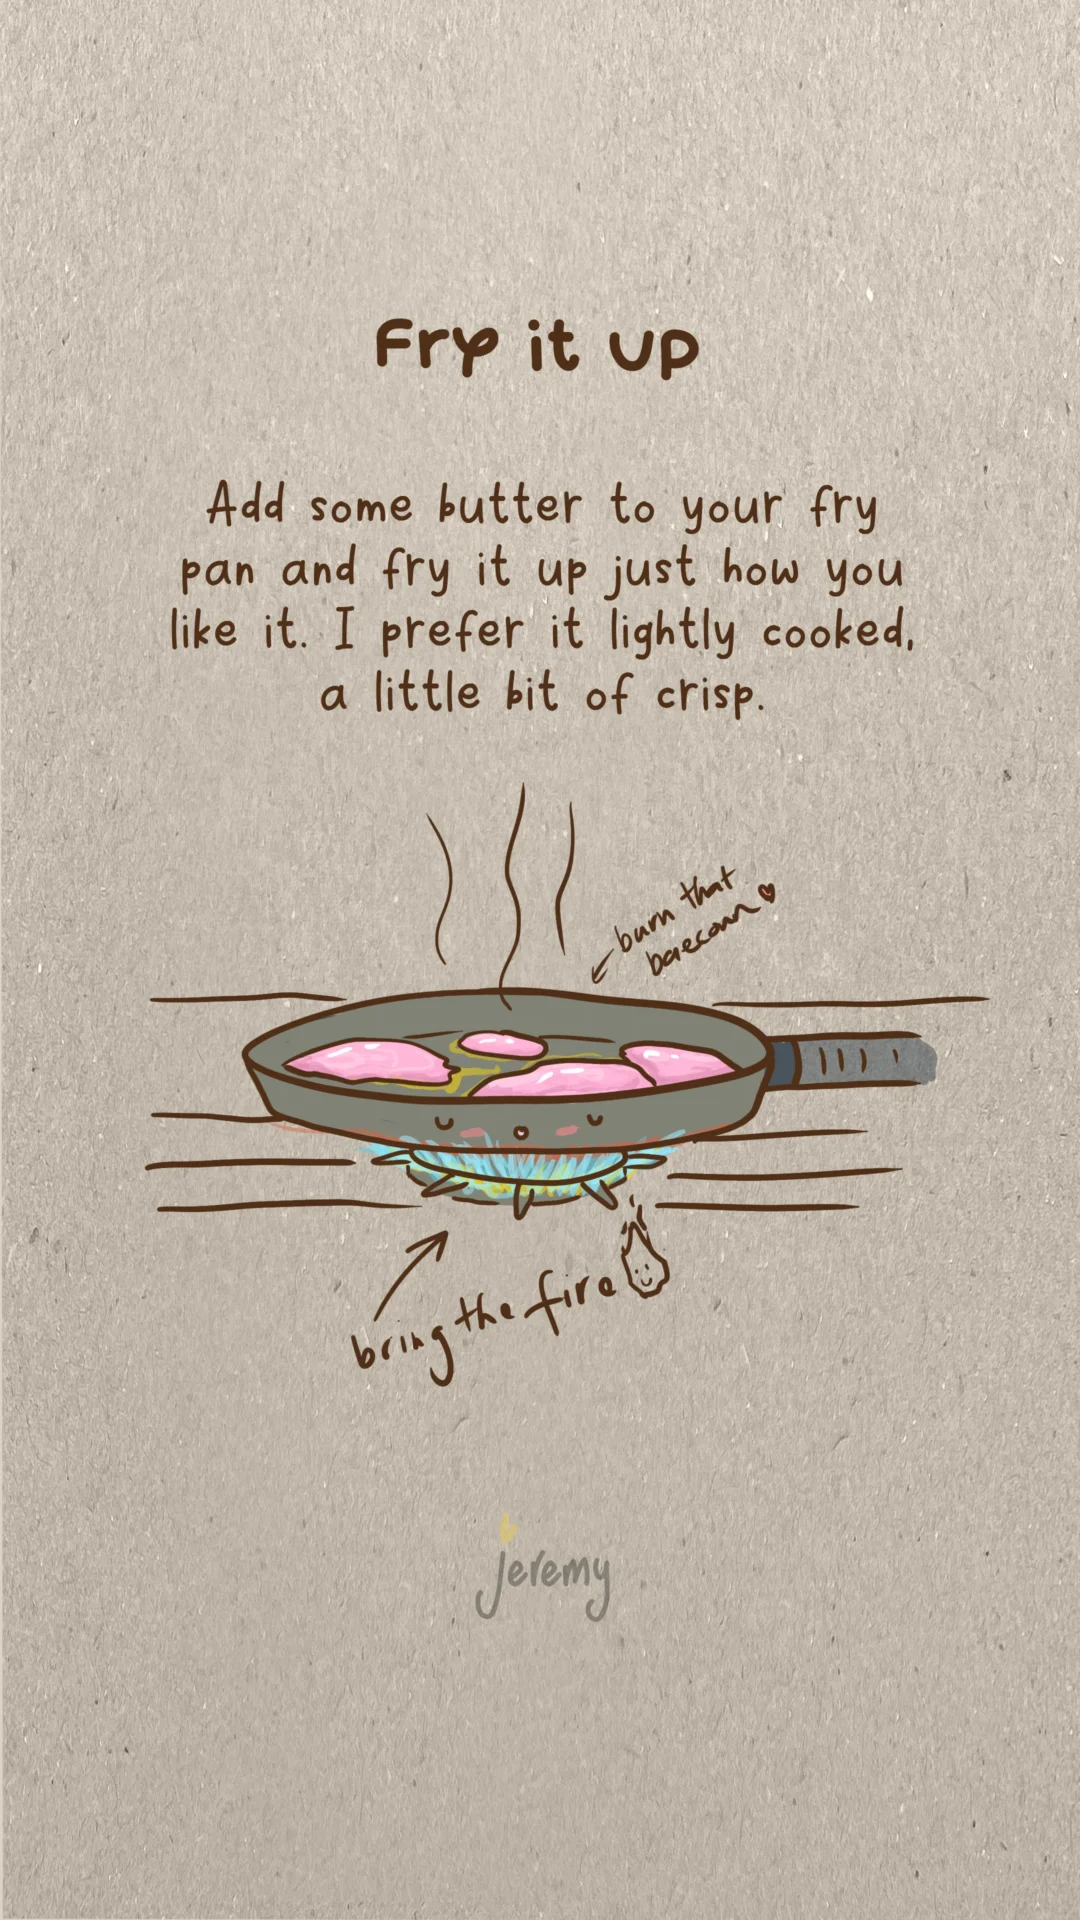
Throw a tablespoon of butter into the frypan and melt it. Then add your ham slices, soon to be bacon!
Fry it up the way you like it. You’ll find that even though it’s thicker, it’ll cook quickly because essentially, it’s already cooked. I like mine slightly crisped, and crisp the fatty portions a little more.
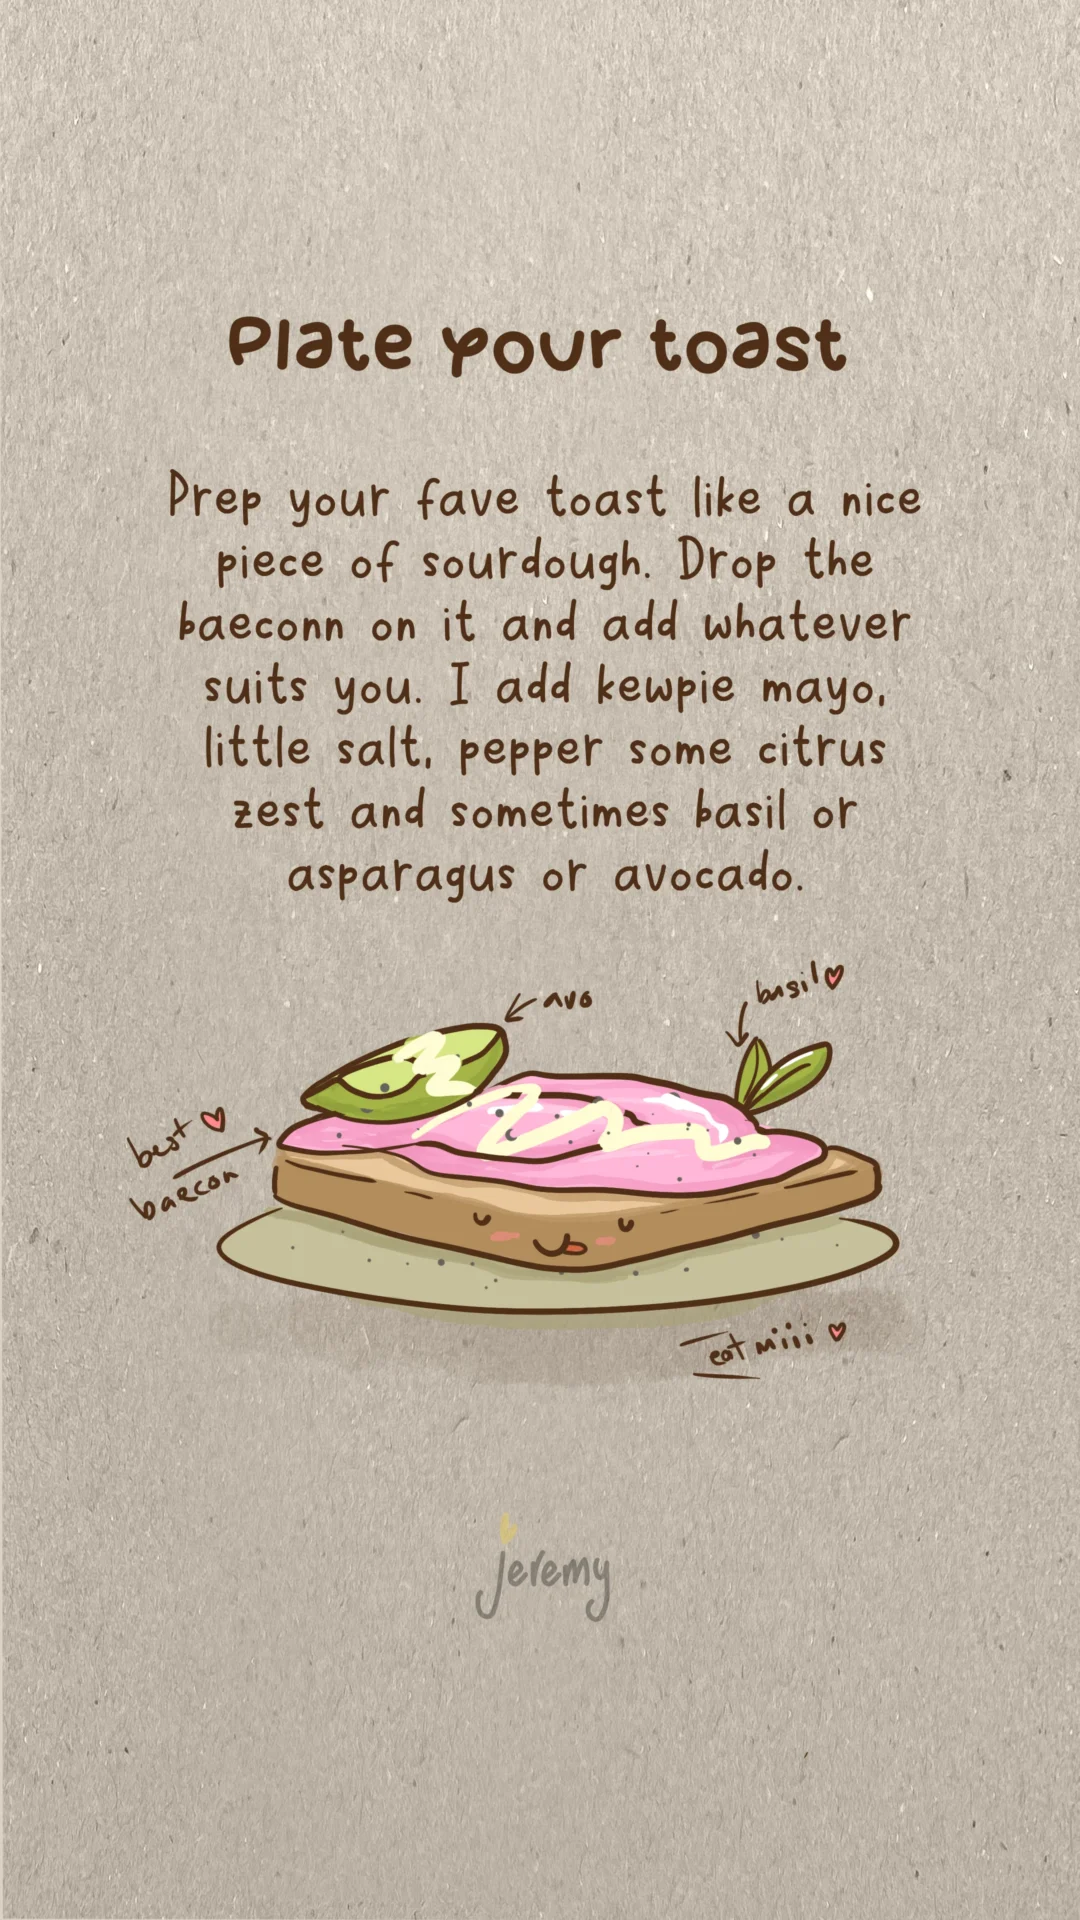
Prep your toast, your home-made sourdough is great but anything will do. I half-butter before toasting and then finish with the remaining butter afterwards.
Throw on your HOT bacon. I add some kewpie mayonnaise, a little salt, lots of pepper and sometimes some citrus – lemon or yuzu zest to offset the oil. And surprisingly, fresh basil goes well with it too.
That’s it, so simple. You could make a full brekky out of it by adding cooked eggs, mushies and a small salad. Any extra baeconn or ham can go in the freezer.
TRY this bacon method. It’s yum, you’ll ditch the supermarket packets for good!
Drop a comment if you tried this or you’ve recycled your xmas ham in other ways, thanks.
This is how I make hot chocolate at home and with a few simple changes, it makes your hot choco creamy with that campfire flavour.
Preparation
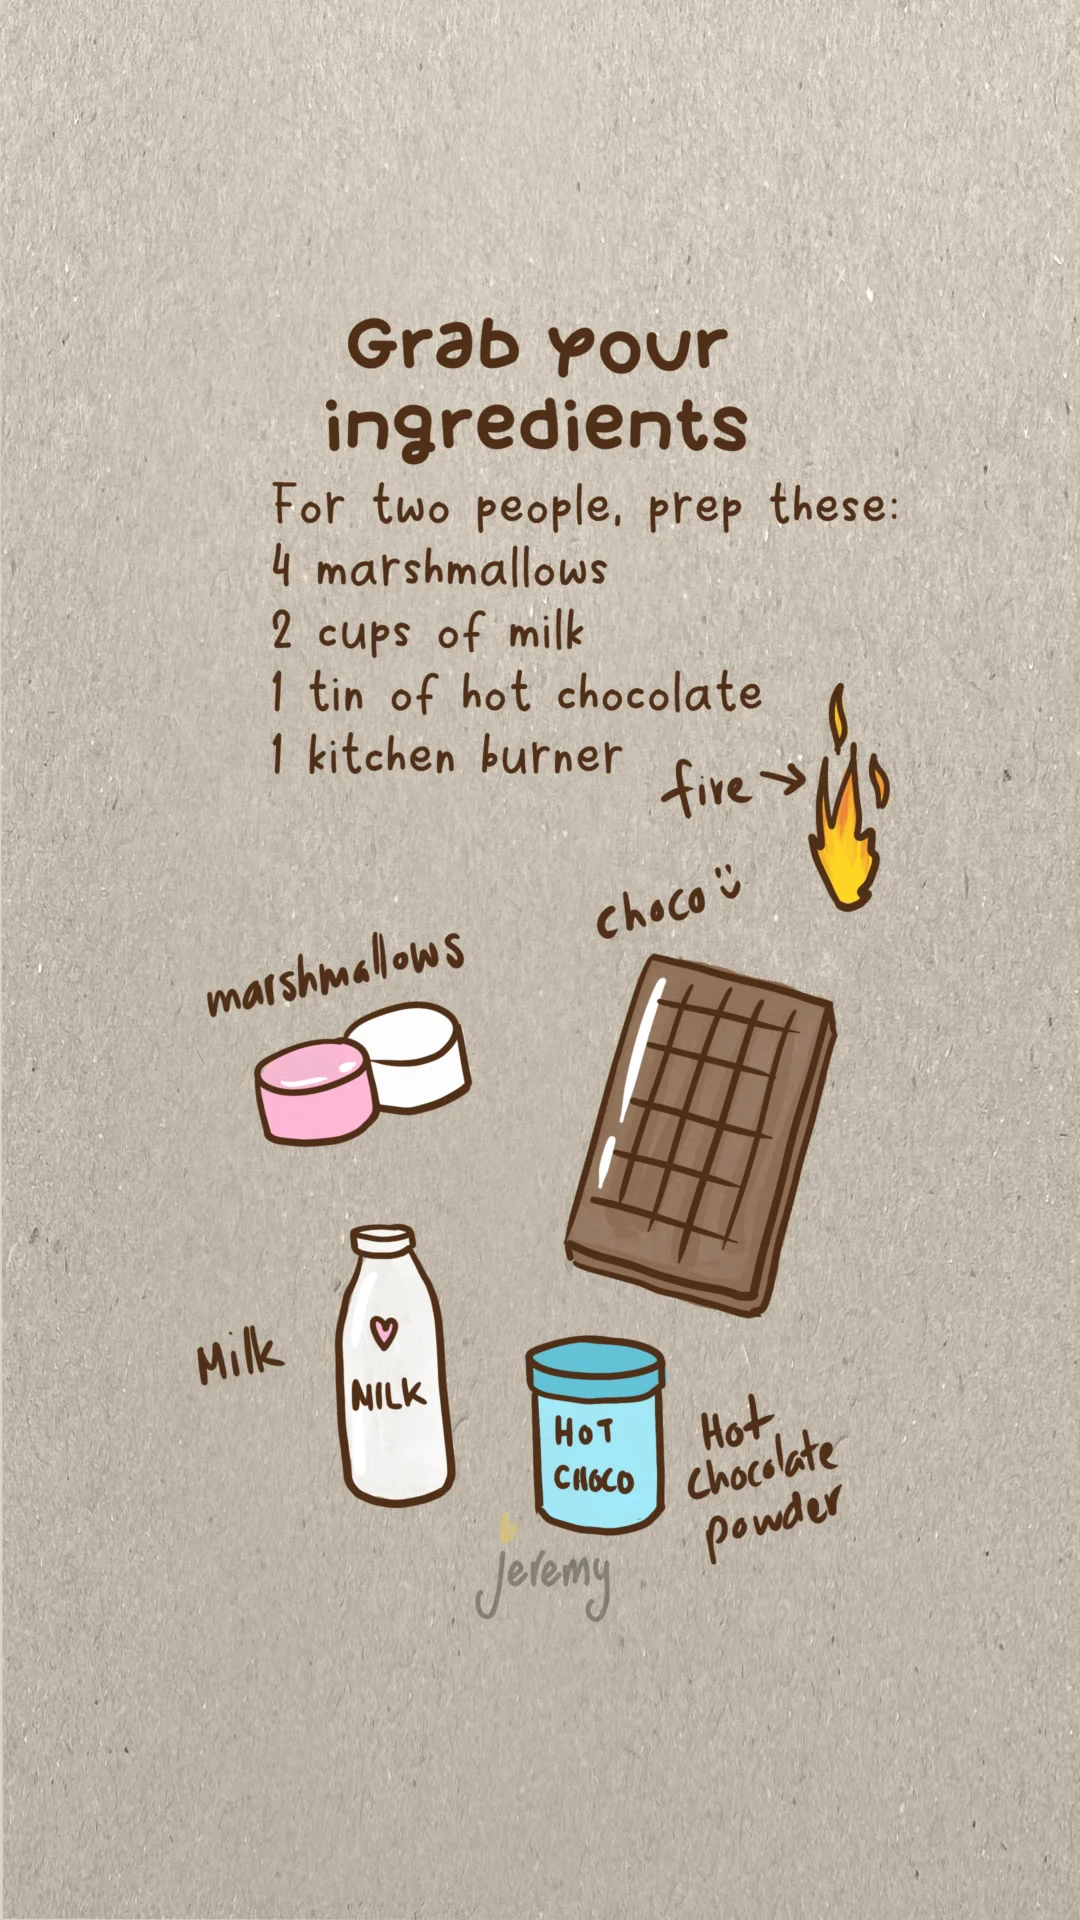
For two people, (perfect or your cutie bf, gf or whoever you share those special cuppas with) prep these:
4 marshmallows
2 mugs of milk
1 tin of hot chocolate powder or flakes
1 kitchen burner
1 coffee machine (milk steamer)
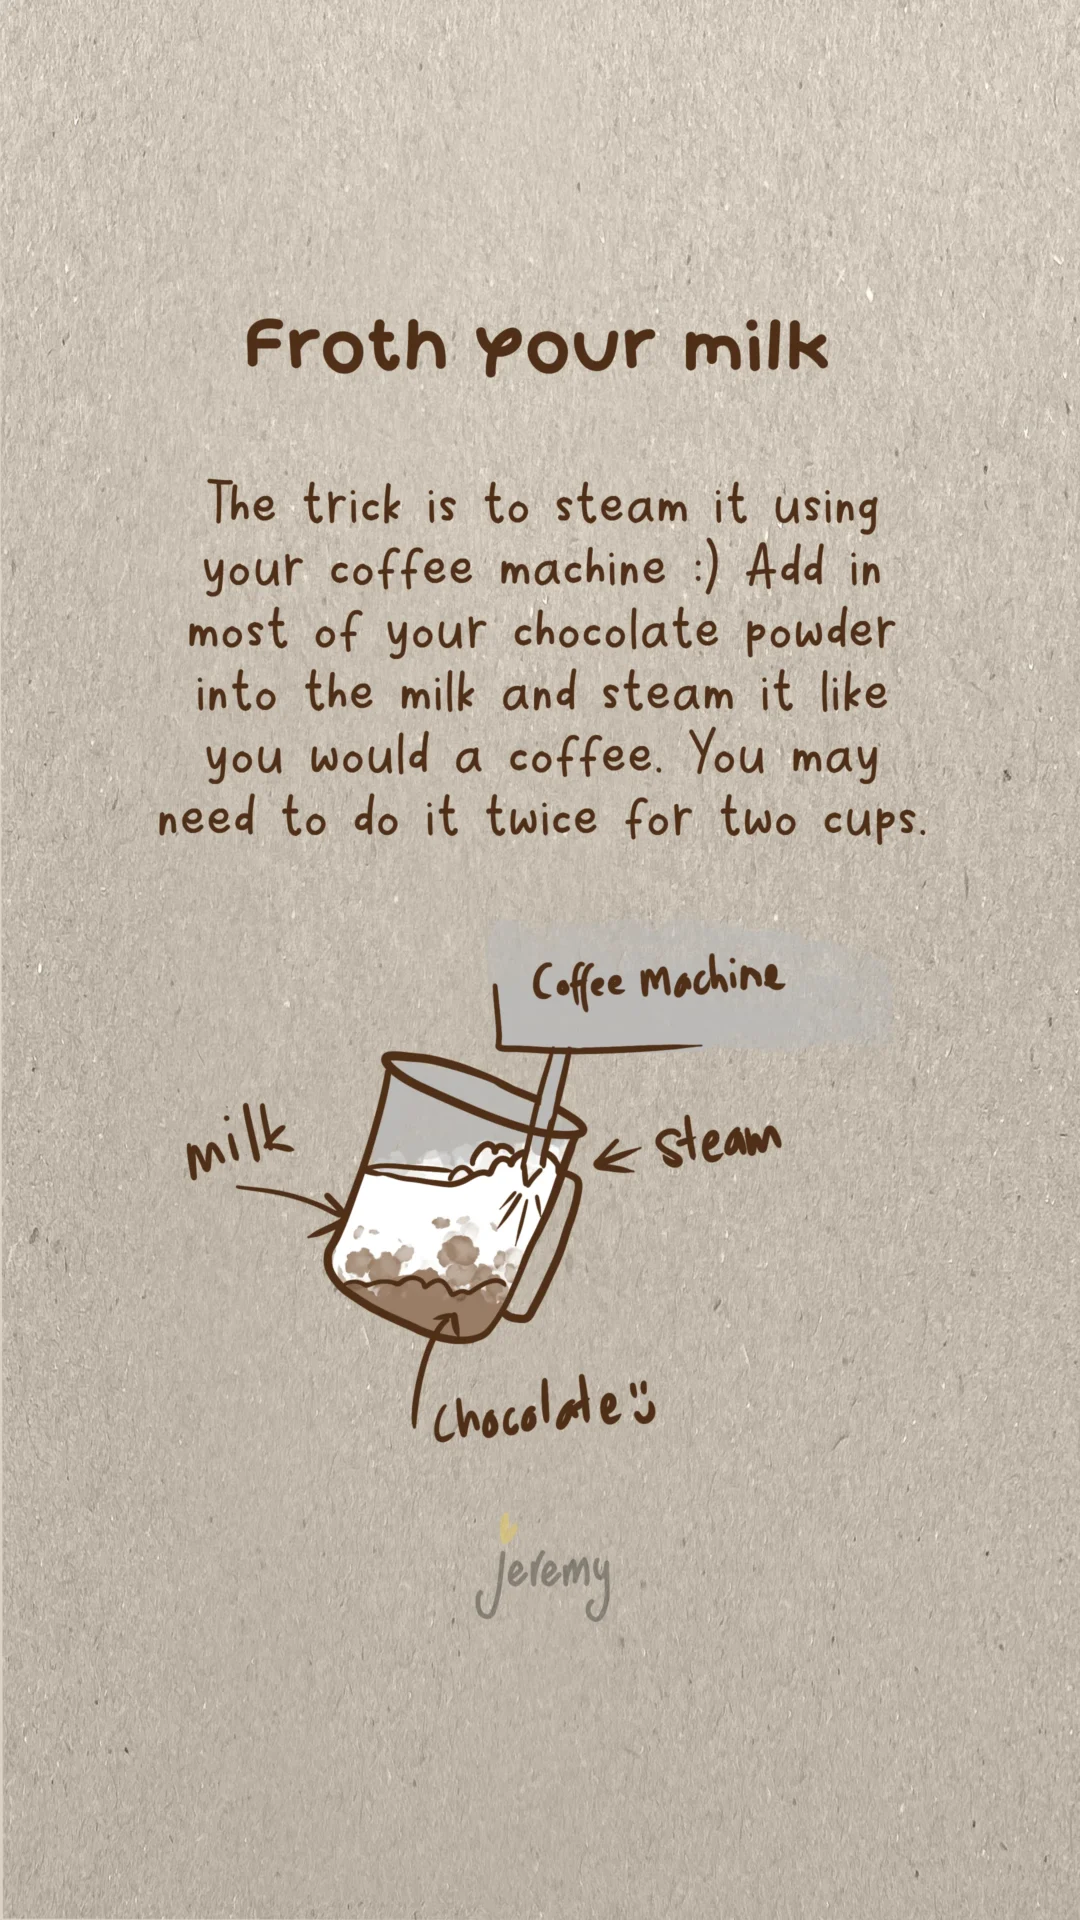
Froth your milk
The trick is to steam it using your coffee machine 🙂 Add in most of your chocolate powder into the milk and steam it like you would a coffee. You may need to do it twice for two mugs.
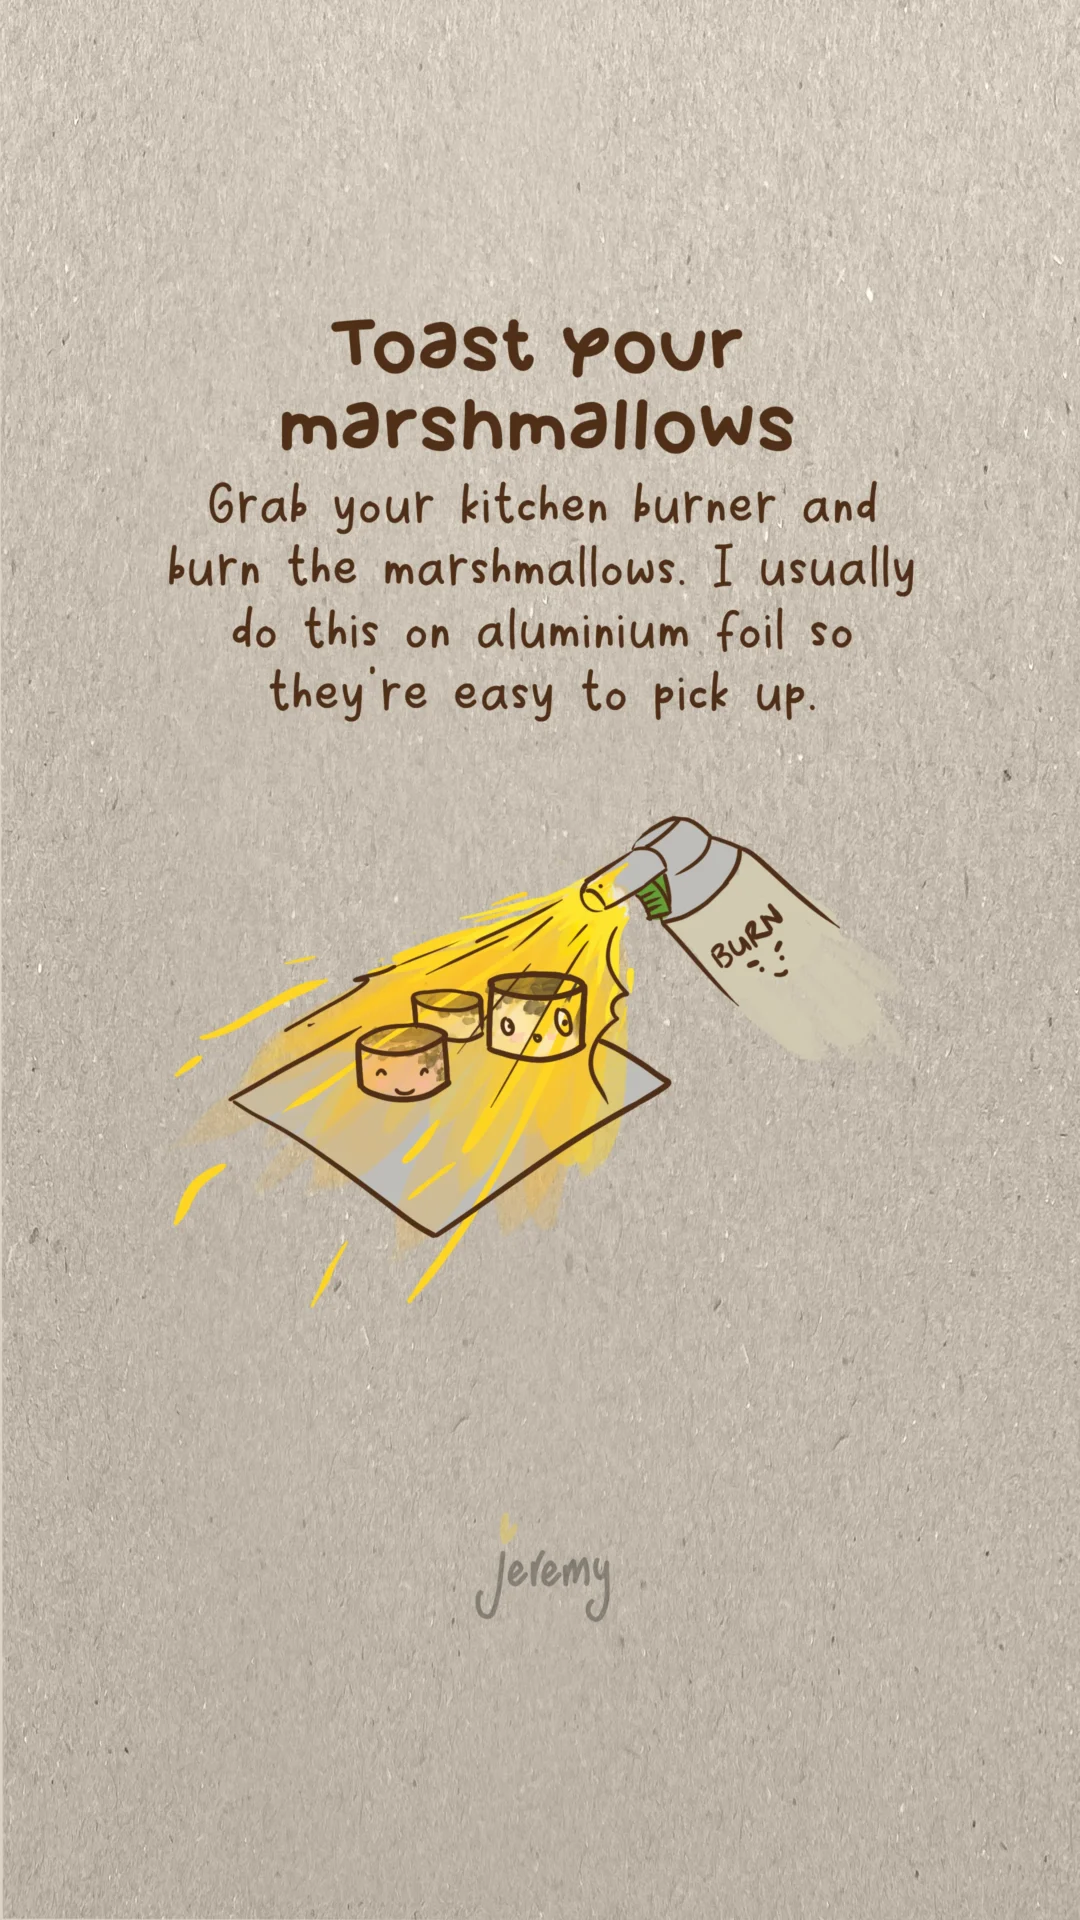
Toast your mallows
Grab your kitchen burner and burn the marshmallows. Buuuurrrrn them 🔥🔥 I usually do this on aluminium foil so they’re easy to pick up once they’re toasted and soft.
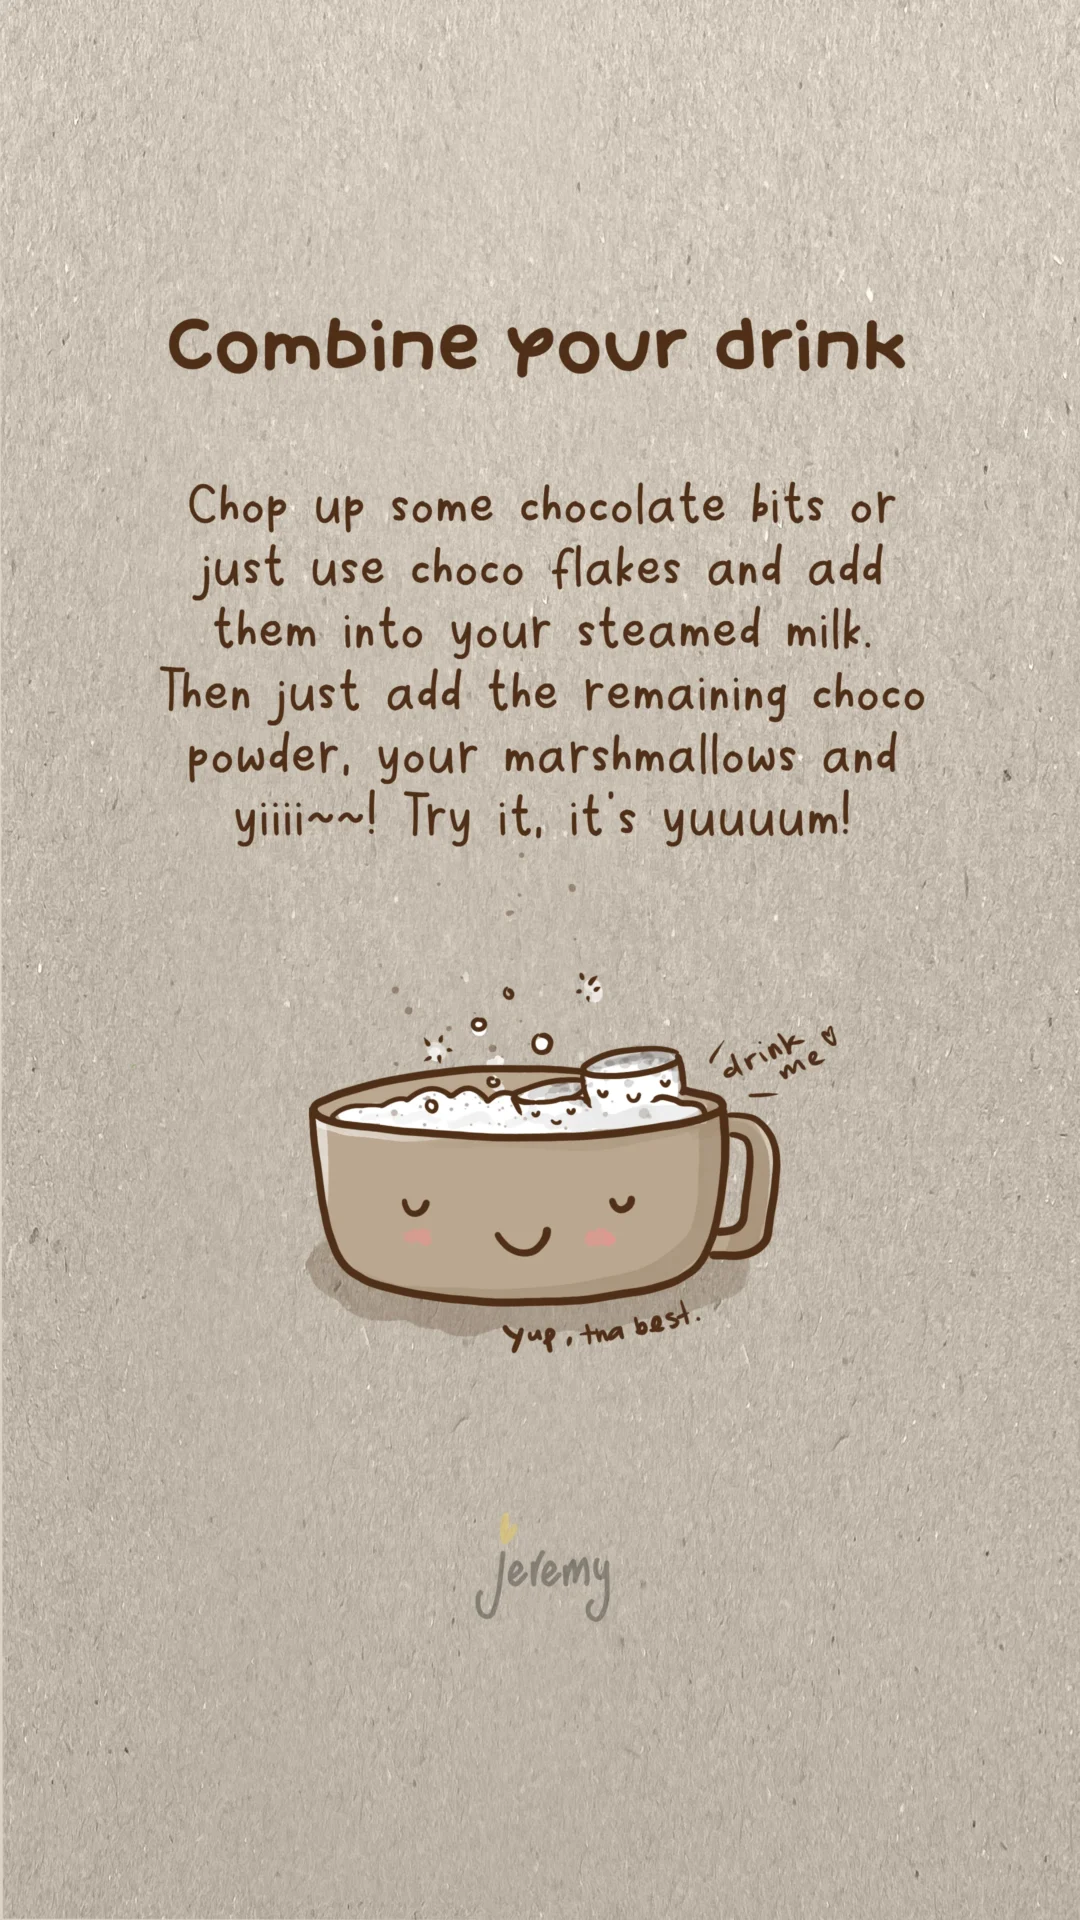
Combine your drink
Pour out your steamed milk into the mugs.
Chop up some chocolate bits or just use choco flakes and add them into your steamed milk.
Then just add the remaining choco powder, your marshmallows and whatever else you want into your mugs – yiiii ~~
Try it, it’s the fireee yummo campfire hot chocolate you’ve been craving! 🔥
Fig leaf tea has many potential health benefits and has flavours similar to rooibos or chamomile. So it may not be everyone’s …. I like it though! There’s something very earthy about it. It’s gotta be one of the earthiest teas I’ve tasted.
Here’s a couple of methods to make your own fig leaf tea, with the leaves from the fig tree in your garden.
What is fig leaf tea good for?
Fig leaves are a rich natural source of bioactive compounds and phytochemicals including antioxidants (also berries have these) phenolic compounds, unsaturated fatty acids and vitamin micronutrients. They include Manganese, Iron, Magnesium, Sodium, Calcium, Potassium, Zinc and vitamins, A, B1 and B2 to start. They can play a vital role against gut conditions, diabetes and cardiovascular conditions.
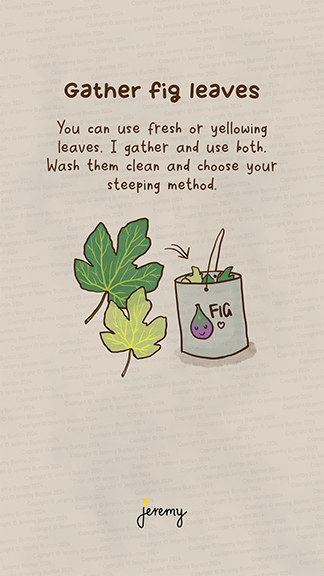
Whatever leaves you have available are fine. Preferably from your own garden so you know how they’ve been treated (no chemicals). The leaves can be fresh or yellowing. Wash them clean and then think about your steeping method.
Take care of the sap dripping from the stalks of the leaves if you harvest them fresh (preferred option). It can irritate some people’s skin. If the sap gets on your skin, wash it off as soon as you can. I harvest using rubber gardening gloves.
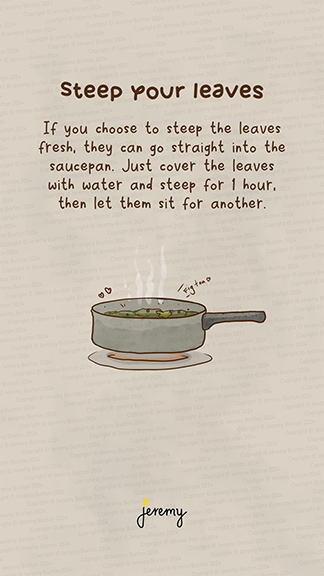
Steep your leaves
If you choose to steep your leaves fresh, they can go straight into the saucepan. Just cover the leaves with water and steep (bring to boil, then down to a low simmer) for one hour. Let the tea mix sit for a further hour and steep.
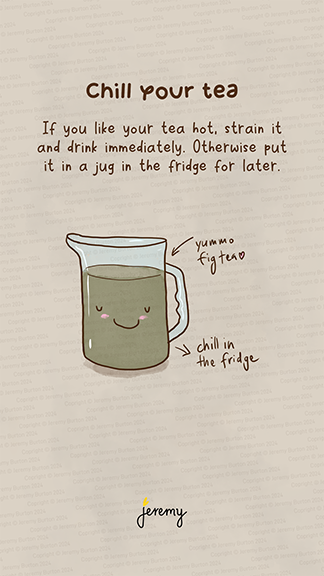
Chill your tea
If you like your tea hot, strain and drink it immediately. Otherwise strain it into a jug and fridge it for later on. I don’t mind it hot, especially in winter. But I generally prefer it cold, because the figs grow in summer time.
I’ve got a purple heart variety of fig that has massive heart shaped leaves. I only need one of those to make a good pot of tea.
Dry and store your leaves
If you choose to dry your fig leaves, put them in the oven for 20 minutes on a very low heat or use your dehydrator until dry and crunchy. Crunch them up and store in glass jars, just like other tea leaves.
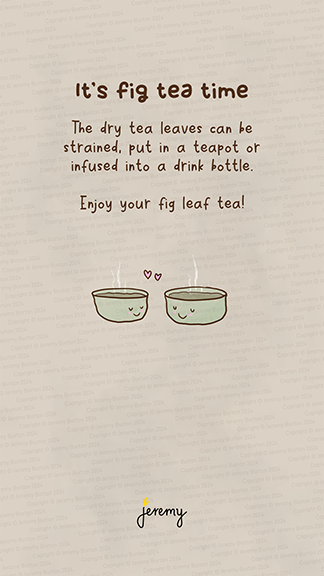
It’s fig leaf tea time!
The dry leaves can be strained and steeped just like any other tea leaves, in a teapot, drink bottle or using a strainer.
Enjoy!
Other uses of the leaves
Food wrap
The leaves can be used as a food wrap like a spinach leaf. Simmer it in salt water for 15-20 minutes until it’s tender. Try wrapping steak, mushroom or other foods in it.
In preserves
I haven’t tried it yet, but some have mentioned that the leaves can be used in preserves to add flavour.
Leave a comment if you found this useful.
Join me on Threads for more or subscribe at the bottom of the page for these posts in your email.
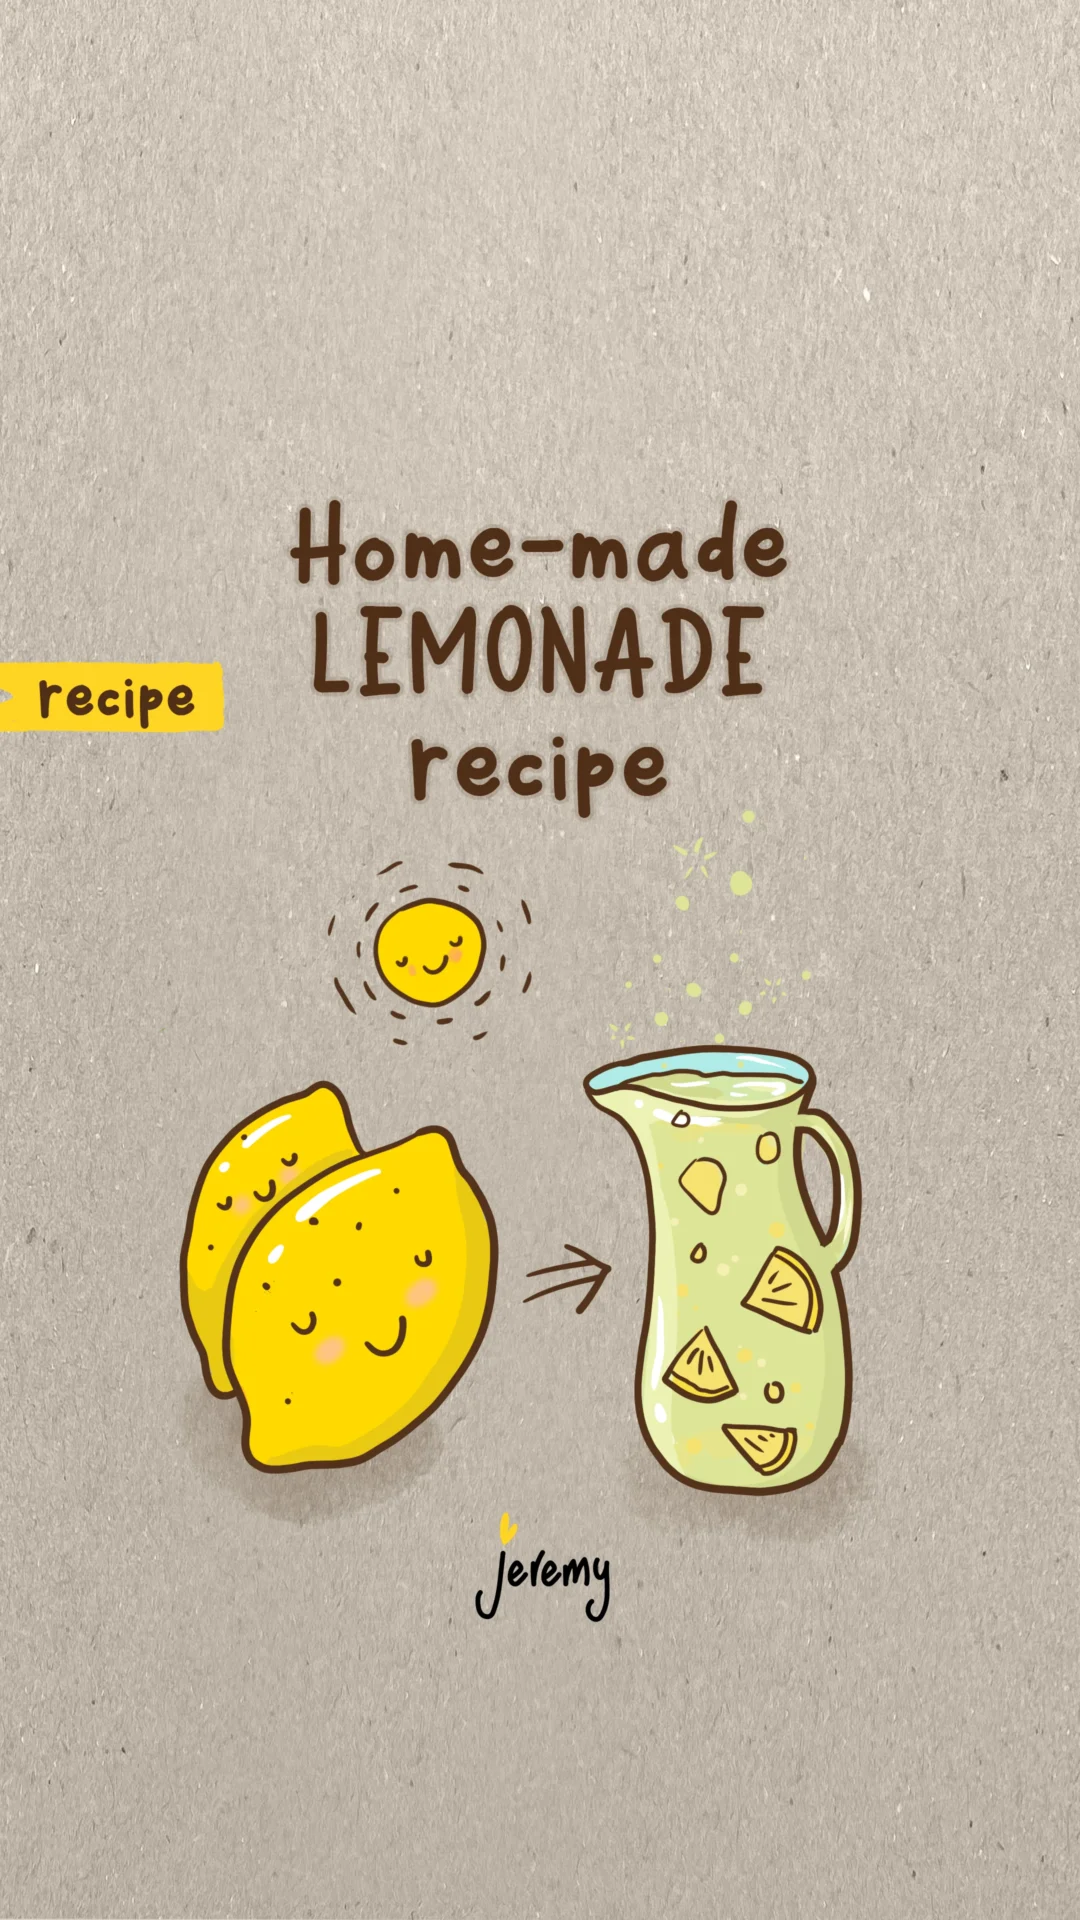
The lemon tree gets heavier and heavier each year and I struggle to find ways to use them, very fortunate! Here’s this year’s first use and its homemade lemonade.
If you’re looking for an easy but super yummy recipe for making your own lemonade, try this one out. This recipe makes around 2 litres or around 70 oz, so halve it if it’s too much for you.
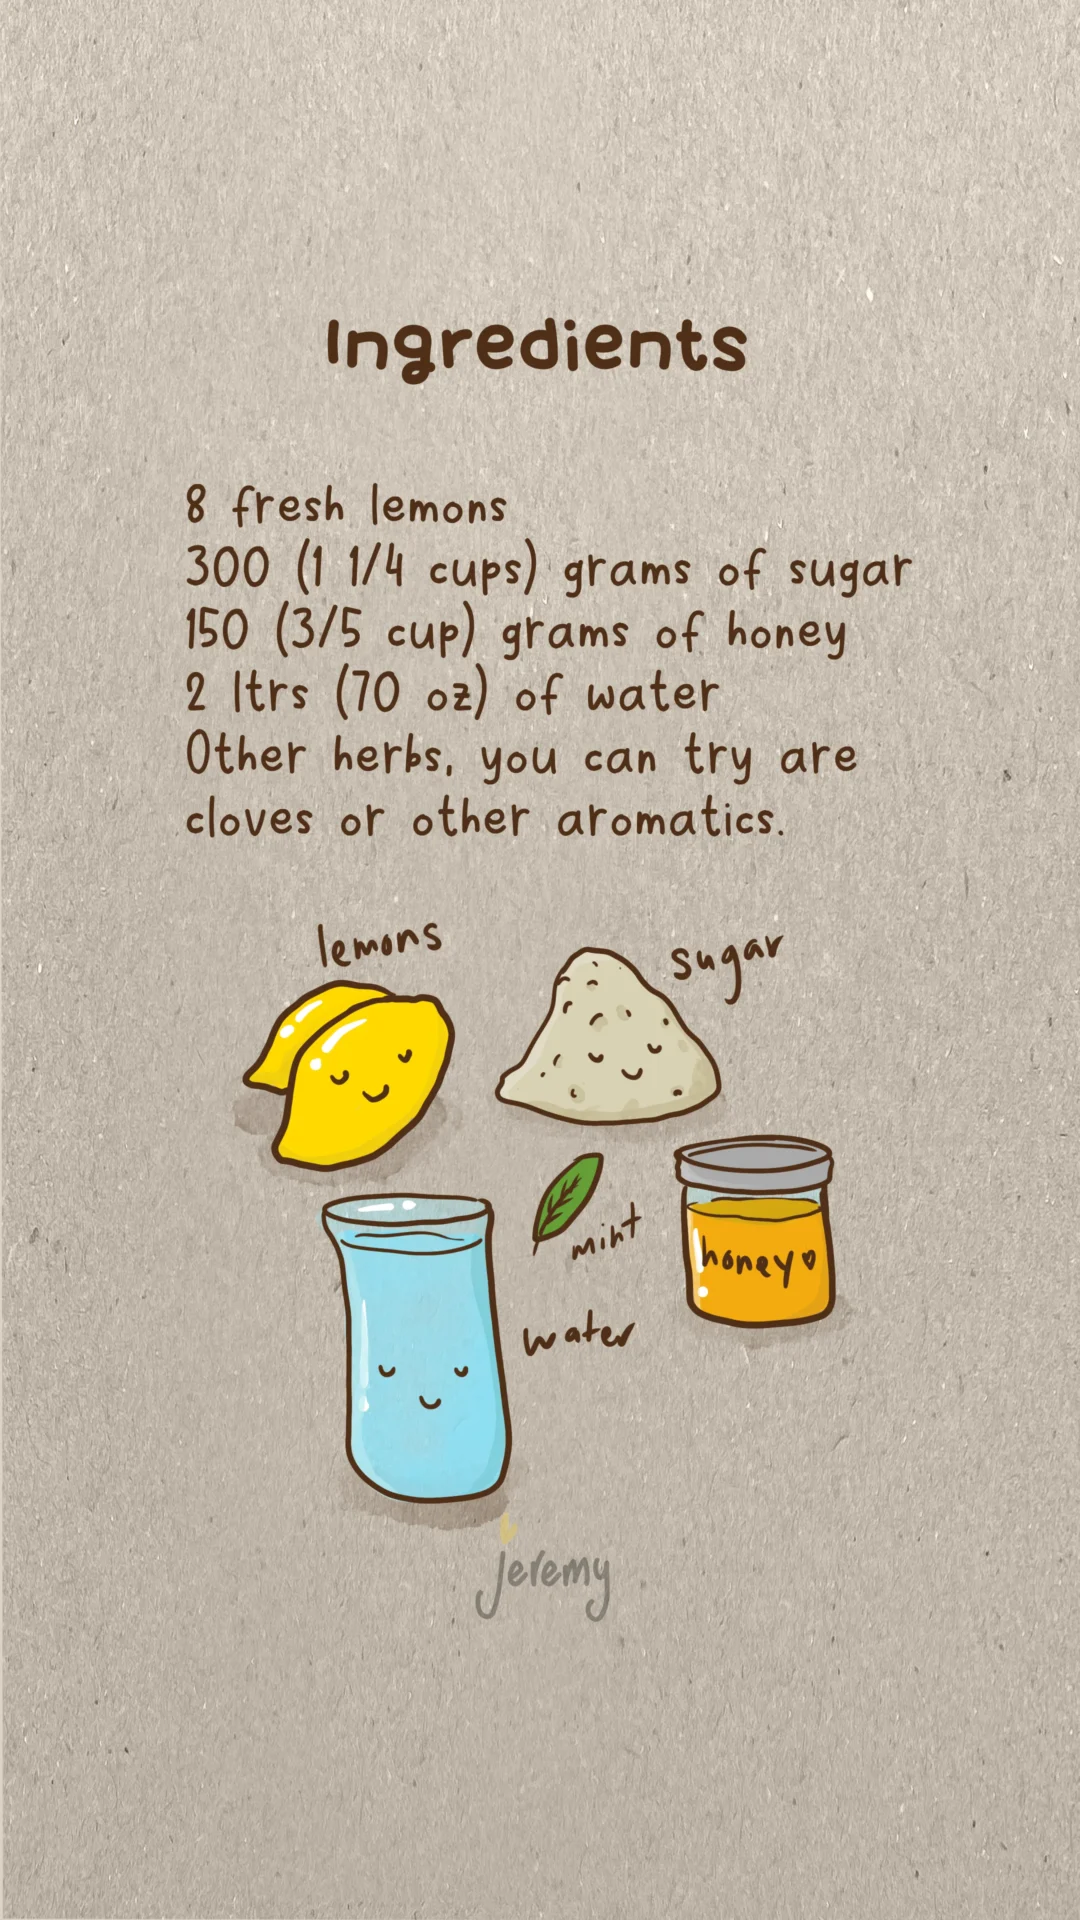
Ingredients
8 x fresh lemons
300 (1 1/4 cup)grams of sugar
150 (3/5 cup) grams of honey
Other erbs. You might try cloves, other aromatics
2 ltrs (70 oz) of water
Let’s get to it. Be aware that the flavour of the honey you use will affect the taste of your lemonade. Try experimenting with different honeys.
Slice your lemons
Slice your lemons into halves, then quarters and remove the seeds and white pith in the centre. I cut a shallow triangle in the centre to make it quick and easy.
Then I slice them really thin, about 5mm or about a 1/4 inch. It’s a good thickness for cooking them and also when you eventually eat a slice or two in your lemonade.
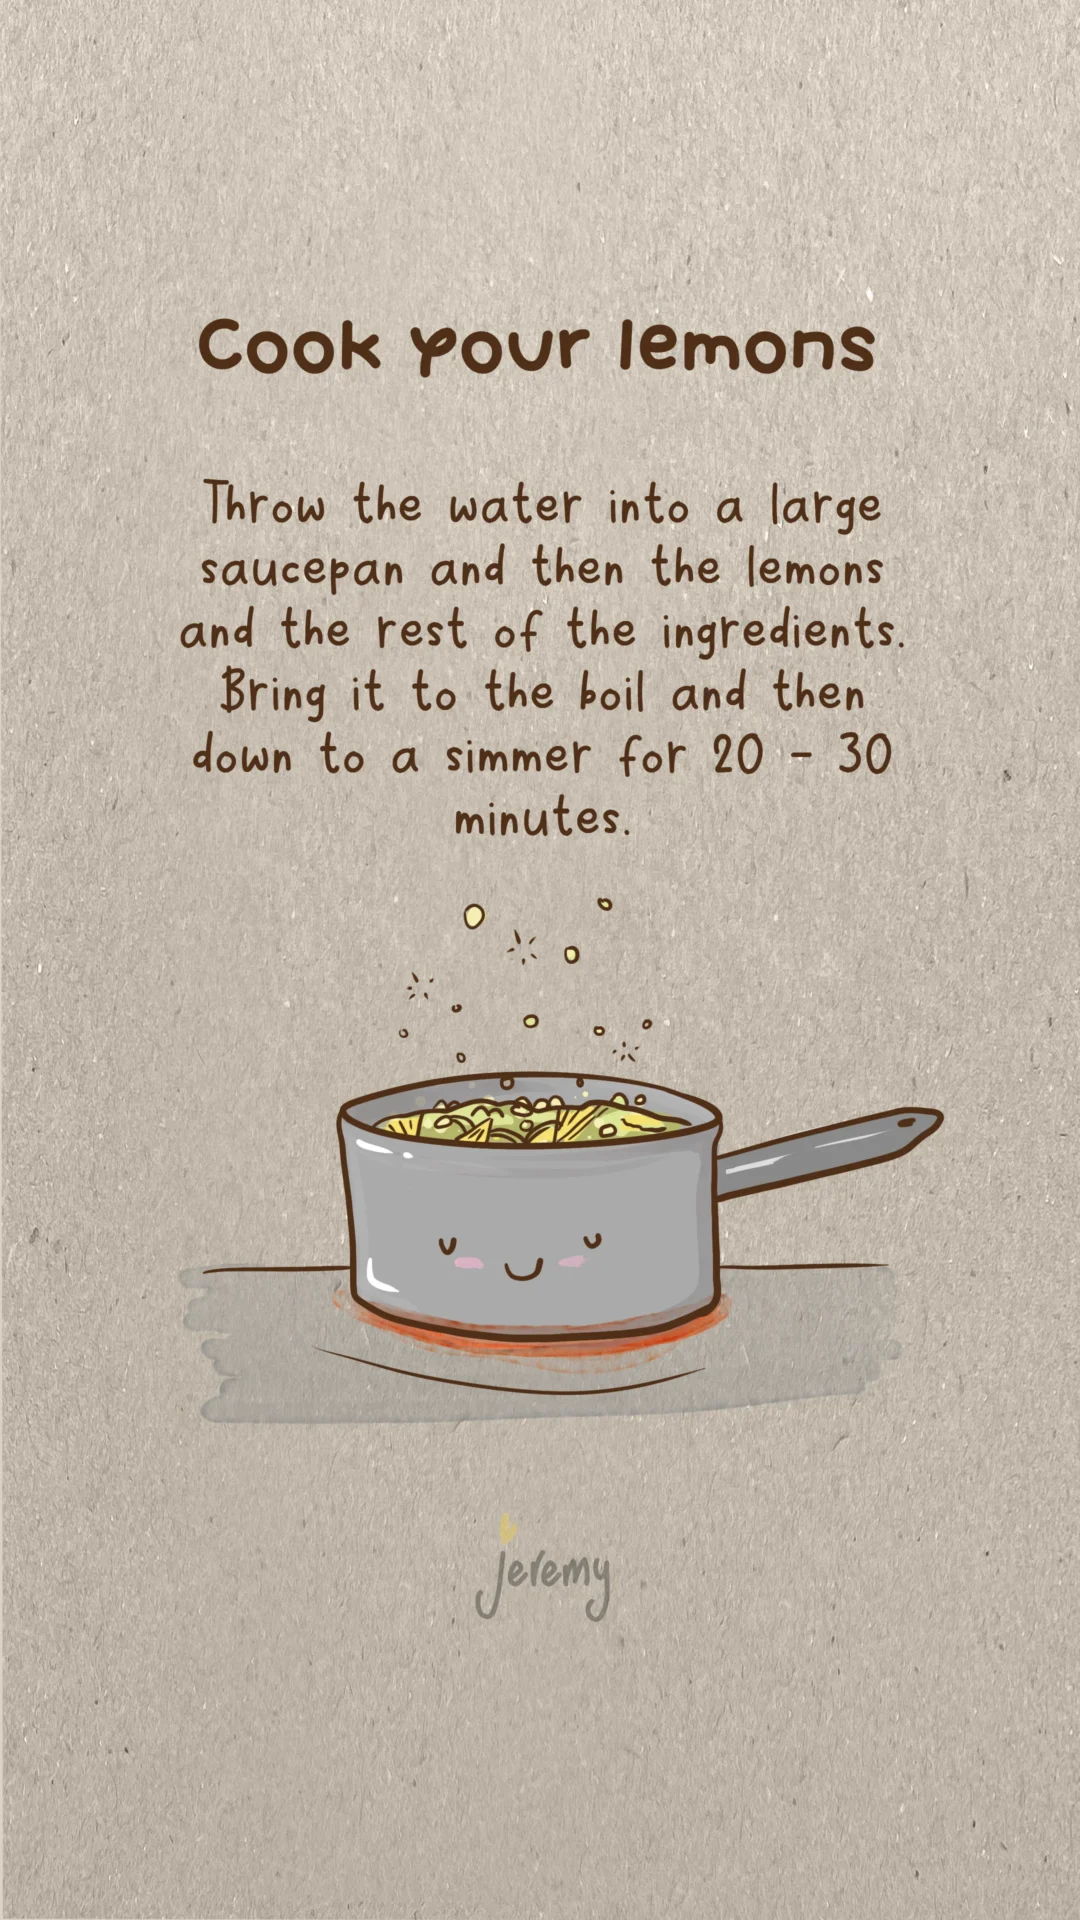
Cook your lemons
Throw the water into a large saucepan and then the lemons and the rest of the ingredients. Bring it to the boil and then down to a simmer for 20 – 30 minutes. I sometimes leave it in longer to soften up the lemons further.
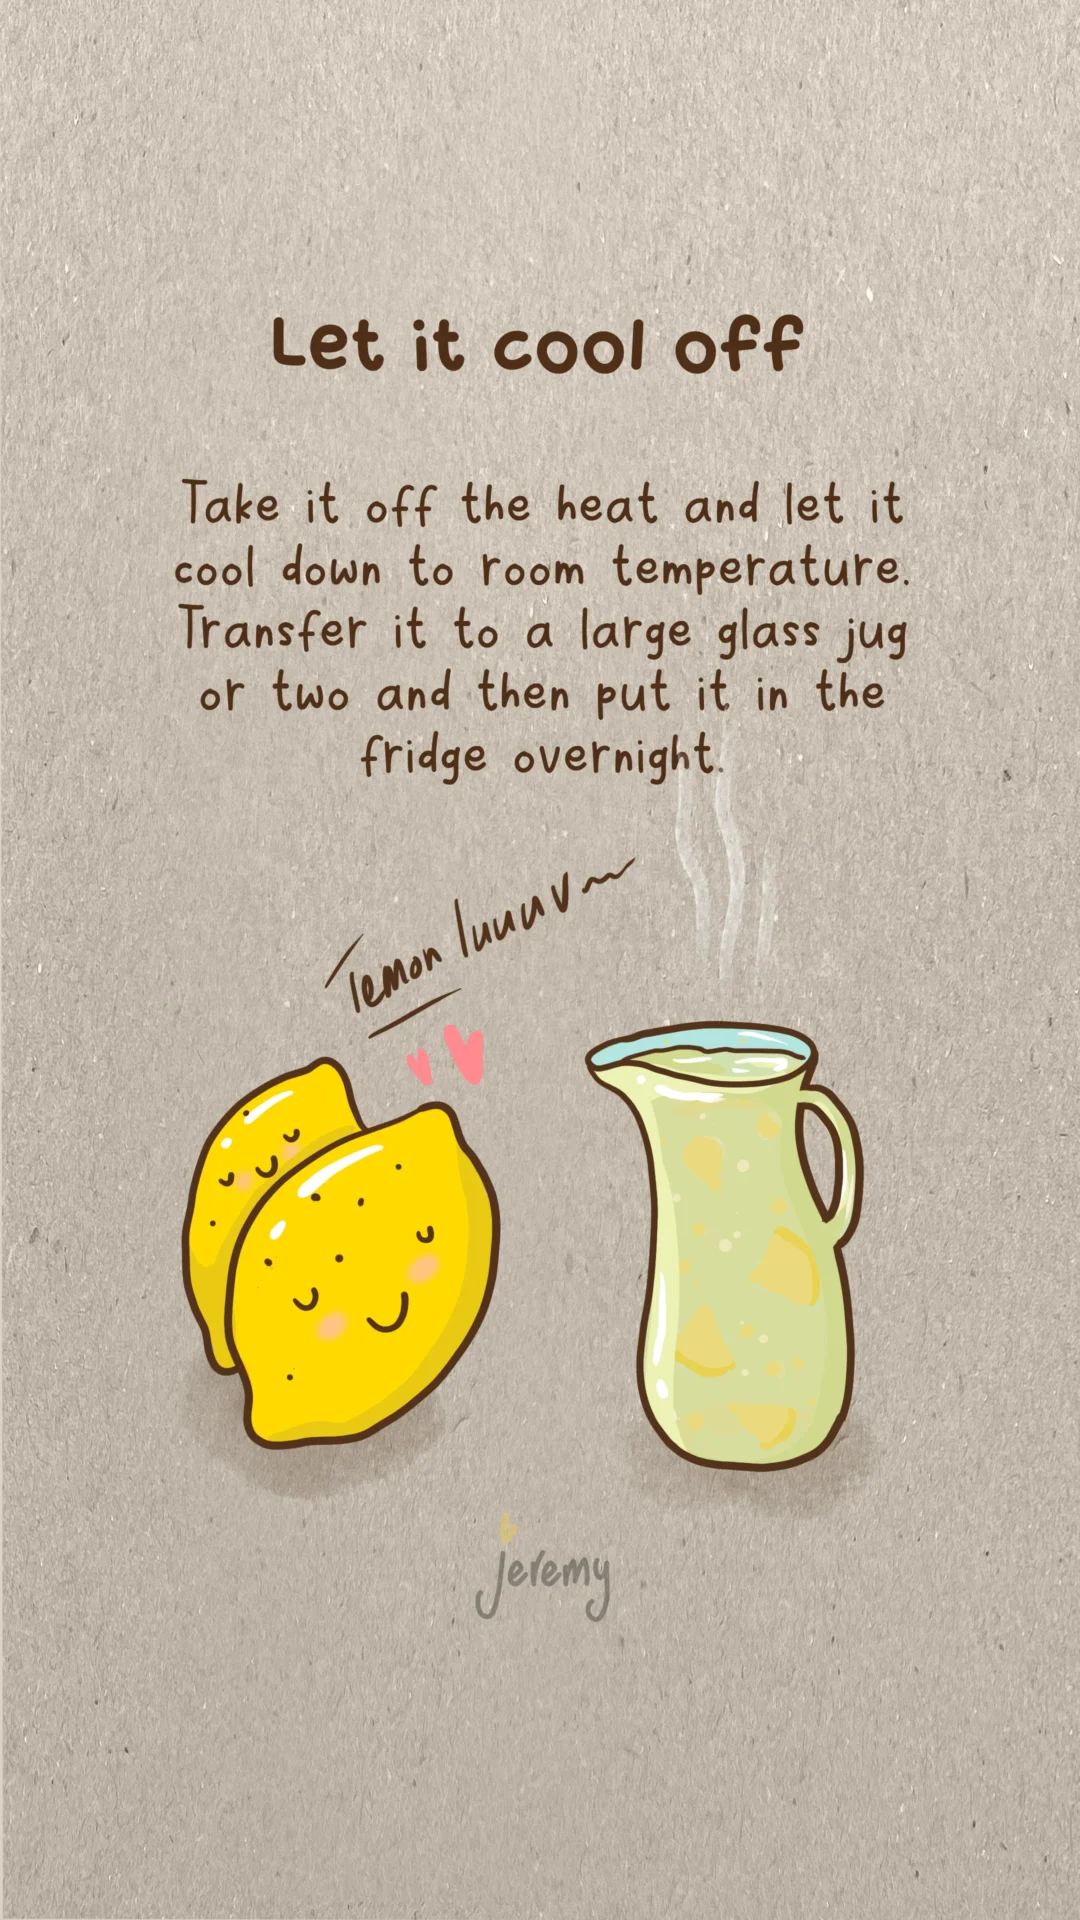
Let it cool
Take it off the heat and let it cool down to room temperature. You could transfer it to a large glass jug or two at this point.
Then put it in the fridge to sit for at least 24 hours. This will let all of the goodness mix and the lemon and sugars mingle into a super strong lemony flavour.
Enjoy your lemonade
Your lemonade doesn’t have any fizz so grab some ice and soda water and mix it up. I use less sugar sometimes and use a ration of 1/3 lemonade to 2/3 soda water. Experiment to find your best ratio.
I love the natural flavour that this picks up from the lemon rind. It’s a very different taste to what you get in the bottle from the supermarket. Hope you like this and leave a comment if you made some and it worked for you!