Are you a creative? Make music, art or write like a magical maestro? Then you’ll likely have the creative source of energy and skill (forged through practice) that is a part of who and what you are as a person.
For me, I wouldn’t even say it’s part of my core. It’s literally my being, my fibre. It’s in the very body cells and energy that make me up as a person and it will be a part of me until the very end.
If your partner supports your creative work, you are fortunate. Cherish their support for whatever work you do. They back your big goals, attend your events, help out when you need backup or a motivational push. Being creative can be a lonely path sometimes, with echoing creative thoughts and thousands of decisions made each day.
If you’re working on your skills and creativity, then you’re working on loving yourself.
To be with someone who loves you loving yourself, is a gift in itself ✨
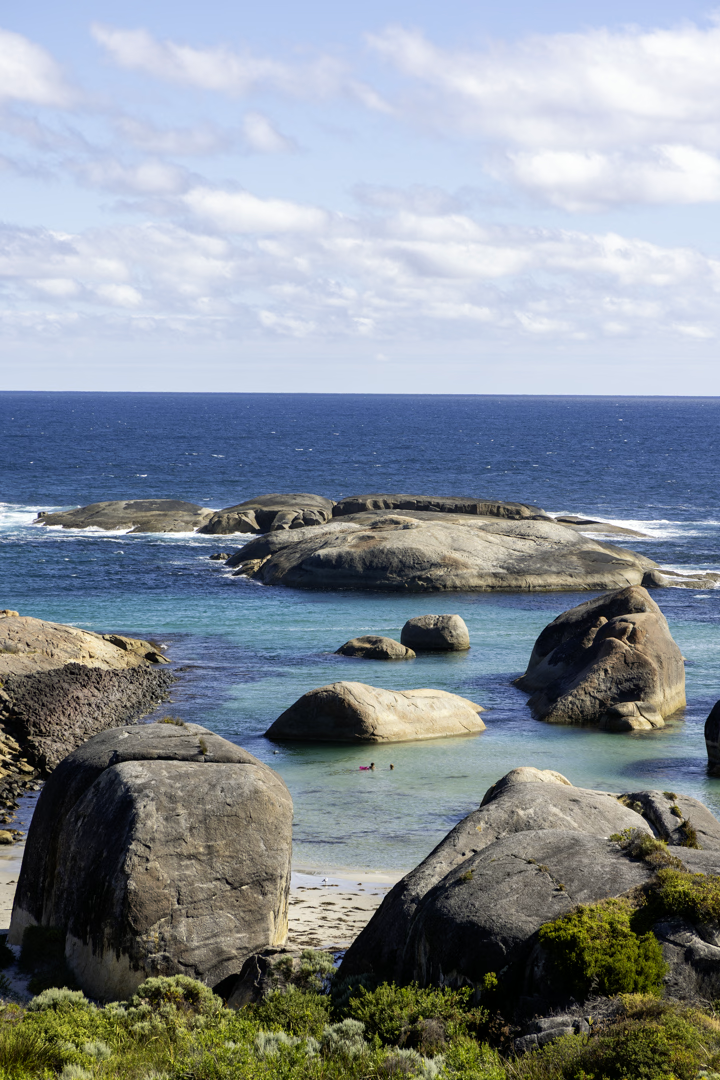
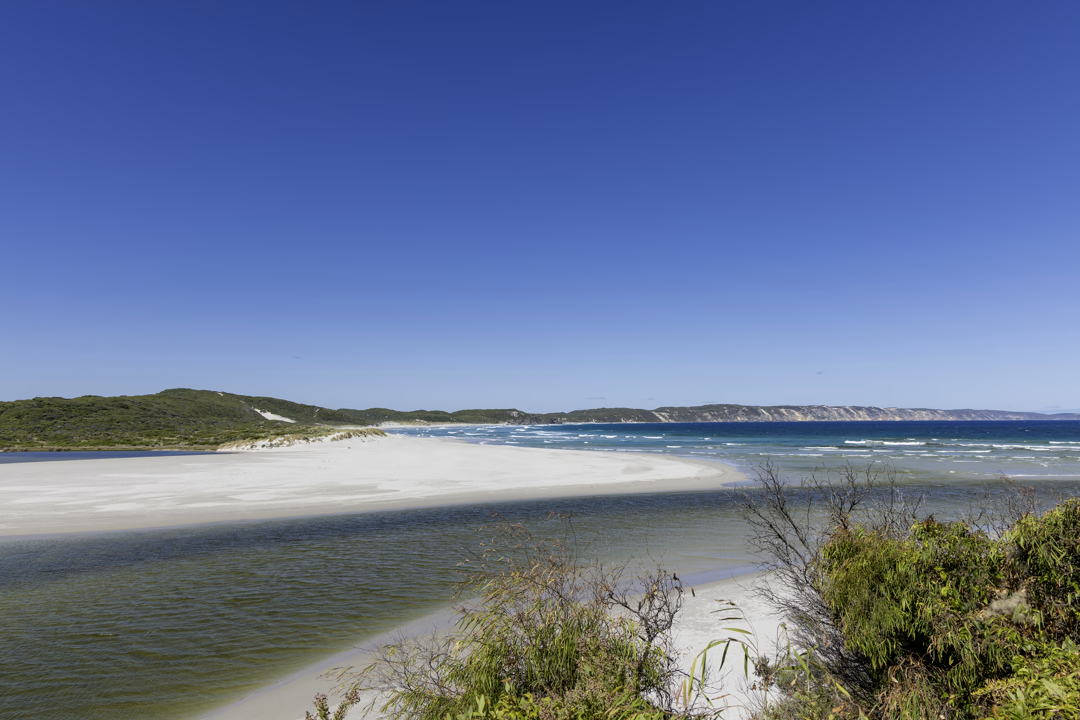
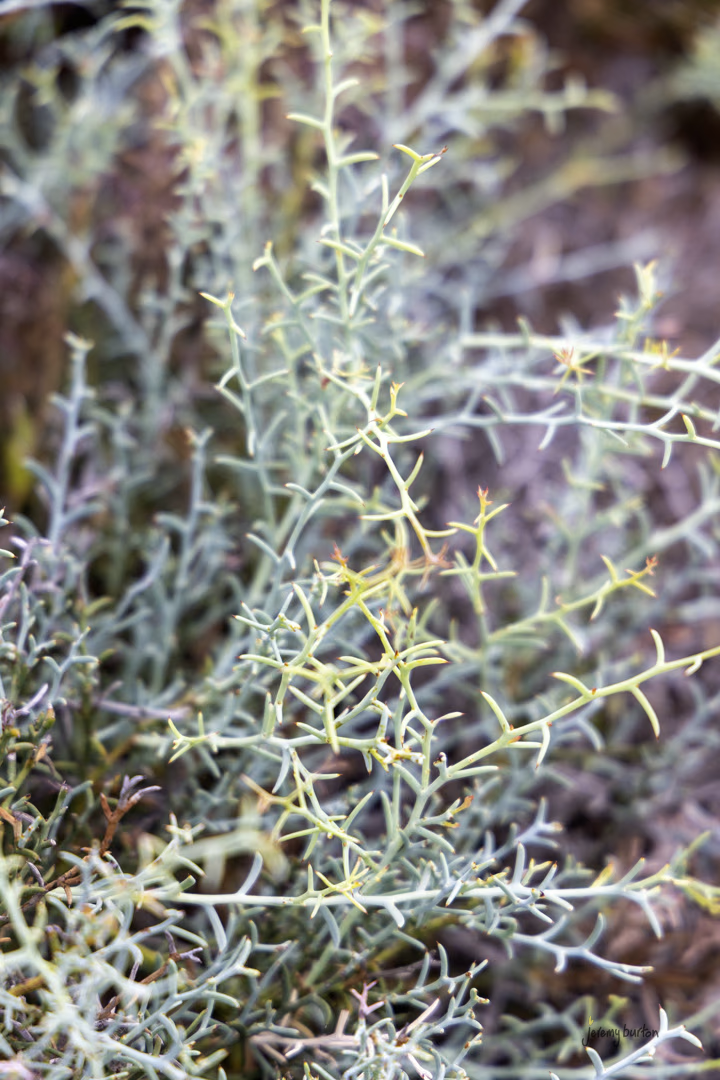
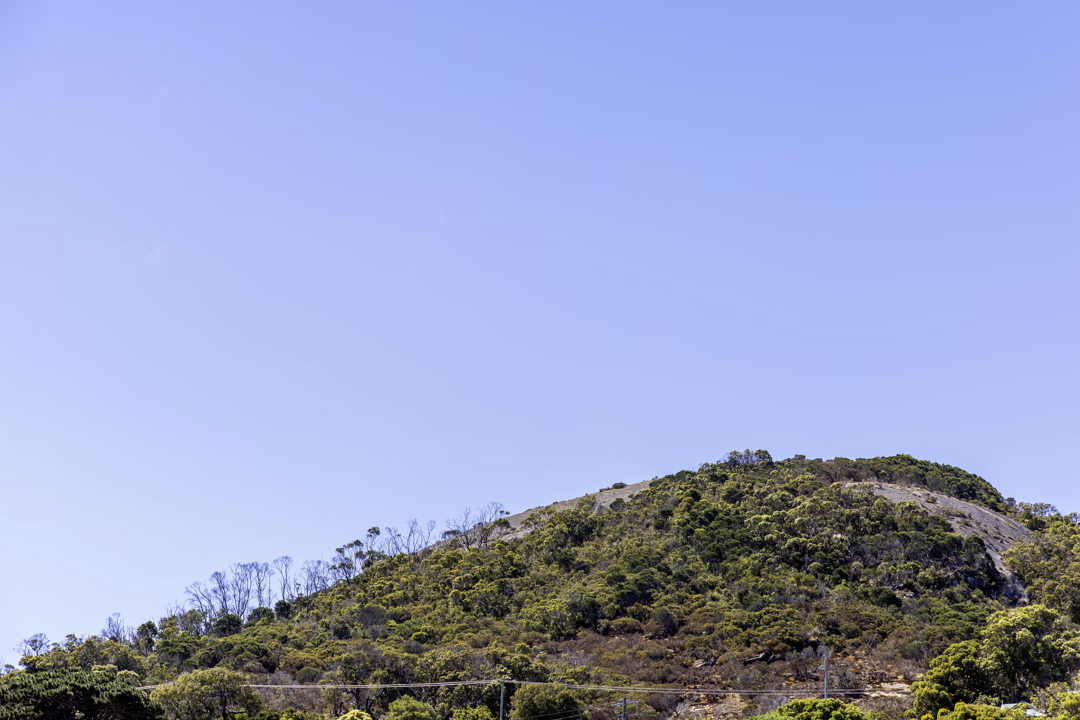
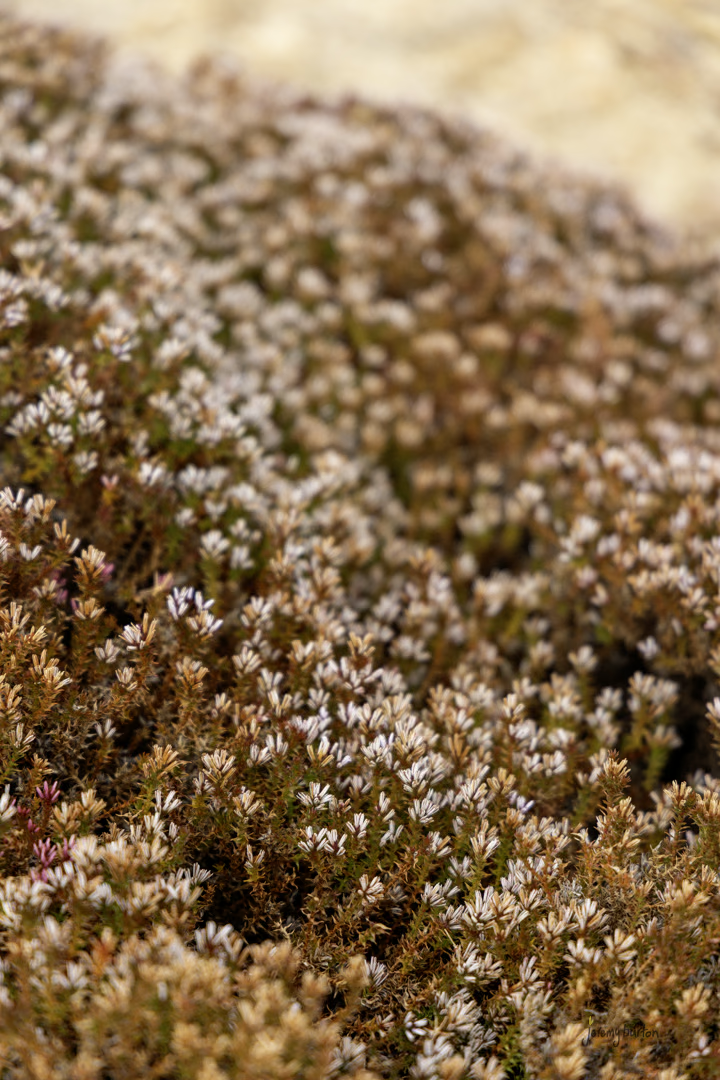
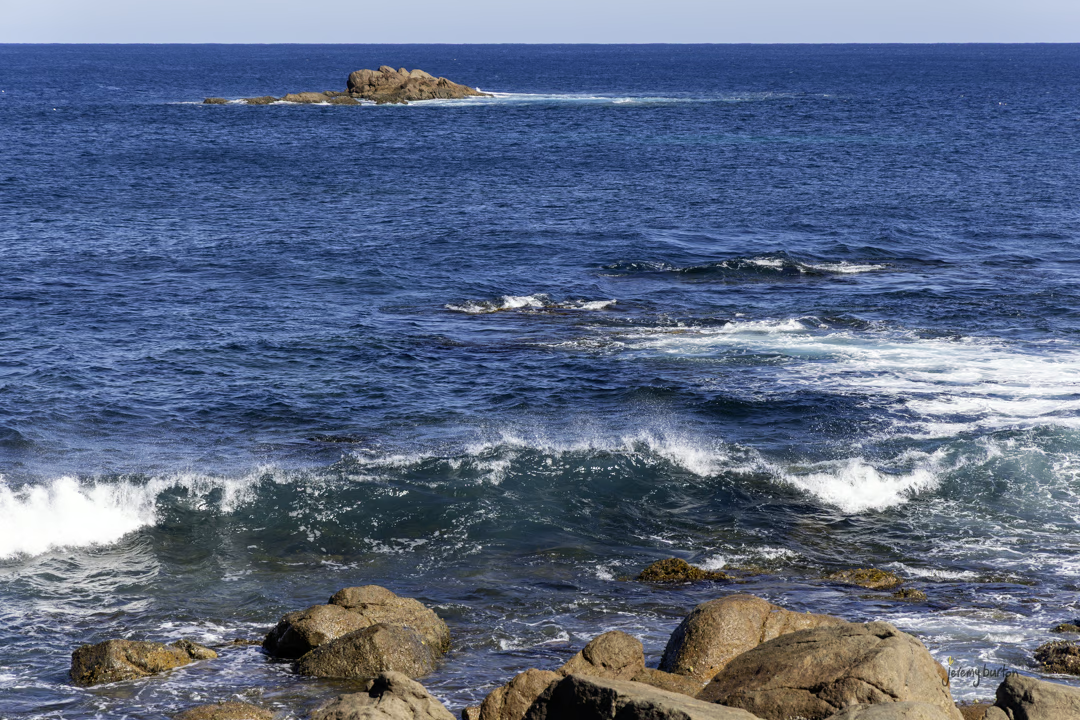
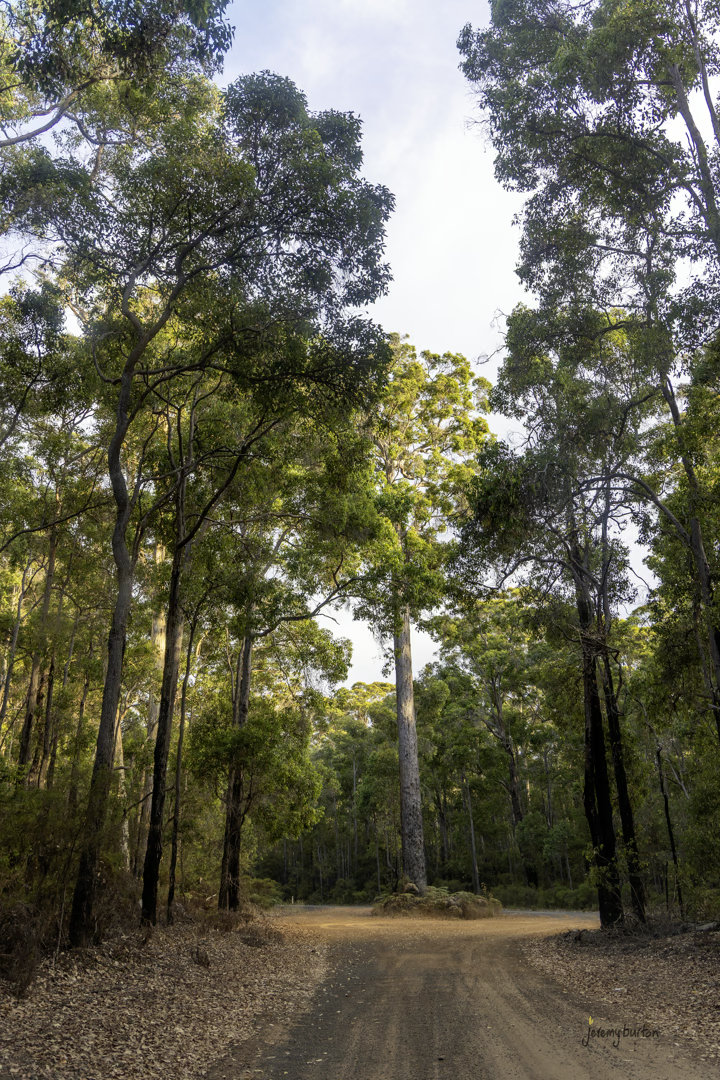
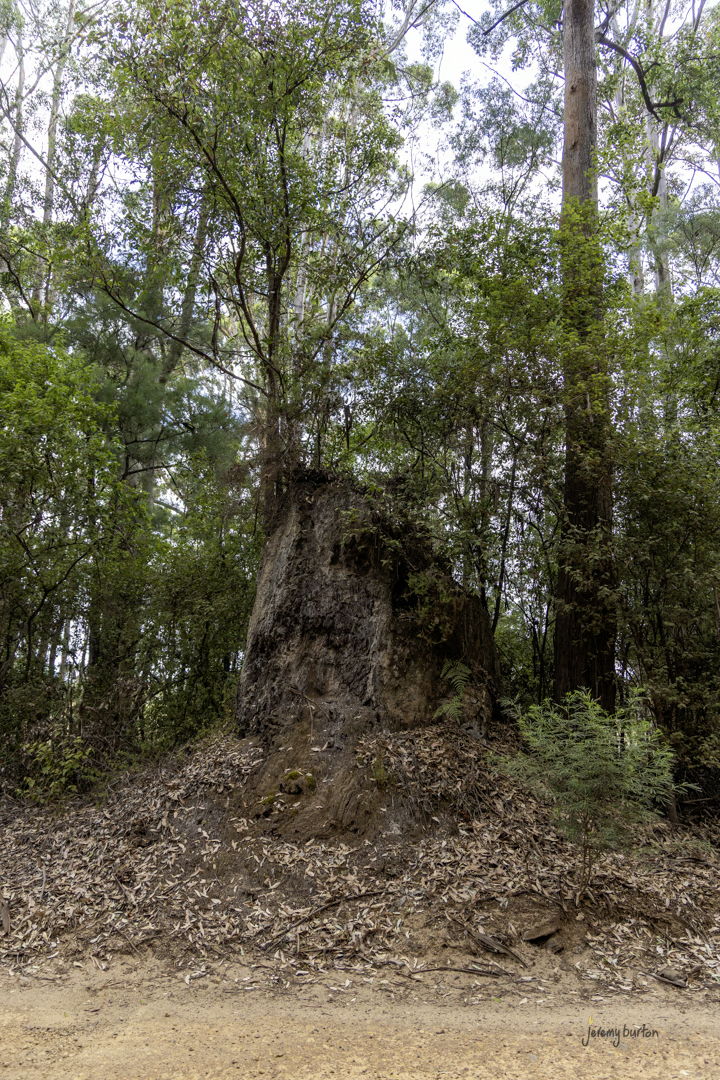
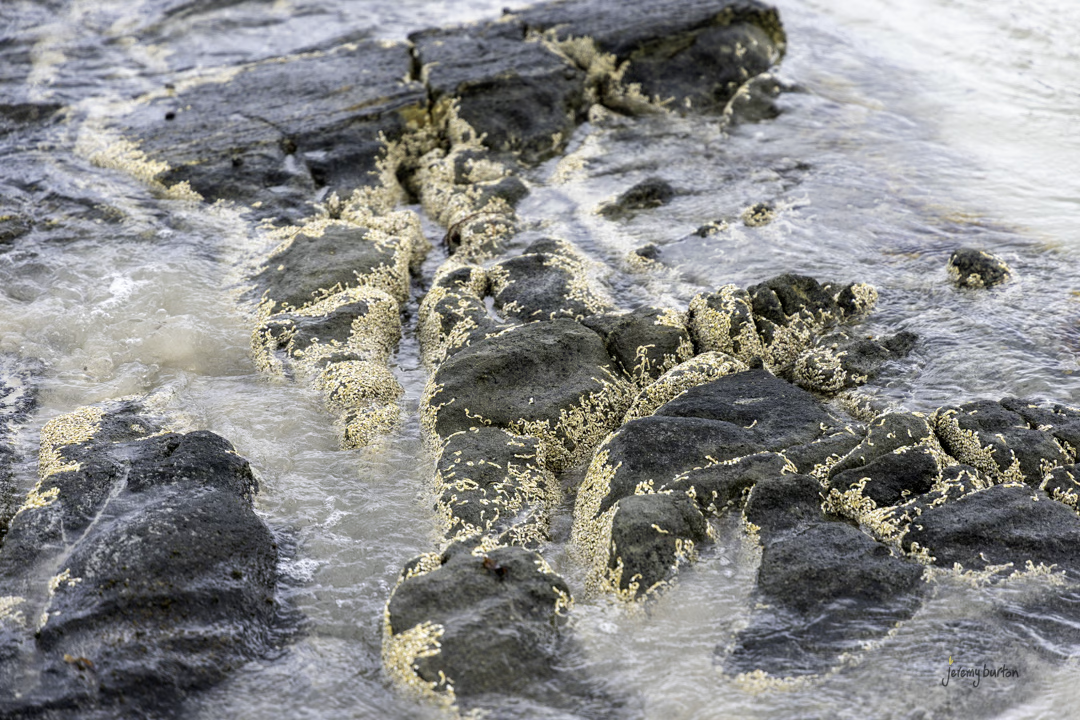
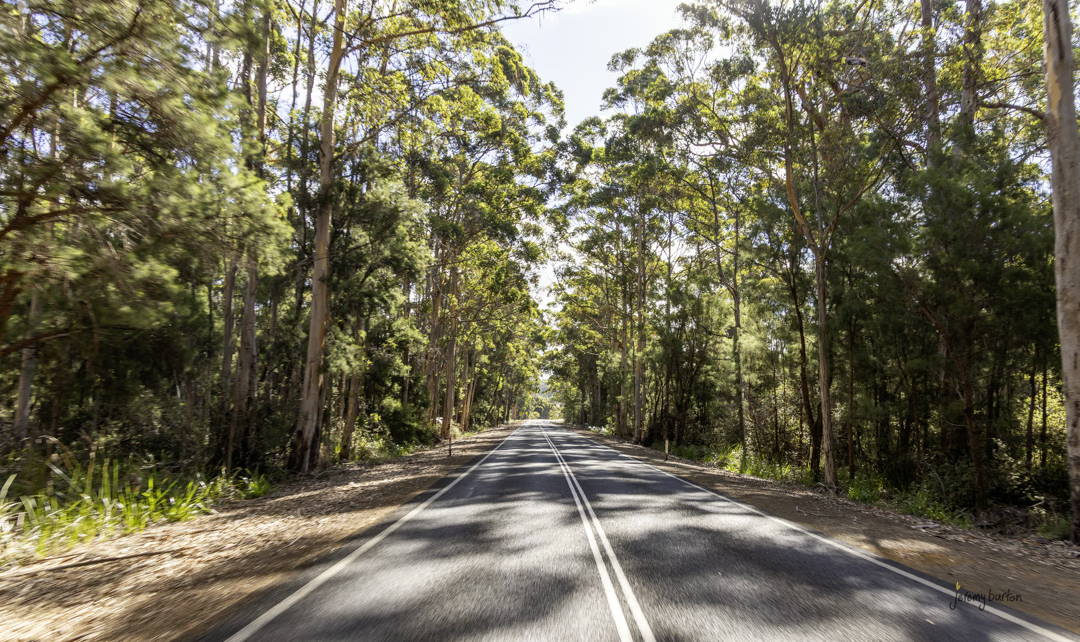
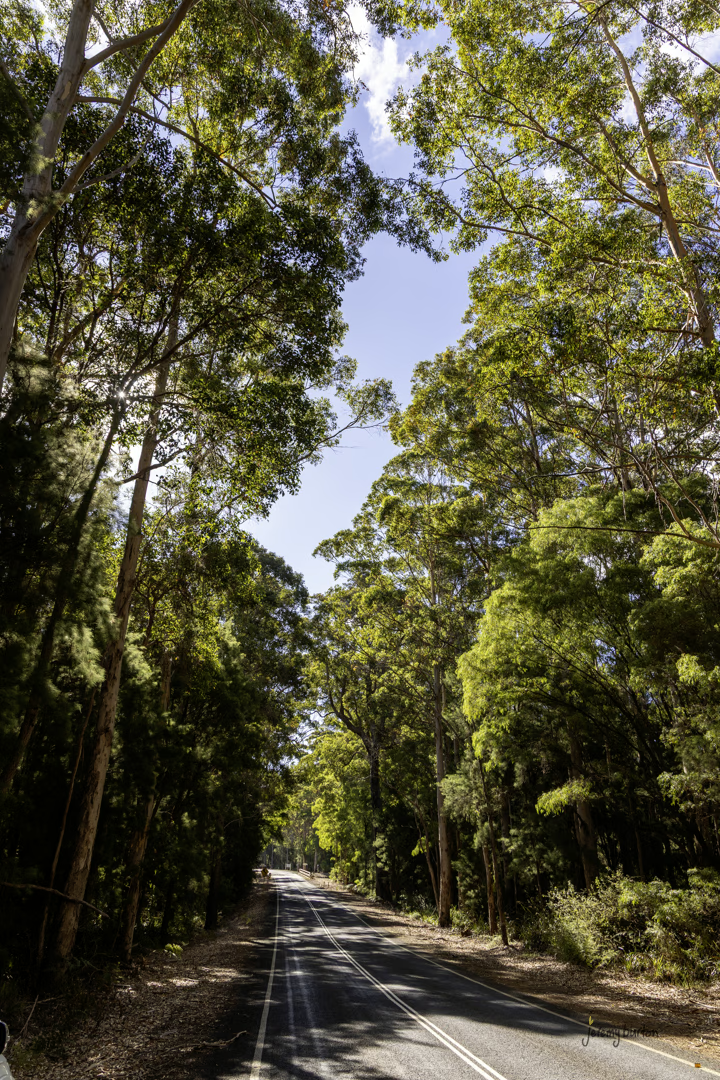
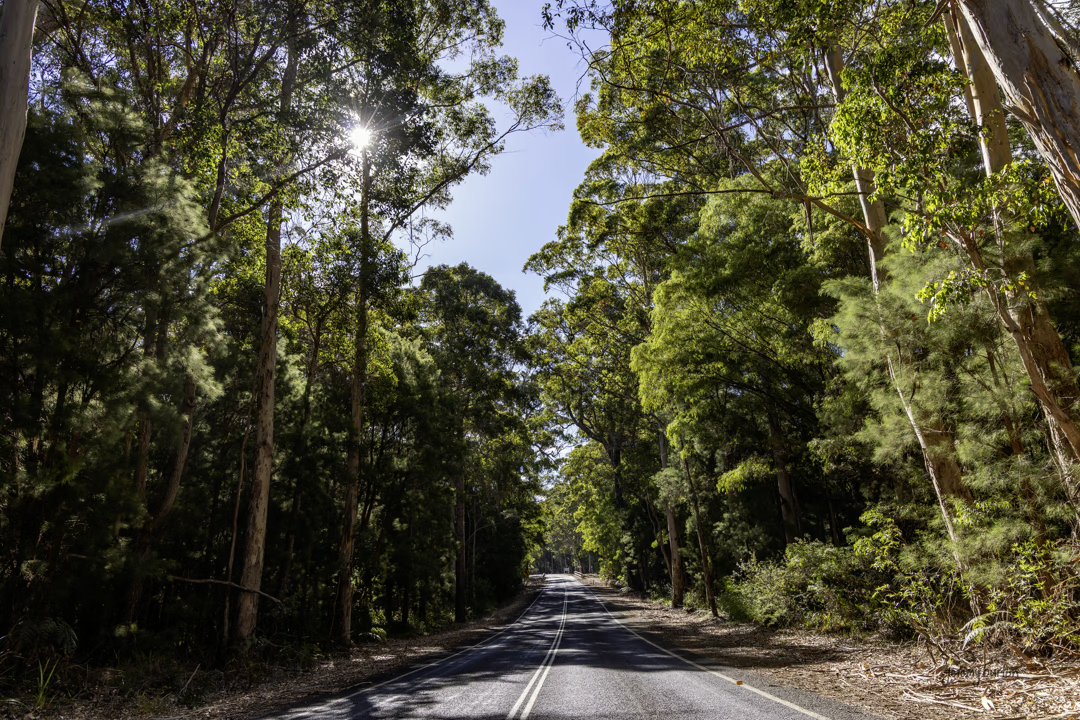
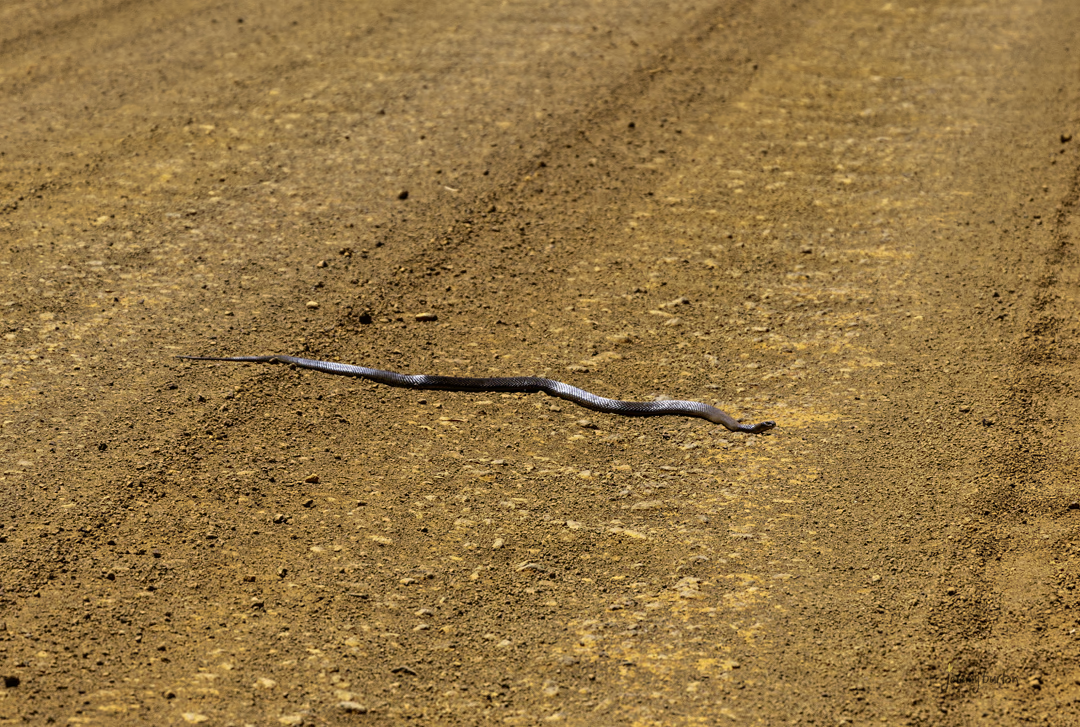
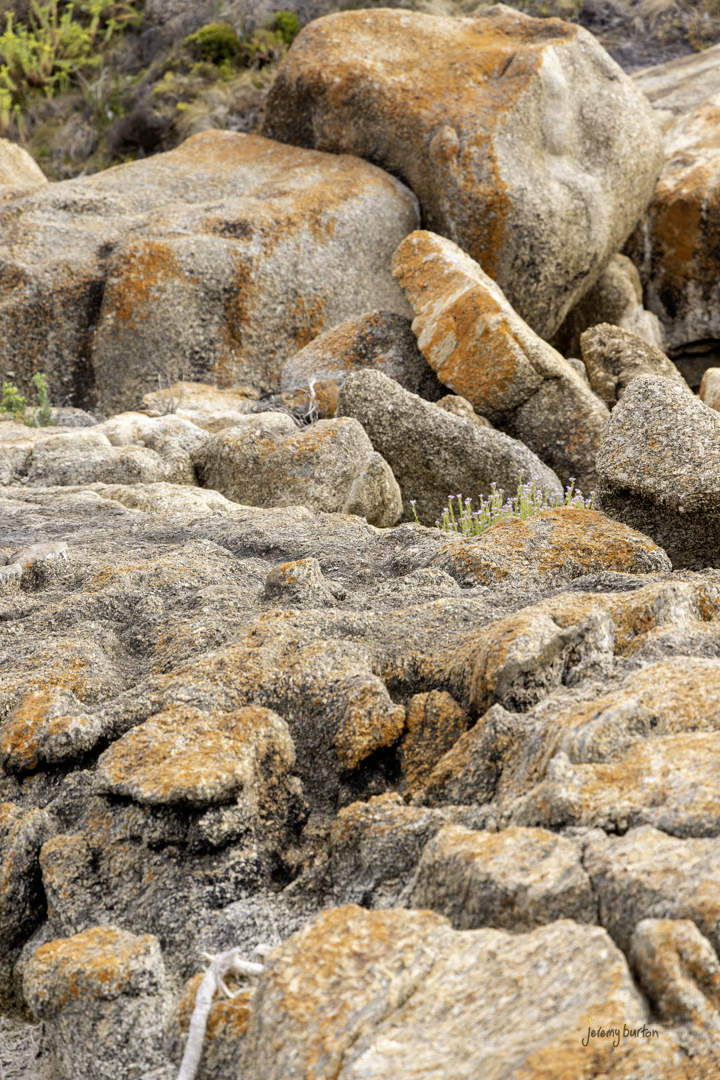
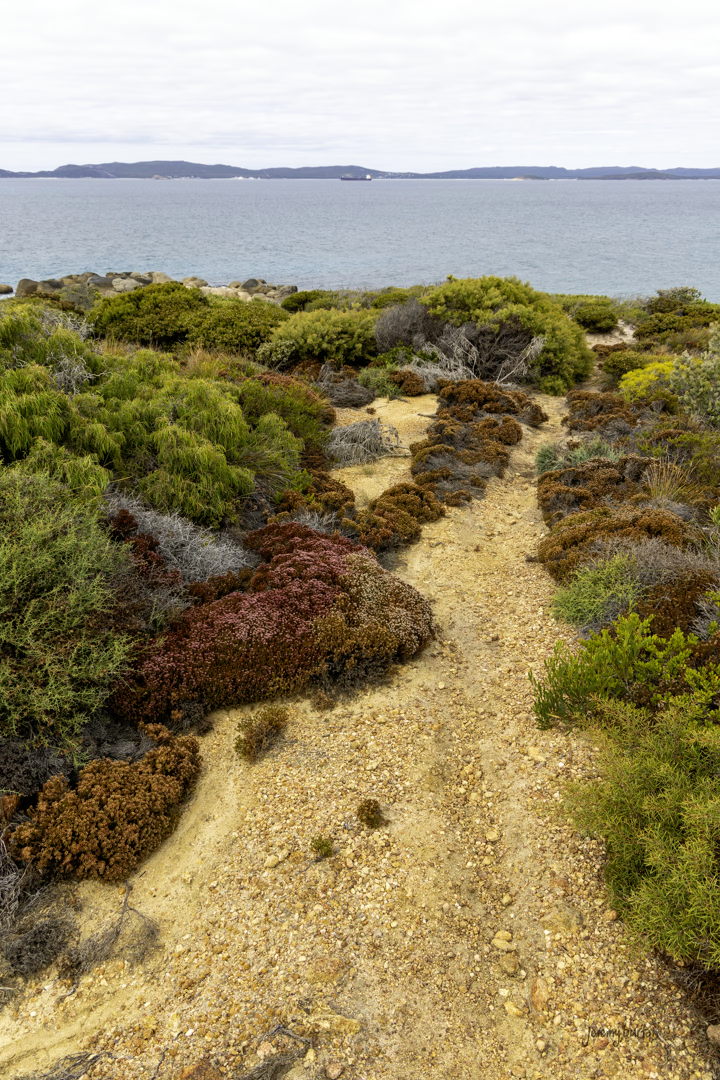
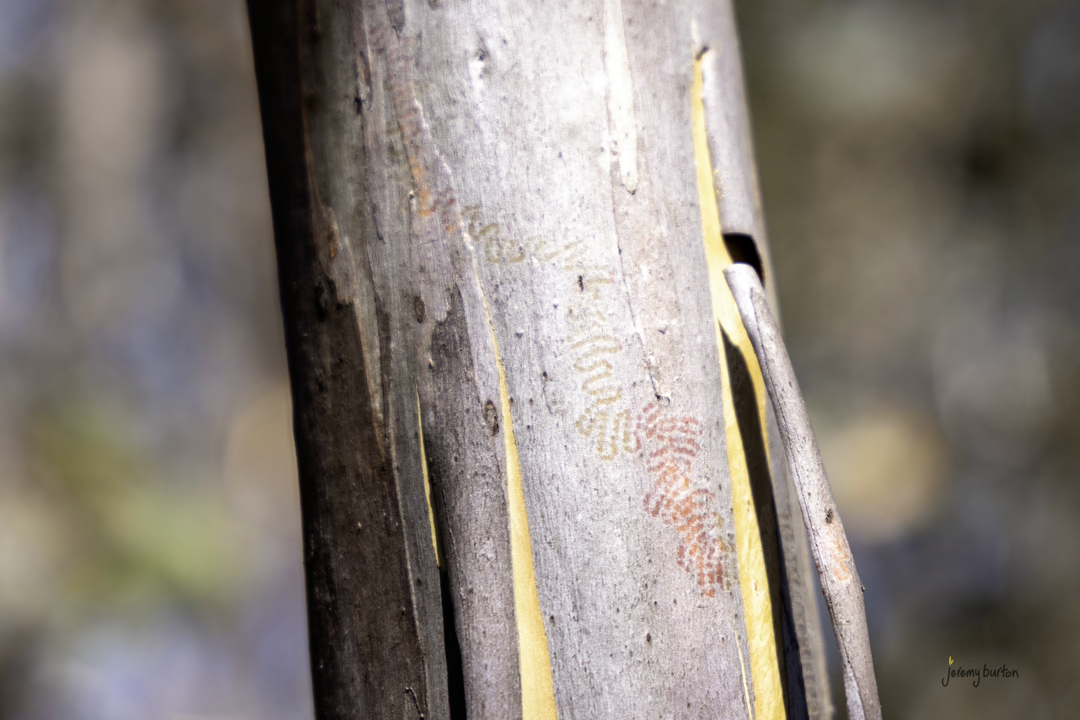
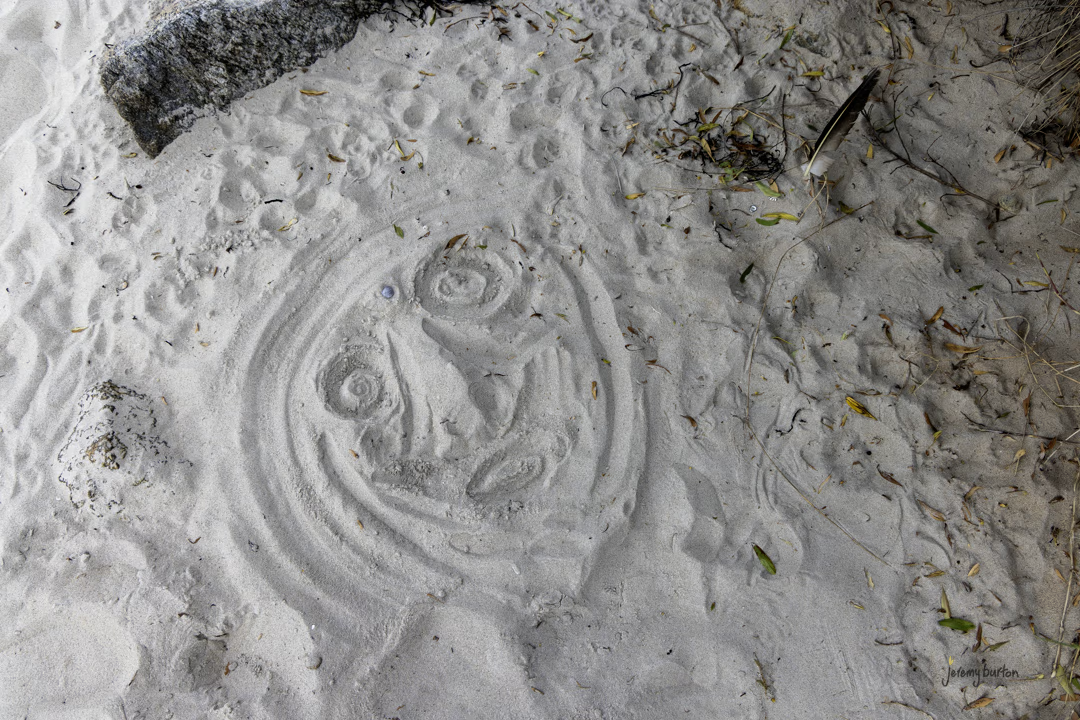
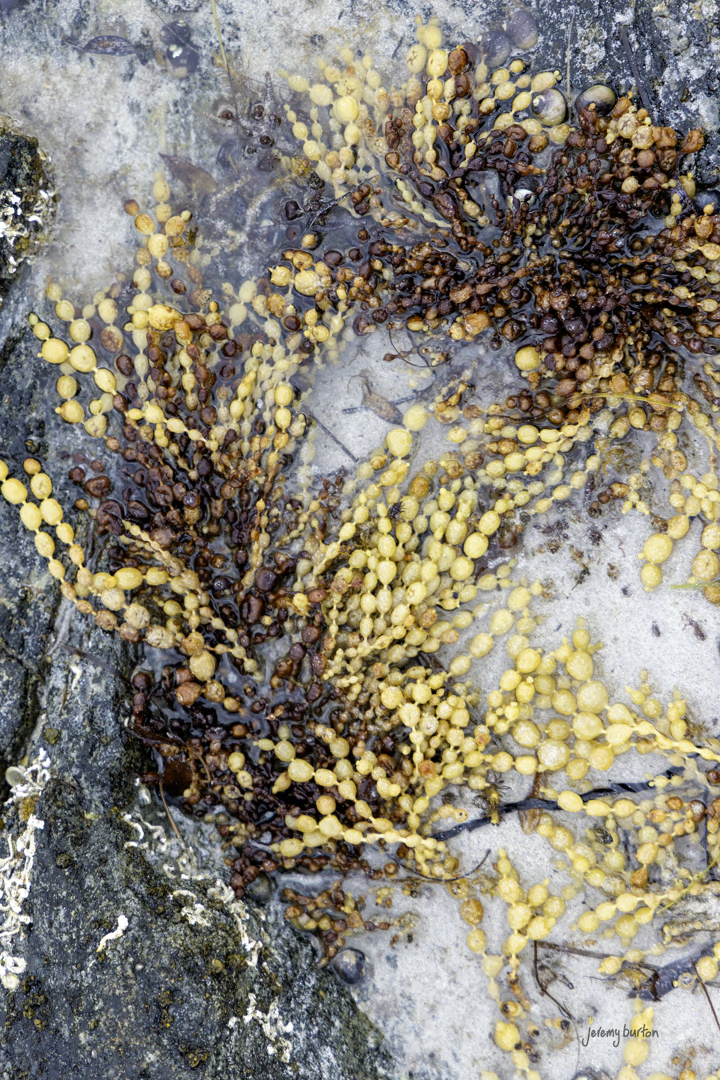
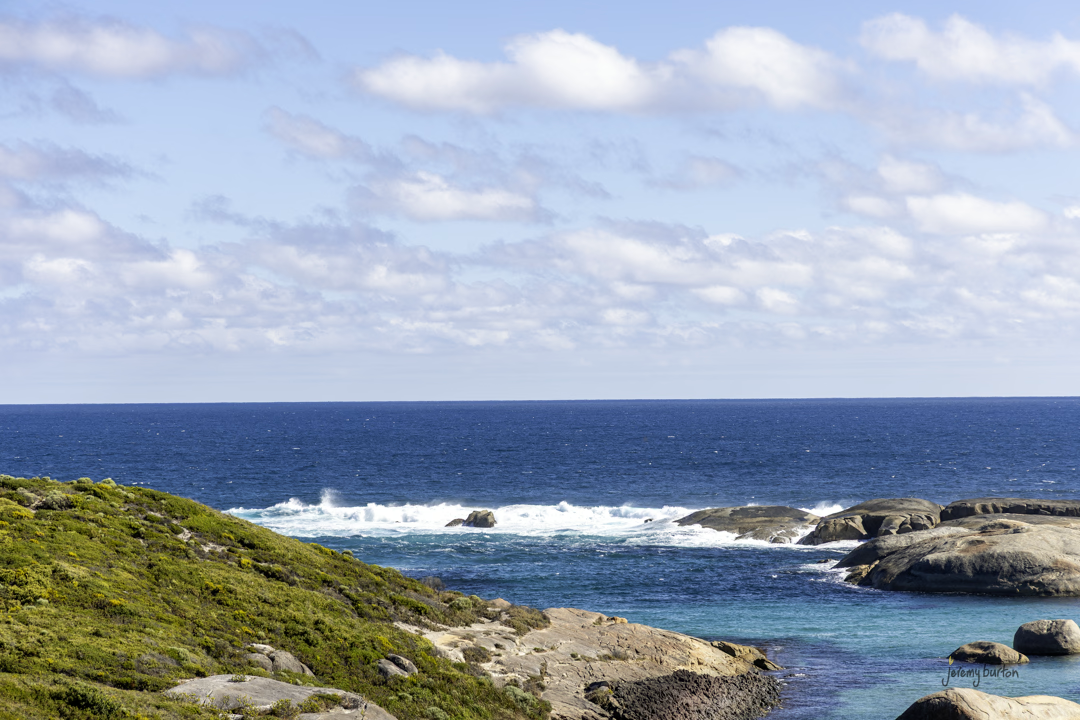
It’s a spectacular area of our state. Old growth forrests, big open oceans and huge coastlines. I was fortunate enough to spend a few days down south, mainly Albany area for work.
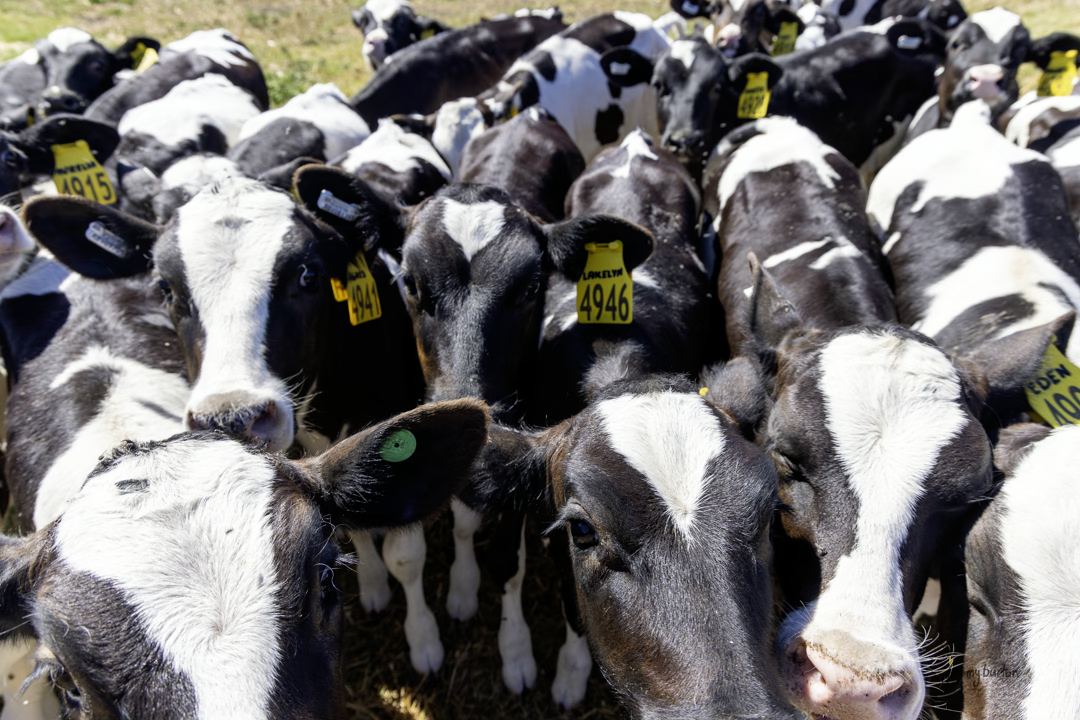
Ngl, the big forrests and oceans there are calling to me. I would definitely move there for a chapter in life. It’s cooler, bigger, spacious, stunning, sparkly, clear, cold water. Great fishing, crazy coastlines, room for a farm, endless exploring and beautiful country.
I snapped a bit of the area in between work. Hope you enjoy them:
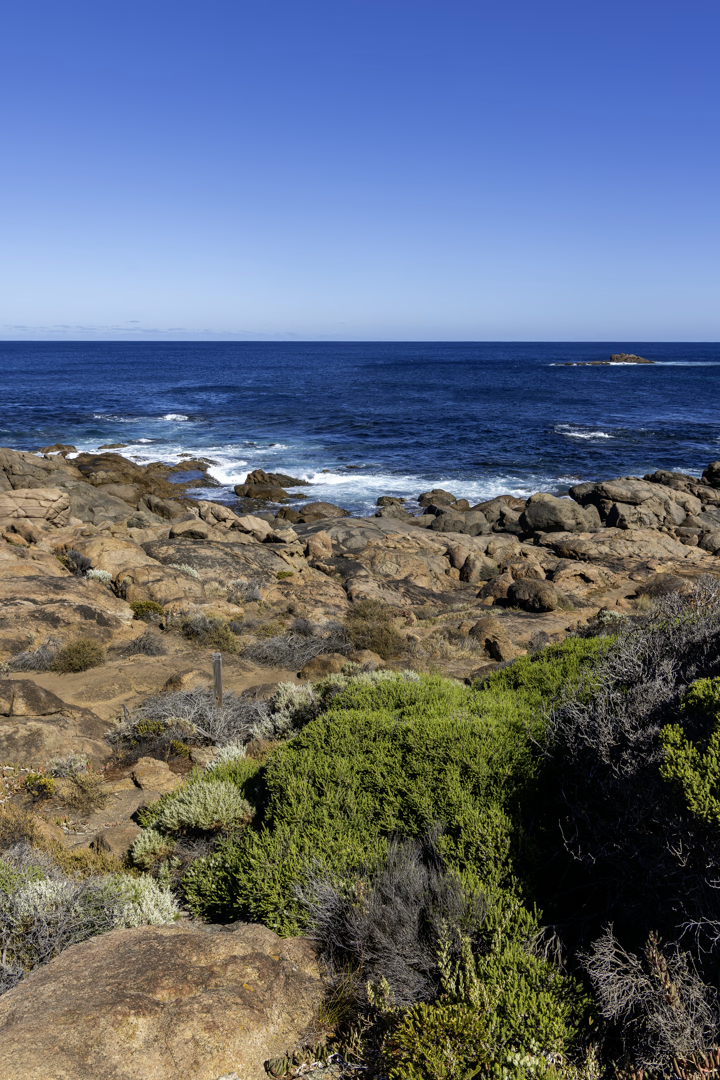
Albany is a beautiful town. I had such a surreal experience recently there, that ended up with me joining a stranger’s FaceTime (in a way).
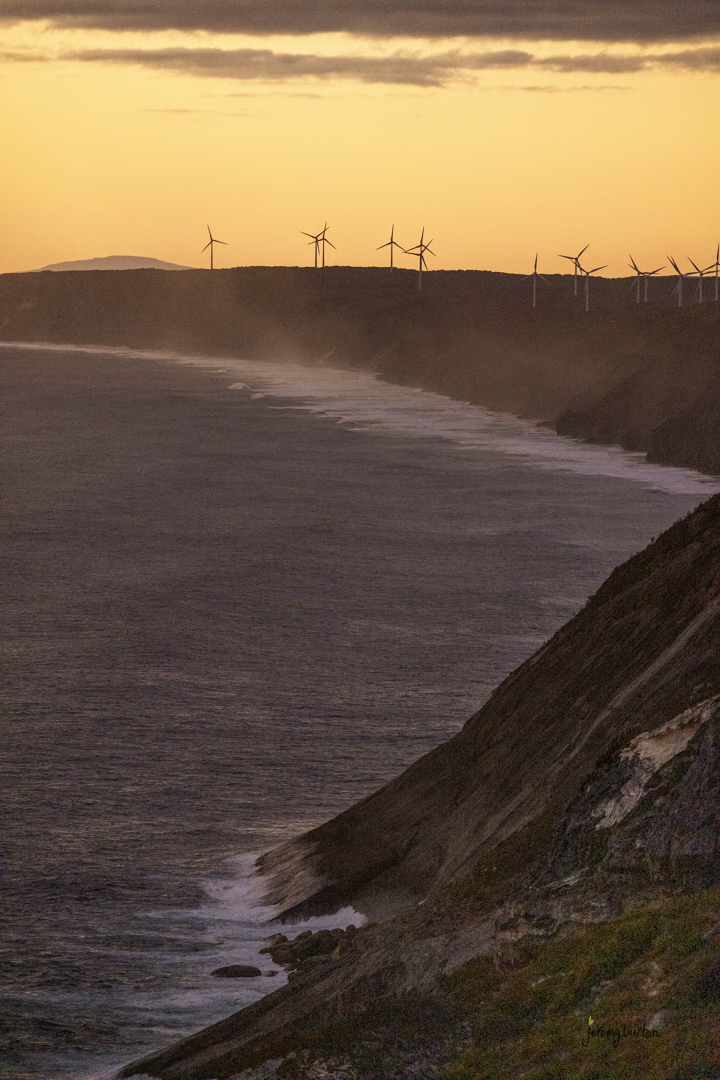
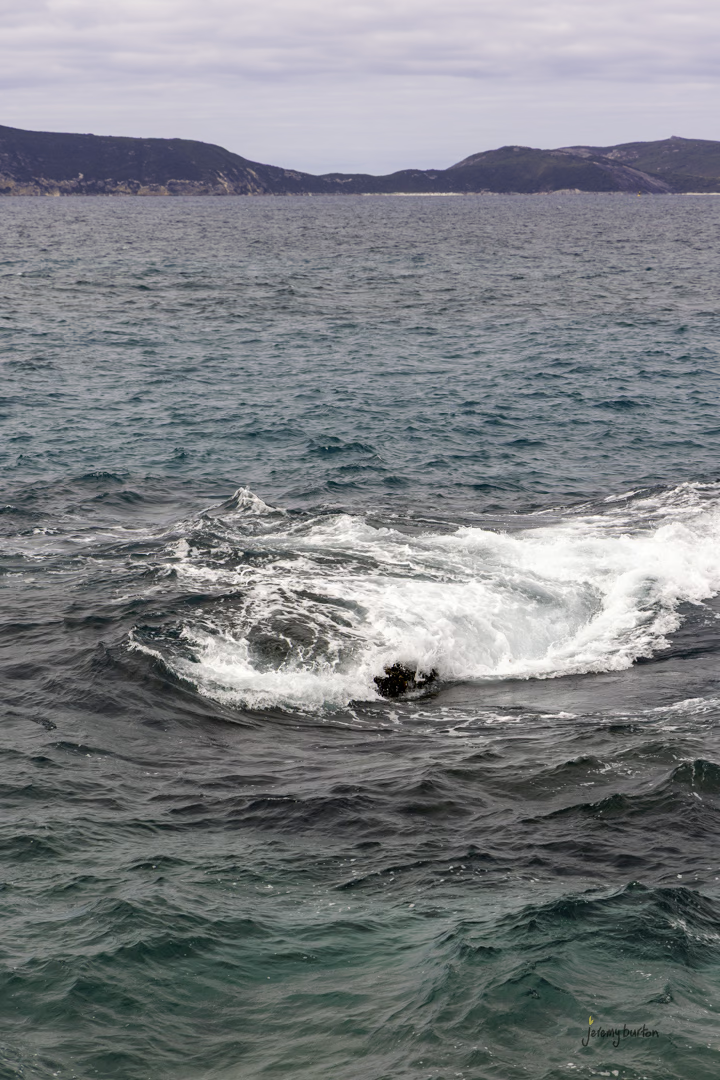
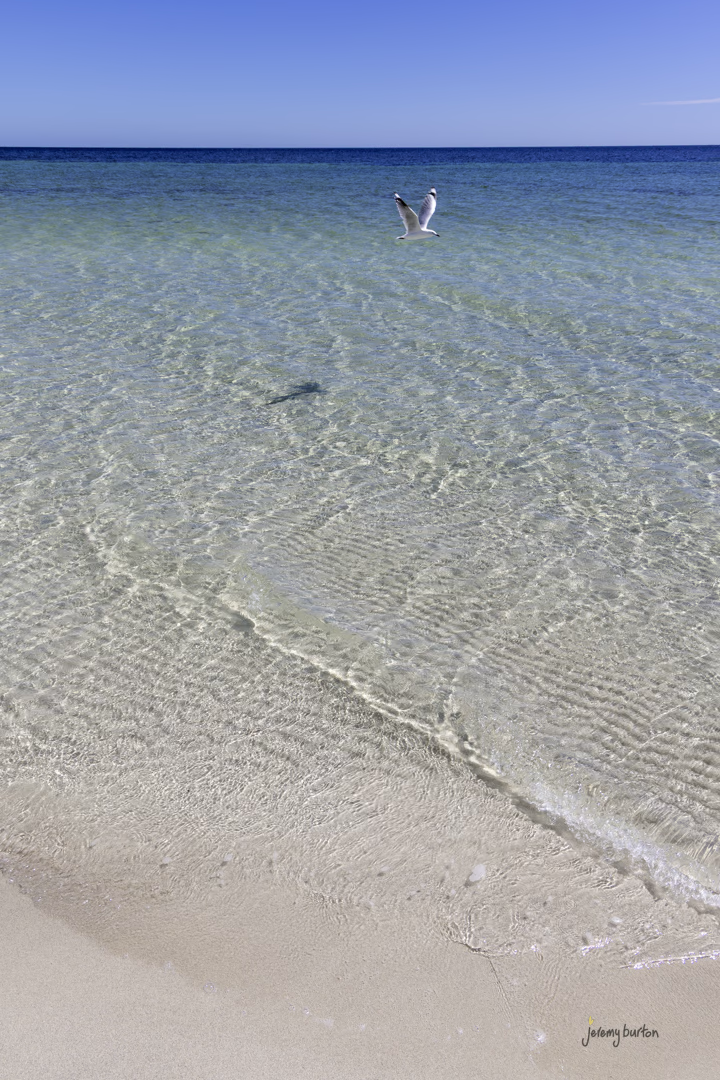
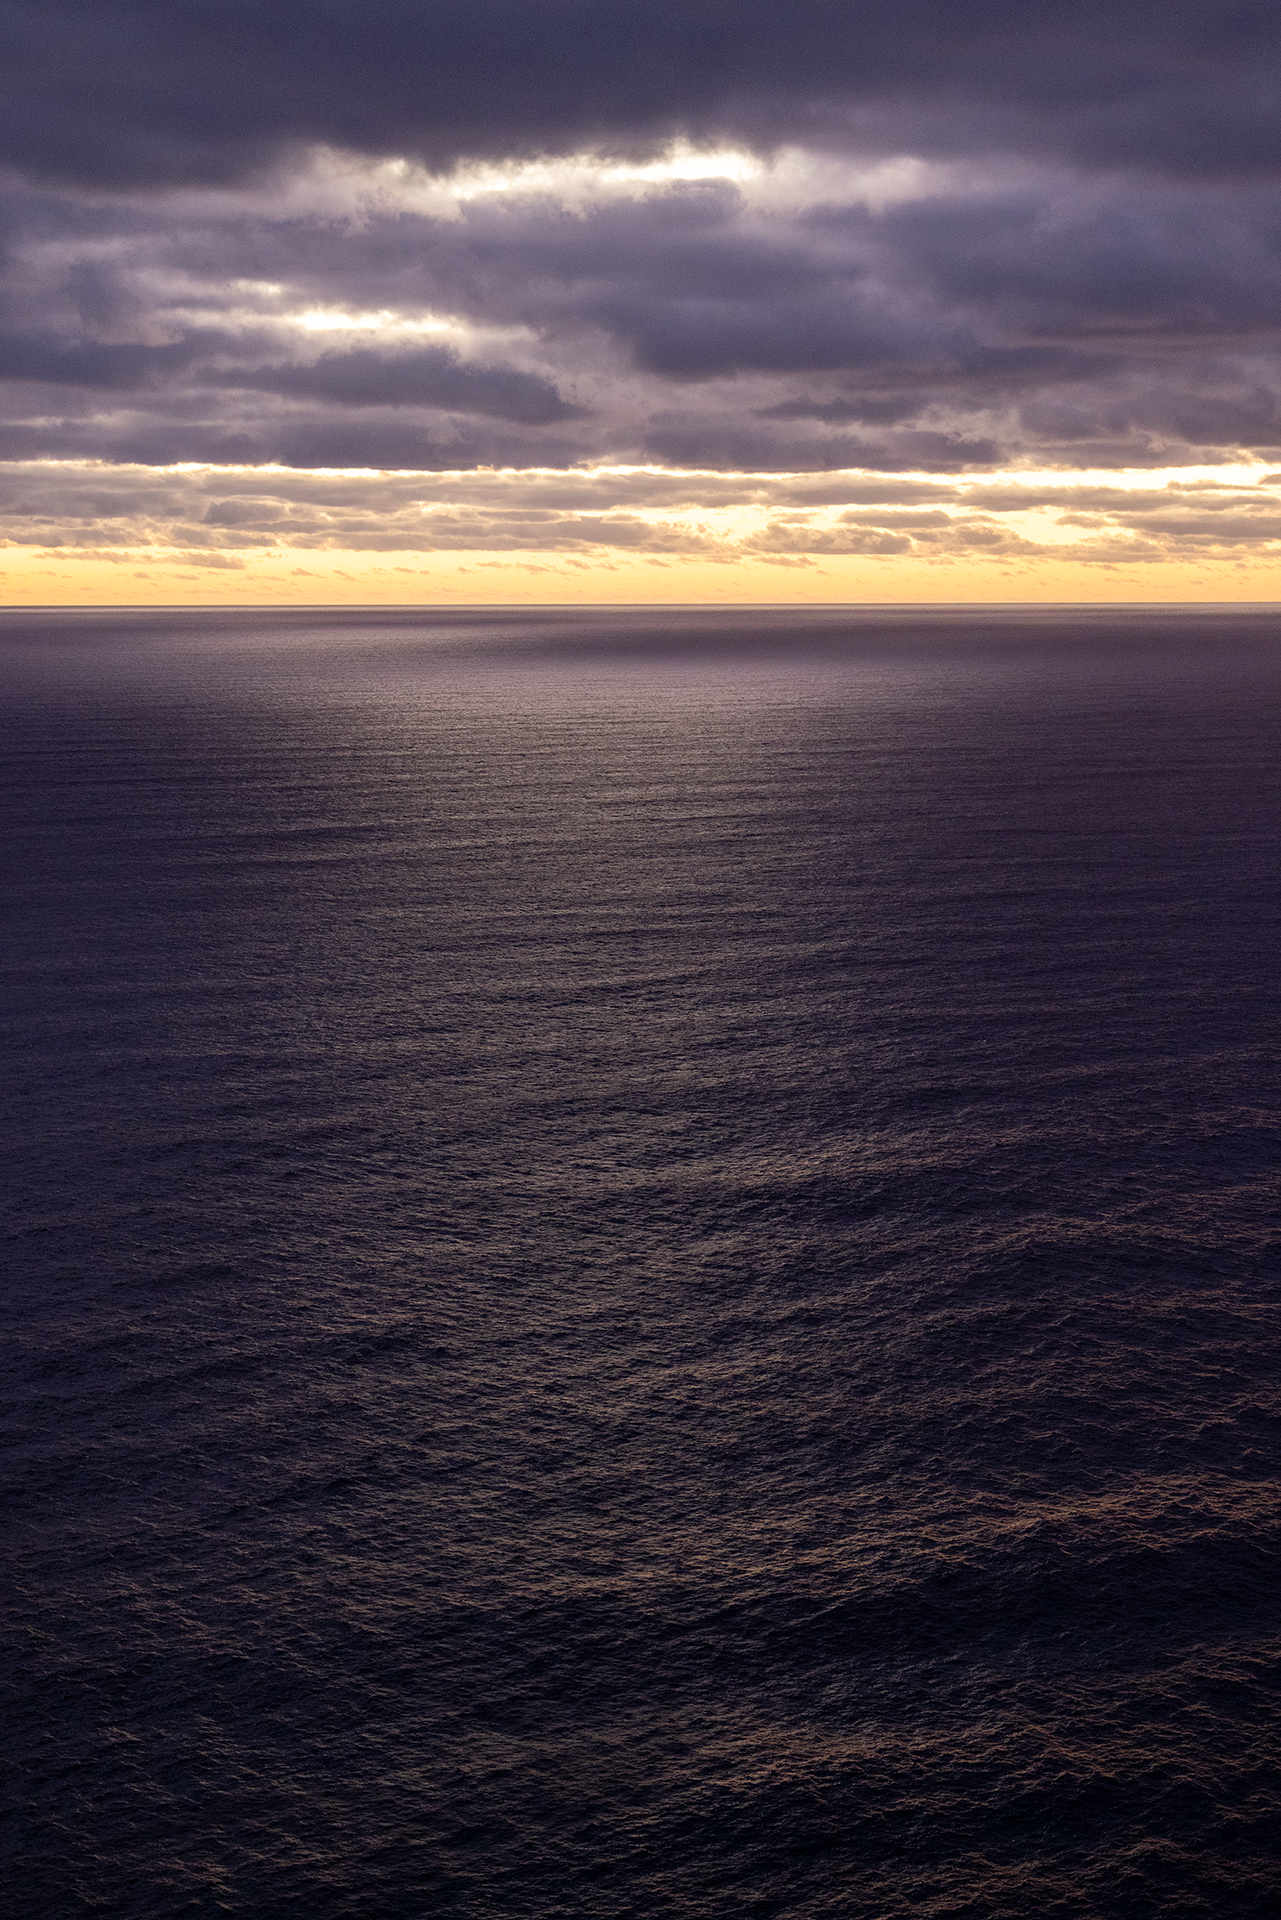
It was dusk and I had left it too late to go photograph any of golden hour. But I went out anyway to Sharp Point Lookout. It looks out across the vast Indian Ocean that connects Australia and Antarctica. If you look west, you can see the Albany Wind Farm turning away in the strong winds.
It was a beautifully peaceful night. Calm with the rolling swells pushing up against the coastal rocks and the usual amount of wind. But this night it was pretty calm up top of the cliffs.
When I arrived at Sharp Point, I was planning to sit and enjoy the view for half an hour and wind down. But there was another car in the car park (it was already pretty dark) and I wondered if I’d bump into the owners as I got out.
Sure enough, as I rounded the corner to the lookout, they were there seated on the platform railing, looking out over the ocean. I could hear some conversation going on, they were very chatty. It was such a serene location, my first thought was for some reason – they were discussing something serious and I should just leave.
Then while I took a few quick photos from nearby, I realised they were speaking German, the conversation was pretty jovial and there was a third voice. They were FaceTiming someone, I’m guessing back in Germany.
Okay, chill then and I took more photos as we exchanged glances. They laughed away with their mate on the other side of the world.
It’s a very common situation. People often sit on the beach or cliff and call family or mates and share the view with them. But for some reason, this one was quite dreamy, mainly due to the scenery and lighting I think.
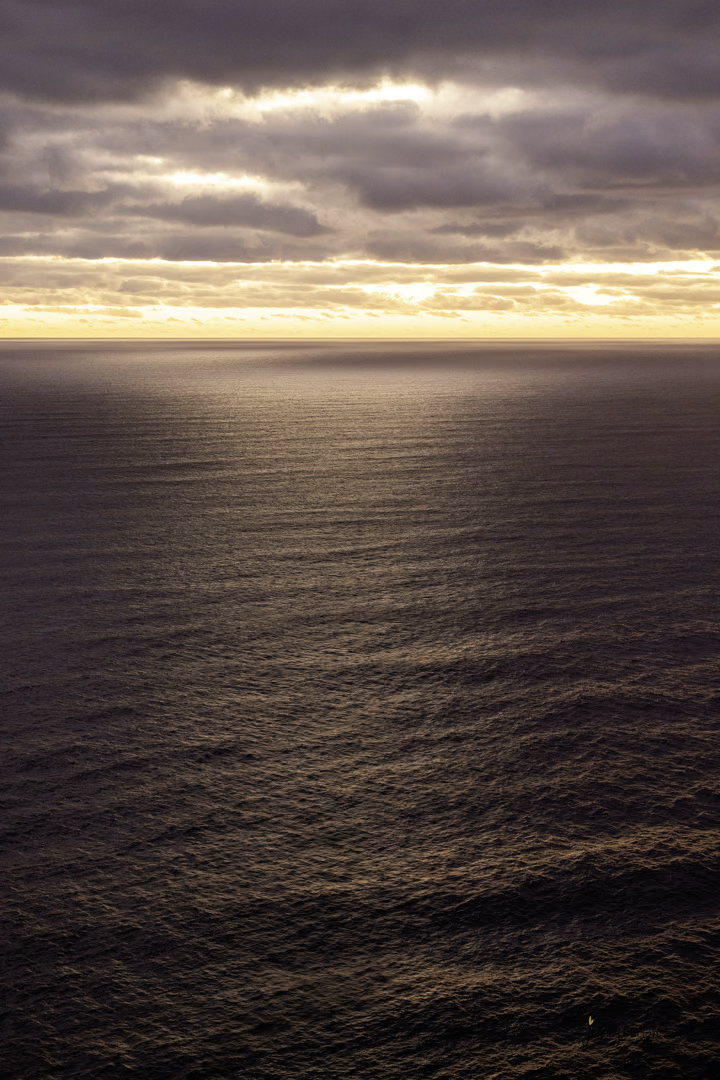
What seemed like a couple, we’re calling a friend, tens of thousands of kilometres away through that tiny iPhone and I could hear the conversation going as they showed off the stunning sunset.
It was like they were straining for signal. Which of course they weren’t, we had full bars! And it was also like they were facing their friend, so very far away by sitting as close as they could on the edge of the world. Like they’d found the best location where they had peace and quiet and the best chance of hearing their friend.
Logically, they actually had their backs to them direction-wise, RUDE lol and signal wasn’t a factor.
I don’t understand German, so didn’t get the words but it was such a dreamy thing to hear this voice arriving from Germany to Sharp Point through the massive expanse of sky and ocean that was all around us.
Sitting in such a huge open space, you really feel that distance of the person on the other line. Their voice travelling in real time into space and down across 14,500 kms to that tiny 1m of space so their friends could hear it and send back the view of the expanse of the Indian Ocean.
The swells rolled in, the turbines slowly spun away and the wind blustered through our lookout every now and then. I snapped away, until I captured what I wanted.
And off I went.
Hallo and Verabschiedung friend across the ocean. We shared a serene space for a brief moment in the timeline of the world ✨
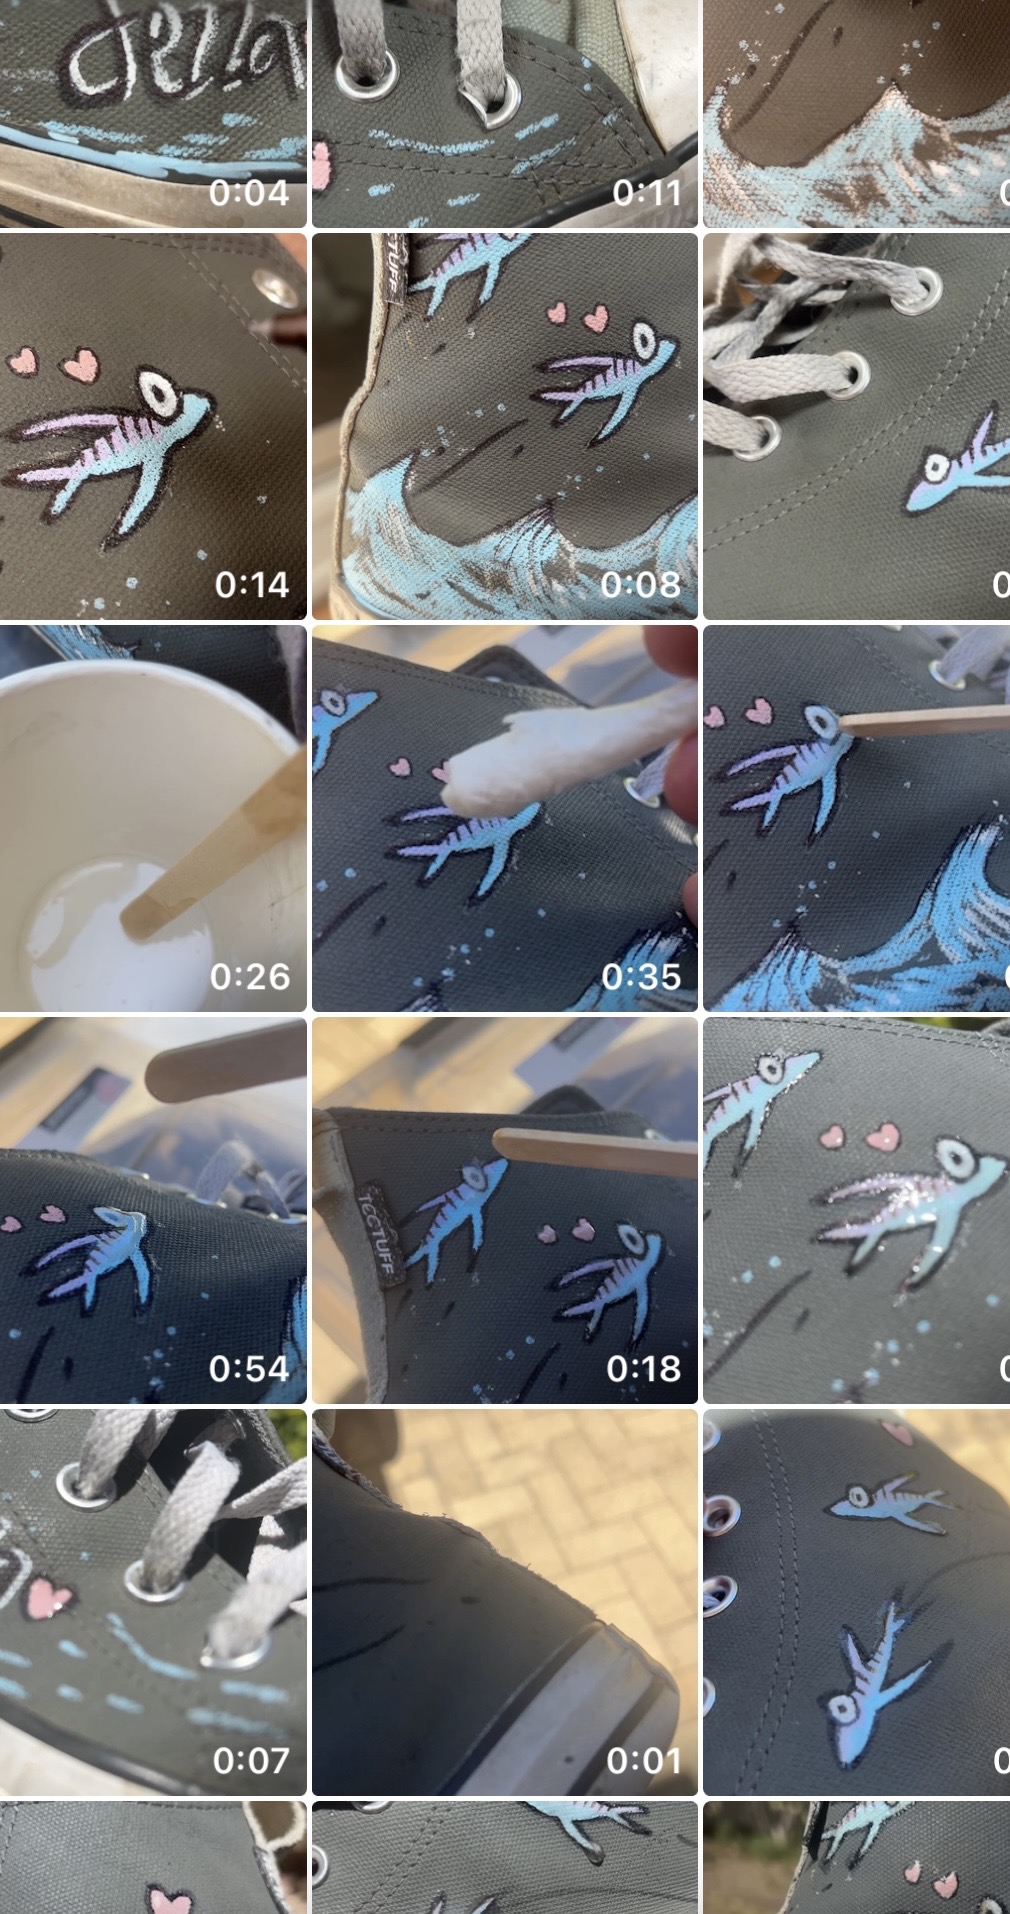
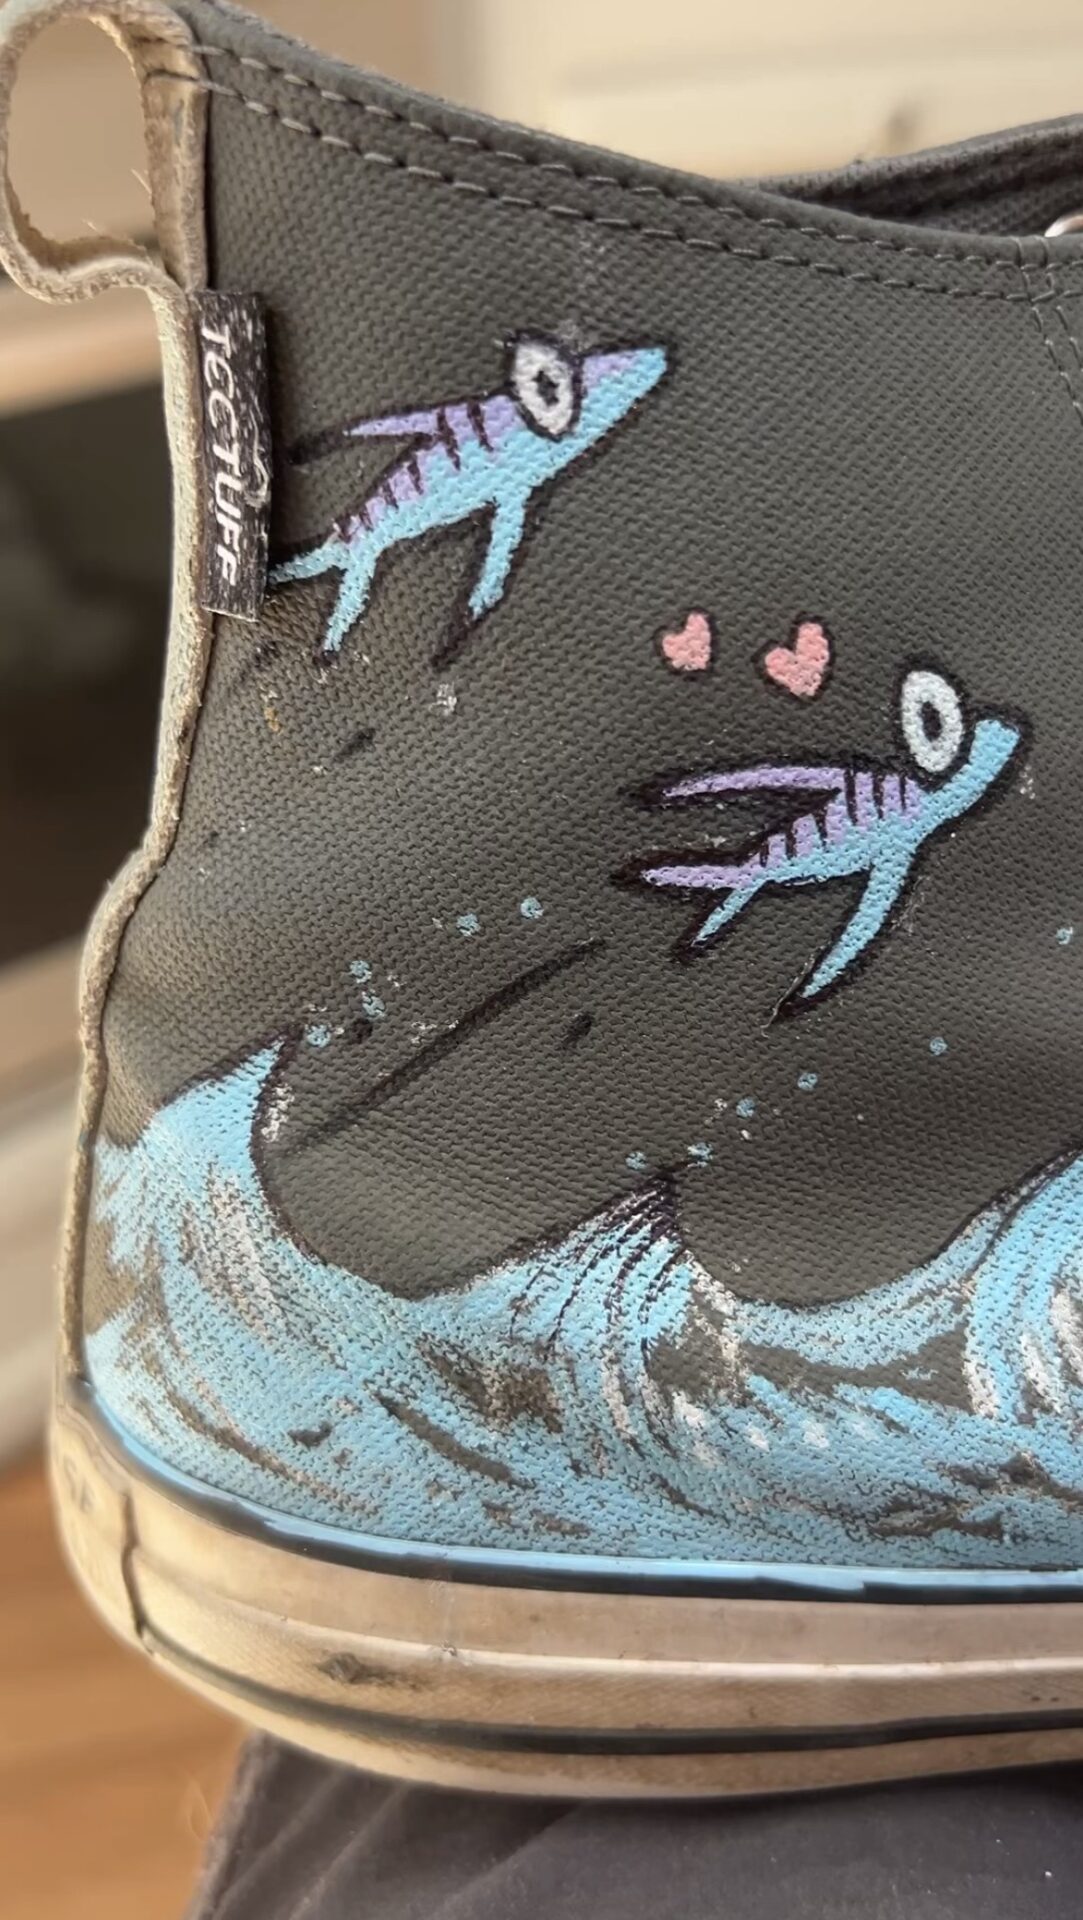
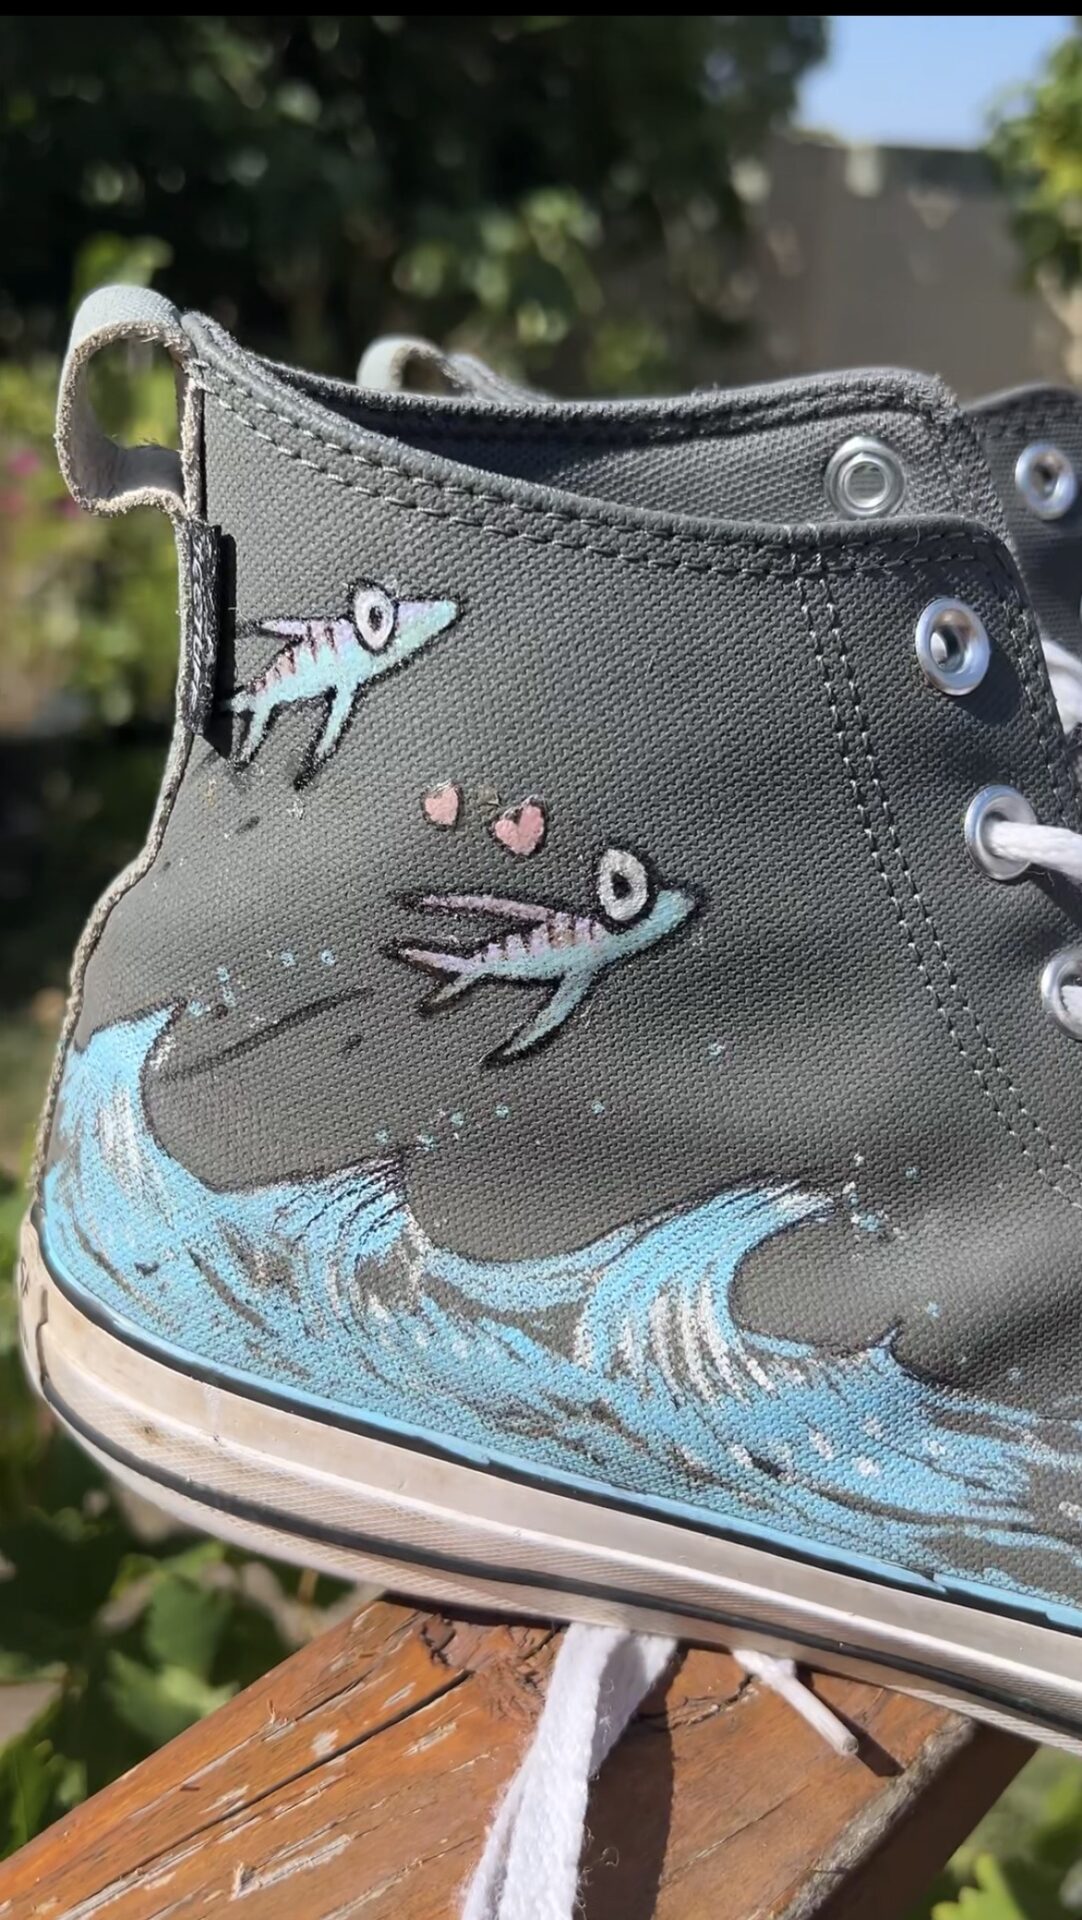
Have you ever painted your shoes? It’s so much fun 🤩 I custom painted my converse a year or so ago using posco paint markers. They had faded so it was time for a repaint.
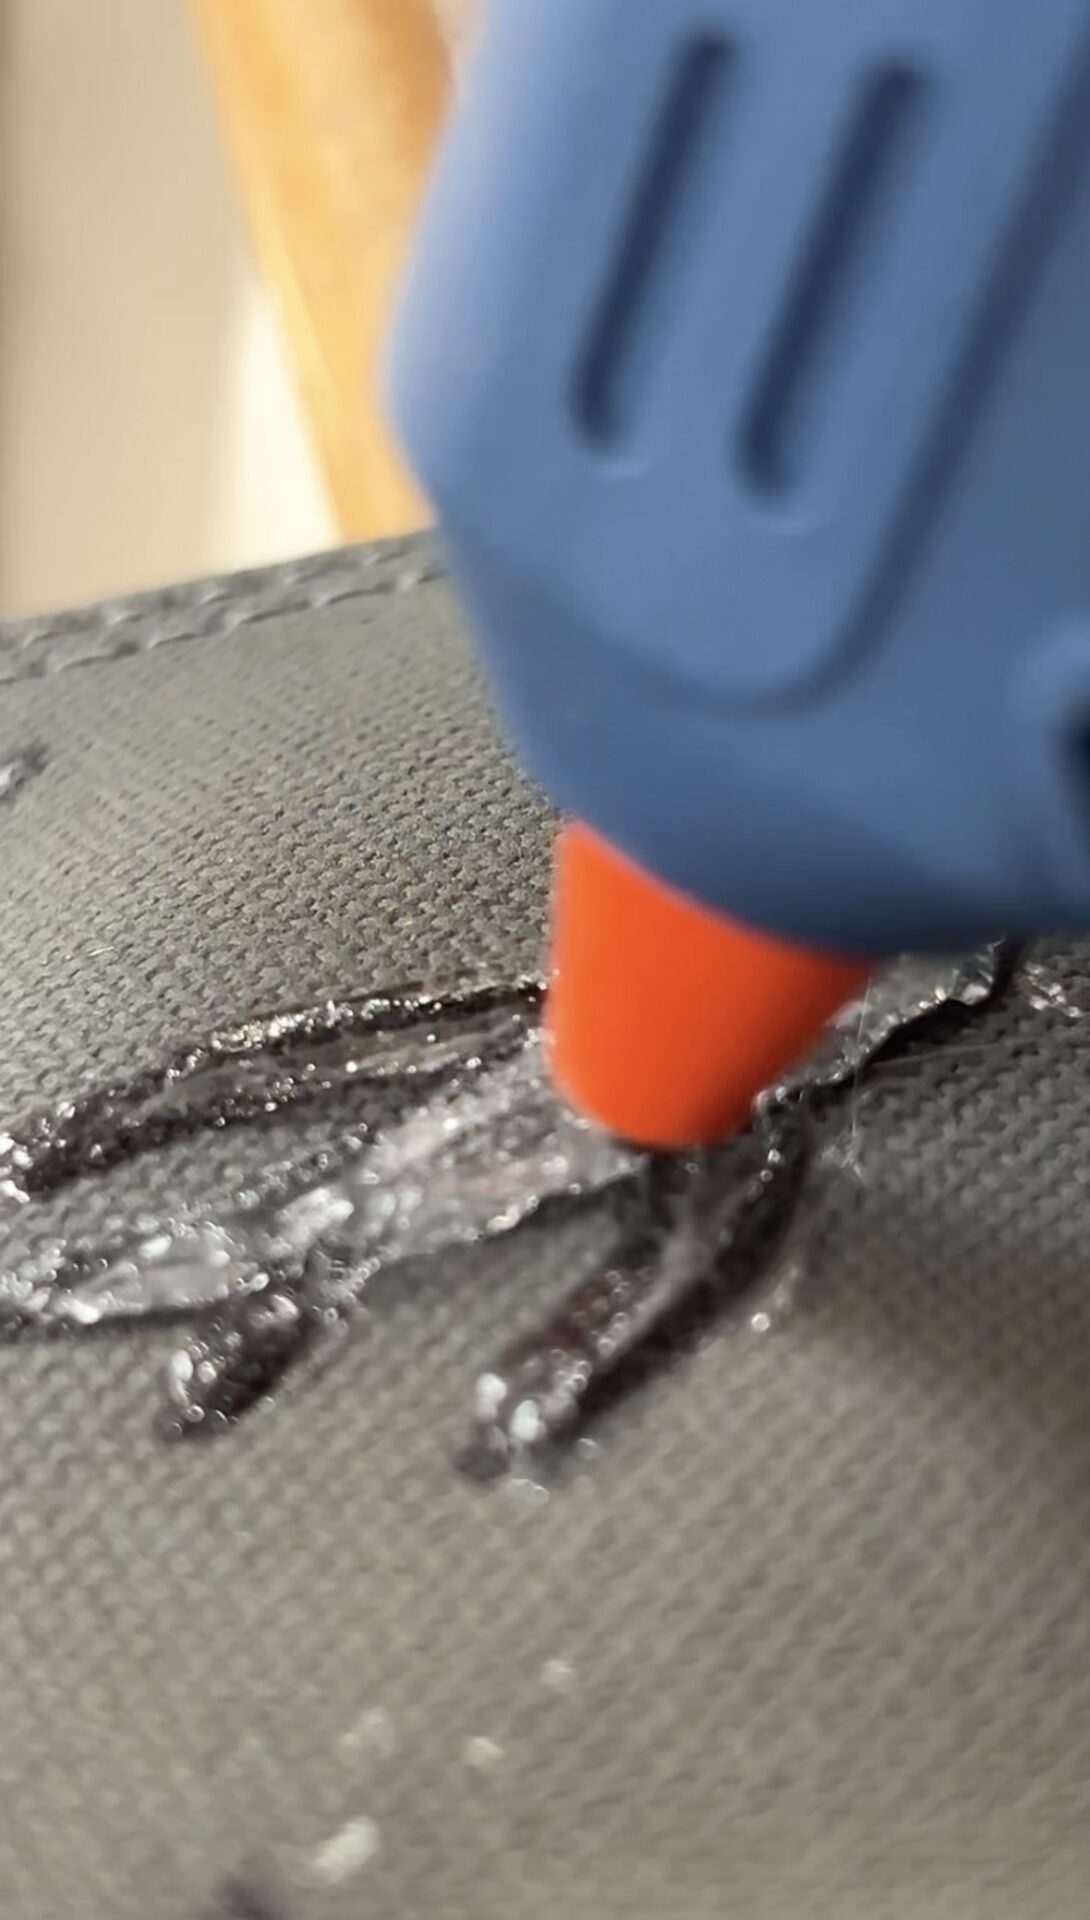
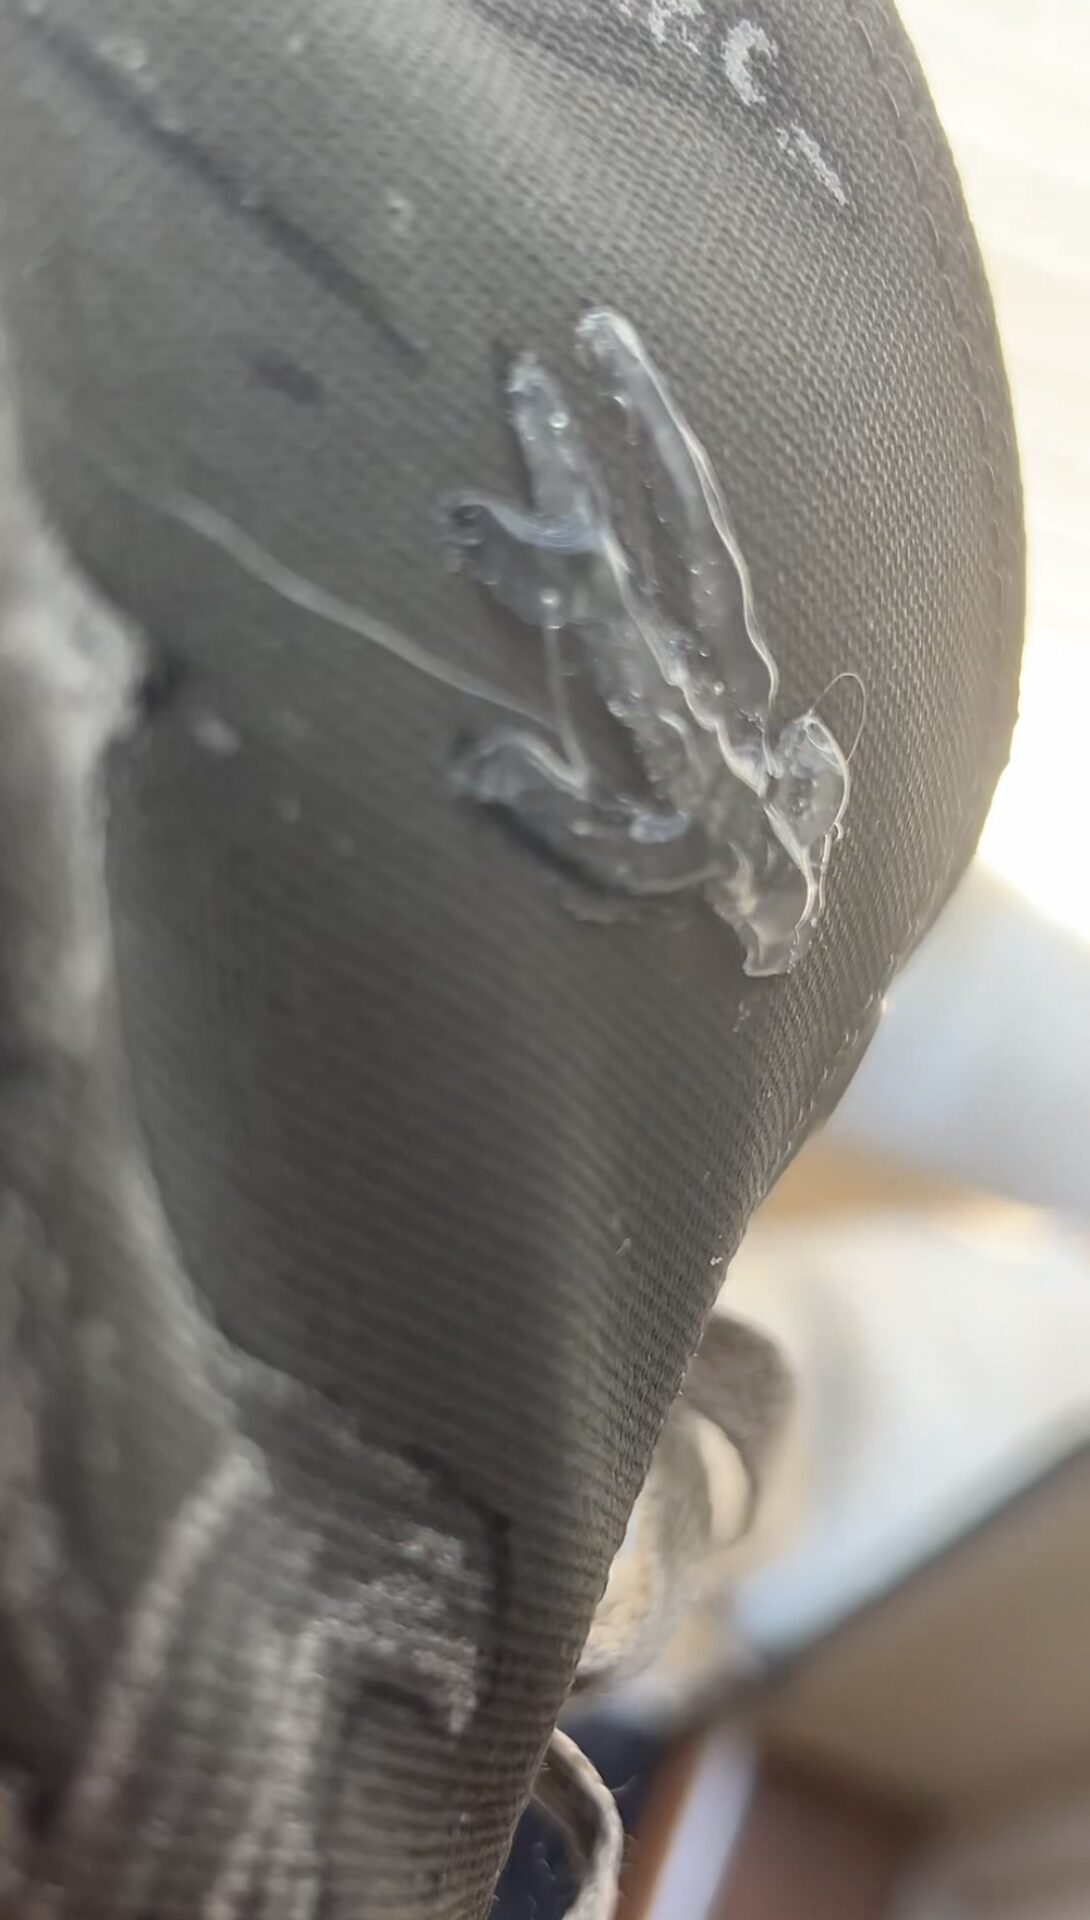
I had a few ideas I wanted to try, one was using the glue gun to make some bits 3D and then embroider over it. Soon gave up on that idea! What a failure, meh.
So I went back to the faithful paint markers, they’re easy and accurate. This time I freehand painted over the original fish and ocean design. But I wanted some shine ✨
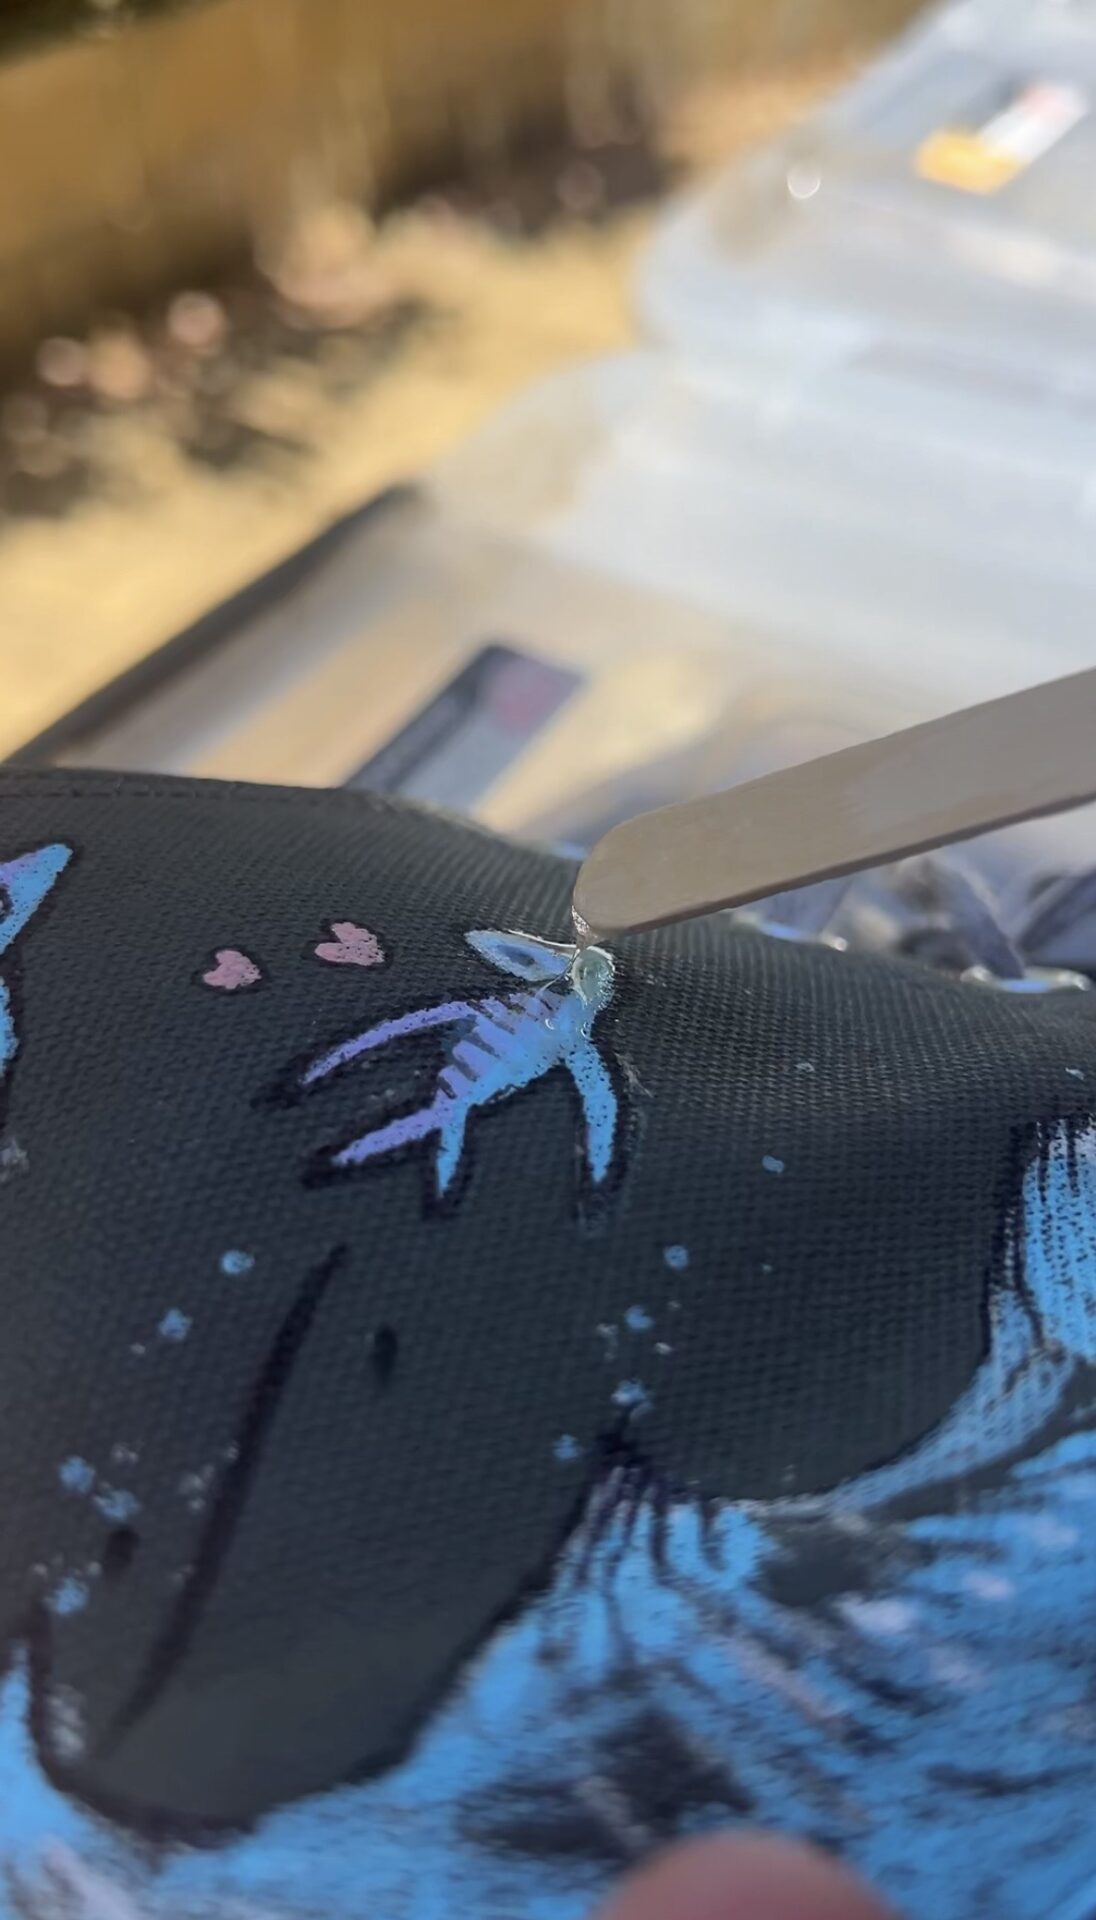
So I tested out using some clear resin that I got off Amazon about a year ago. I did sooo much research into which one was going to last and not yellow too much. I’m using this resin for my handmade pens.
Anyway, the brand I ended up with was Takimo. It’s easy to use as long as you follow the instructions. And it gives a beautiful hard, clear and resilient result.
I wasn’t too fussed with the accuracy for the resin. So I just used a paddle pop stick to smudge it over the fish I wanted to shine. It worked well!
I really want to do more of this. Here are the results:
If you’re struggling with completing things, procrastination or a time of laziness, this blog might be for you.
I sometimes get asked, how do you get so much done? It’s nothing to flex about. With experience I think focus just gets easier and easier. Ignore the noise, filter your inputs and keep your high standards. We all struggle at times though.
We all meet periods of slowness (when comparing with our vision of life progress) or times where distractions or scattered energy take away our focus.
I used to default to lists as my main management tool or motivational source. Make a list, write it down, publicly call it out, put it in the NY resolutions, make a this, make a that …. there’s endless ways to approach how to get things done in your life.
Although I still use lists, now they’re limited to what is achievable in the day.
One secret to completing something, is not the tool or list, it’s our commitment.
If you commit internally (to yourself) that you’ll complete something, you will. Where and in what you write that thing down, or stick onto a whiteboard etc – doesn’t really matter.
When you internalise the commitment of completing it, you will.
You may not get it done in a day, many things take sustained effort. With an internal agreement of commitment though, completion is within you.
If you’re unable to complete something, your internal voice should be sending alerts, “I don’t think so…!!!”. With practice, we can train this internal voice for more and more accuracy.
Here’s what I do the night before or early in the morning. Choose the things for the day (usually 1-5). Better if they can be competed today. I order them around whatever else will affect work during the day (kids, other etc). Then I start and finish one and move to the next.
It doesn’t always go like that, but as a general pattern it works. Take the time to finish one thing and tell yourself it’s done (affirmation, release). Then move to the next.
With each task, I reaffirm the commitment to complete it, then just do it. If I have any doubts around it, I don’t even start it.
Work like a ninja. That’s what my Japanese ceo friend used to tell me. Attack and move like a ninja, get the job done.
Hope this helps you get things done.
I know that when I struggle with focus, I come back to the smaller commitments and completing things one by one. It’s a solid method to rebuild confidence and momentum.